Event planning
Important
The functionalities in this chapter only apply if you have a license for the Event planning module.
The Recreatex POS module does not completely manage files (creation and follow-up). However, it is possible to find and settle articles, services, exhibition visits and facility bookings booked for a certain event file, at the cash register.
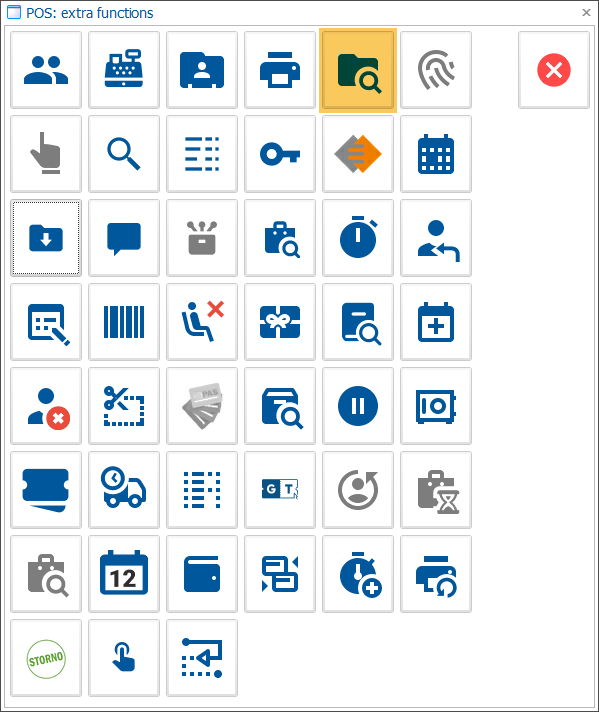
On the POS screen, click  to open the POS: extra functions and click the option
  (Find articles file management)
 |
The window POS: search file articles appears. Start by choosing the date to automatically show the corresponding subfiles in the overview.
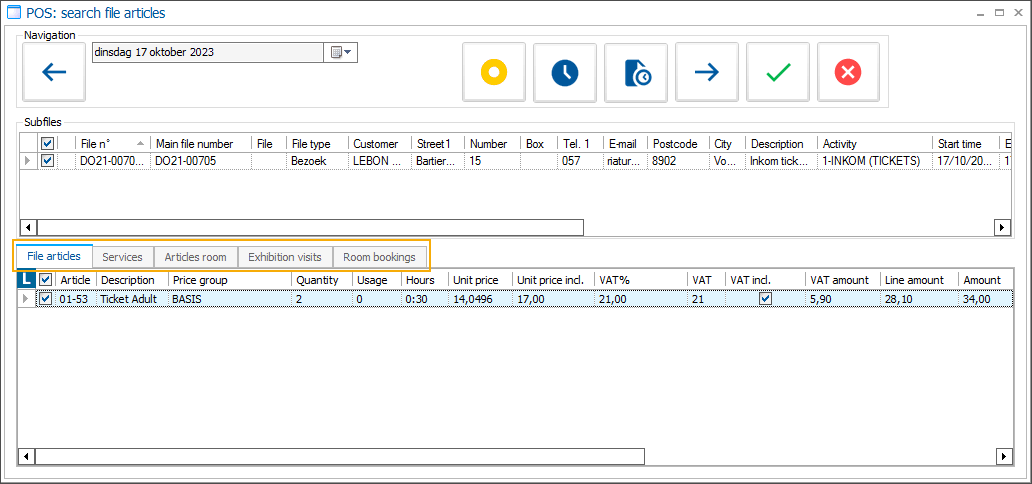 |
In the upper part of the window, choose the relevant components (subfiles). Then, in the lower part, select the articles, services, exhibition visits, and facility bookings you want to settle.
If your event file confirmation documents include a QR code, scan the QR code. The relevant components (subfiles) and related articles, services, exhibition visits and facility bookings are automatically selected.
Navigation buttons:
| Previous day | |
| All subfiles/open subfiles. This button lets you choose whether to show subfiles with settled articles/services in the list. Settled articles/services in selected subfiles will appear in grey. | |
| Overview partial files. If you click on this button, an overview will appear of all partial files that belong to the file type of the currently selected subfile. | |
| Overview scenario. If you click on this button, the file scenario of the file to which the currently selected subfile belongs will appear. | |
| Next day. |


Note
If a subfile's articles/services cannot be selected (no checkboxes) or are missing, it means they are not configured for payment at the cash register within the file activity.
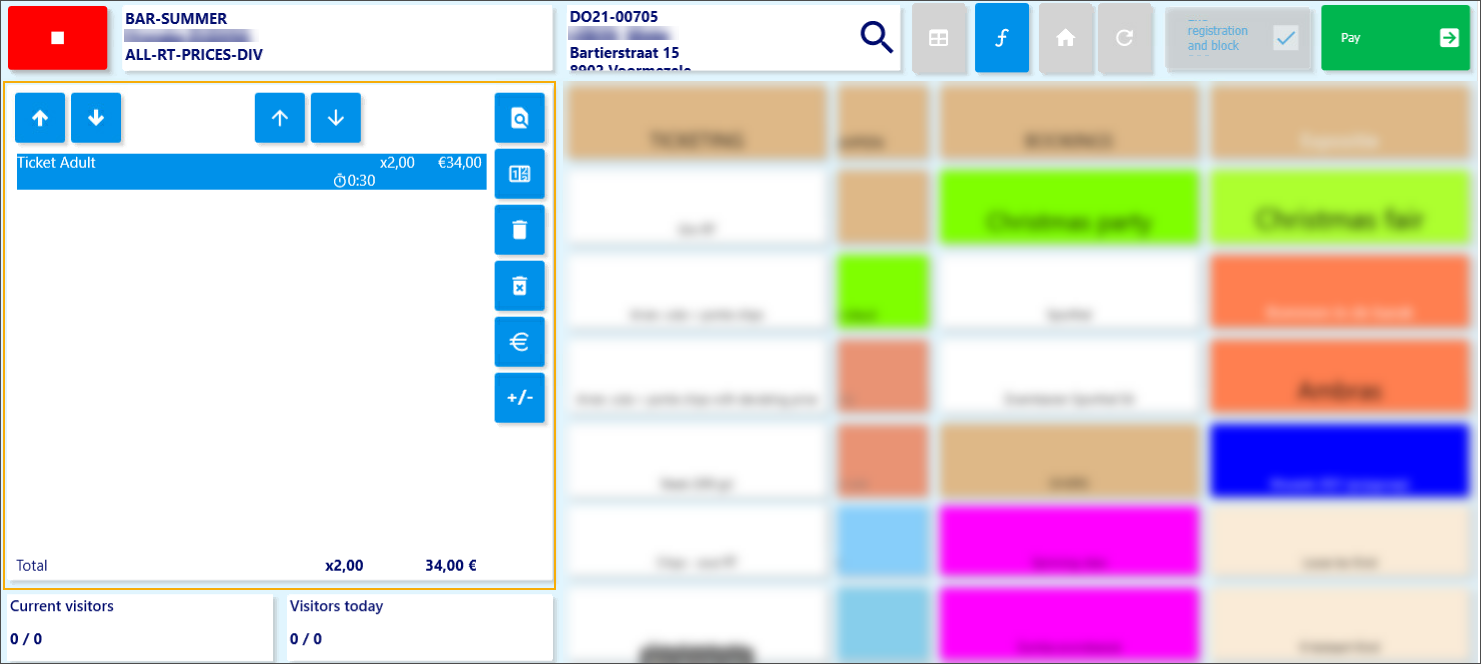
Once all articles/services have been selected, click  to confirm and add these articles/services to the POS basket.
 |
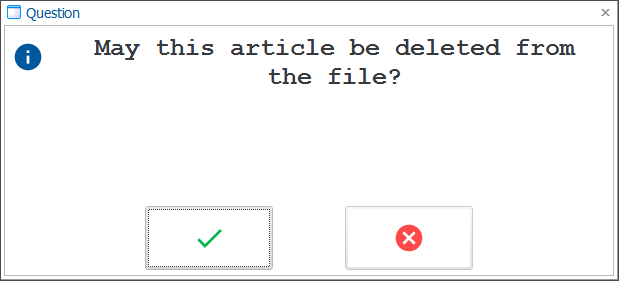
Note
Deleting an article from the POS basket ( ), triggers an additional message allowing you to also delete the article from the file.
 |
If you only want to modify the quantity of a certain article, use the function Modify number/option ( ), as you would do in case of a regular sale. In this case, a parameter setting determines if the modification of the number is also applied in the file.
Finally, you can settle the sale in the payment screen, as you would do in the case of a conventional POS sale.