Ticketing
The tab Ticketing contains the settings of the web module Tickets.
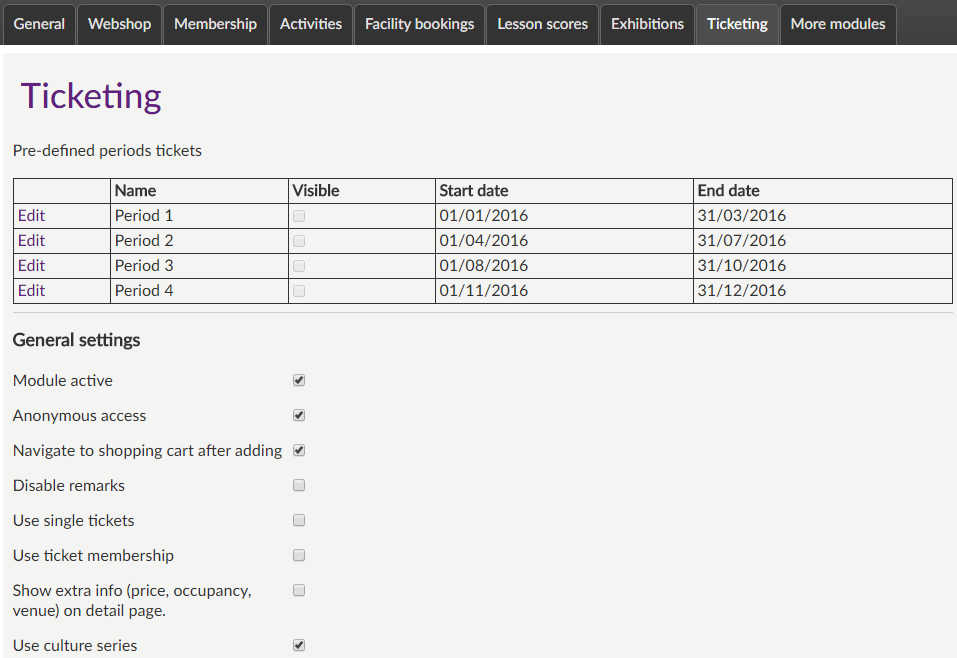 |
Pre-defined periods tickets
Pre-defined periods appear as a button in the search and filter options of the events.
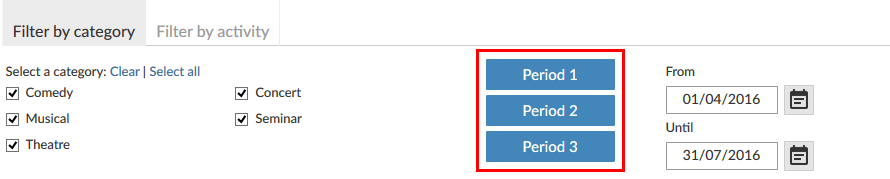 |
In this way, the user can call up the events within the period in question by simply clicking on the button, without having to fill in the dates himself.
In order to set up a pre-defined period, you have to click on Edit in the table:
 |
This allows you to fill in the name, determine if the period button has to be visible or not, and fill in the desired start and end date of the period.
 |
After defining a period, you have to save it by clicking on Save.
 |
General settings
Module active | This setting determines if the module in question is available or not (visualised as a tab) on the Recreatex Webshop. In this way, different modules can be offered per Webshop (if different Webshops are created for a certain Recreatex database). | ||
Anonymous access | This option allows website users to access this module without having to log in. In this way, users that do not have a user account can also consult the module. Warning
| ||
Navigate to shopping cart after adding | This setting is active by default and makes sure that the Webshop automatically navigates to the shopping basket after clicking on the button In shopping cart. If this option is deactivated, the system will return to the previous overview after an order/booking. In this case, the user can navigate to the shopping basket himself to finalise the order. | ||
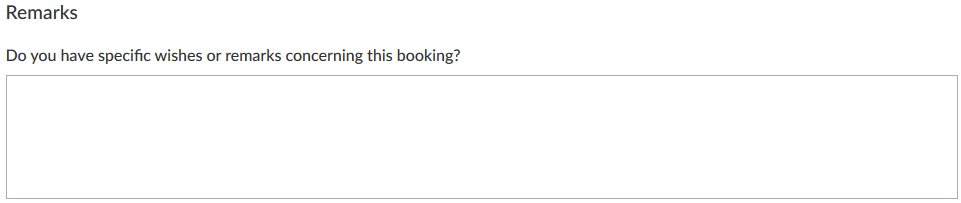
Disable remarks | Activate this option if you want to deactivate the question to fill in any remarks (while ordering tickets).
| ||
Use single tickets/ticket membership | These two parameters are deactivated by default and only single tickets (events) will be visualised on the Webshop (no ticketing membership).
| ||
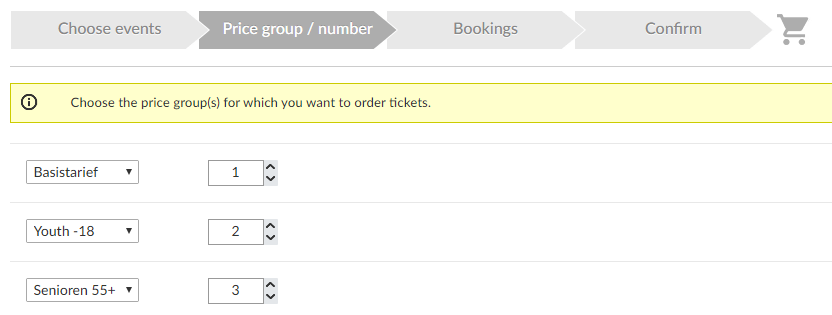
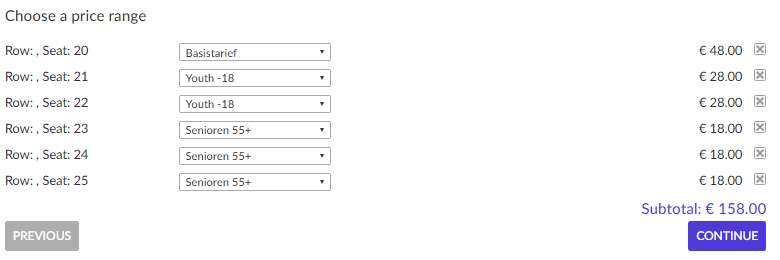
Select price ranges up front | This option allows website users to select price groups up front while ordering tickets.
Thereafter, when the user makes the seat selection, Webshop automatically applies the price groups for the selected seats.
The user can, of course, modify the auto-filled price groups. NoteThis setting can only be activated when the setting Use ticketing membership is also activated. | ||
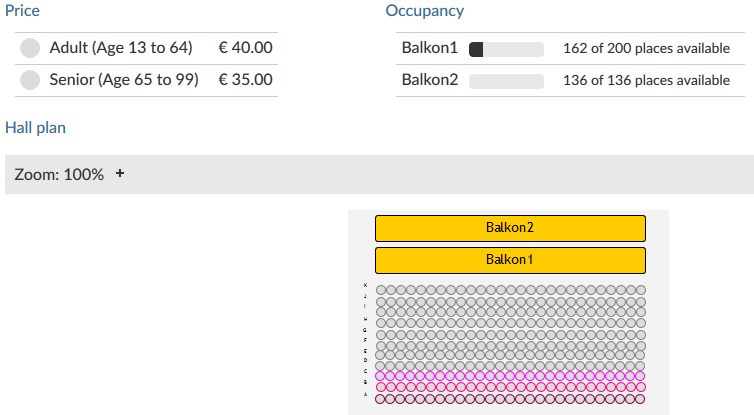
Show extra info (price, occupancy, venue) on detail page | If this option is active, the information regarding price groups, occupancy and venue will be shown on the detail page of the selected event.
| ||
Use culture series | Activate this option to enable the visualisation of event series on the Webshop.
NoteWhen a customer books an event series, he/she essentially books tickets for all the events in the series. |


Overview settings
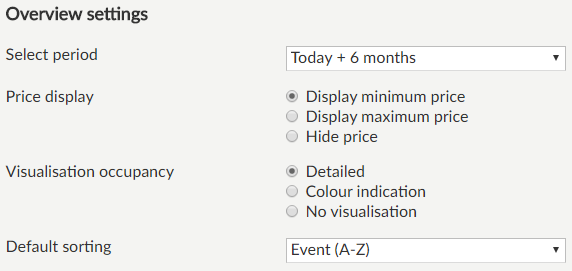 |
Select period | This is the initial period in which activities will be called up when surfing to the module Ticketing.
The following settings are possible:
If the option Customised is chosen, the specific period still has to be filled in:
| |||||||||||||
Price display | This option allows you to determine which price has to be visualised in the overview of ticketing events:
This may for example be useful if different tariffs apply for events. | |||||||||||||
Visualisation occupancy | More flexible visualisation of the occupancy of ticketing events.
Detailed: this is the already existing way. This visualisation shows the number of remaining seats vs. the total number of seats.
No visualisation: no occupancy information is shown.
| |||||||||||||
Default sorting | This parameter allows you to define the default sort order of the ticketing events. In this case, the ticketing events will initially be sorted according to this setting. The user can of course always select his/her preferential sort order when searching for events. |


Visualisation filter
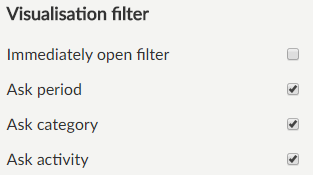 |
In the part Visualisation filter, the behaviour and content of the search and filter options can be set up.
You can, for example, determine if the search and filter options have to be expanded by default (and thus be visible) when a customer opens the module, and which options are available for the user to search for the desired events.
Immediately open filter | If active, the section with search and filter options will immediately be expanded when the customer enters the module Tickets. | |
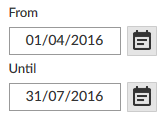
Ask period | With this option, it is possible to look for events on the basis of the planned period.
| |
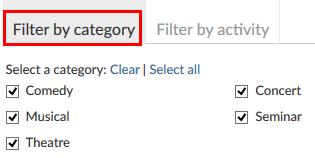
Ask category | With this option, it is possible to look for events on the basis of category.
| |
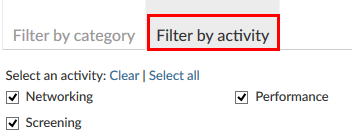
Ask activity | With this option, it is possible to look for events on the basis of activity type.
|
Order settings
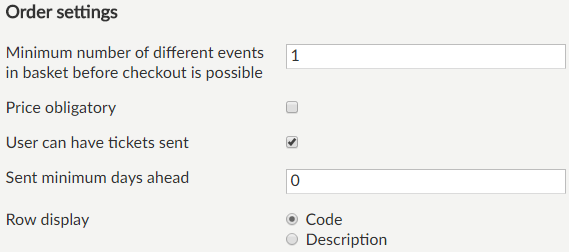 |
Minimum number of different events in basket before checkout is possible | This option allows you to define a minimum number of different events that have to be booked before the online order can effectively be placed. if this minimal number is not reached at checkout, a specific message will appear, for example:
If you fill in 0, this parameter will not be taken into account. | |
Price obligatory | This option is deactivated by default, allowing the customer to book events for free if no price has been entered in Recreatex. If this option is ticked off, it will no longer be possible to make free bookings for events for which no price has been specified in Recreatex. |

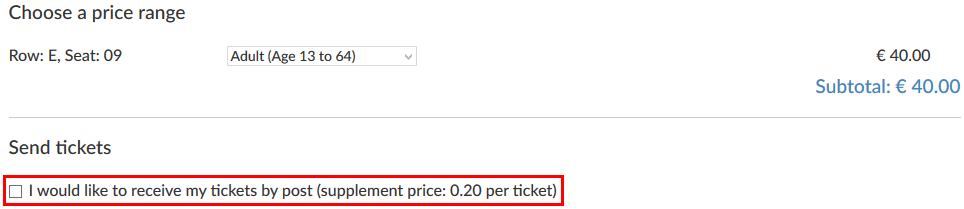
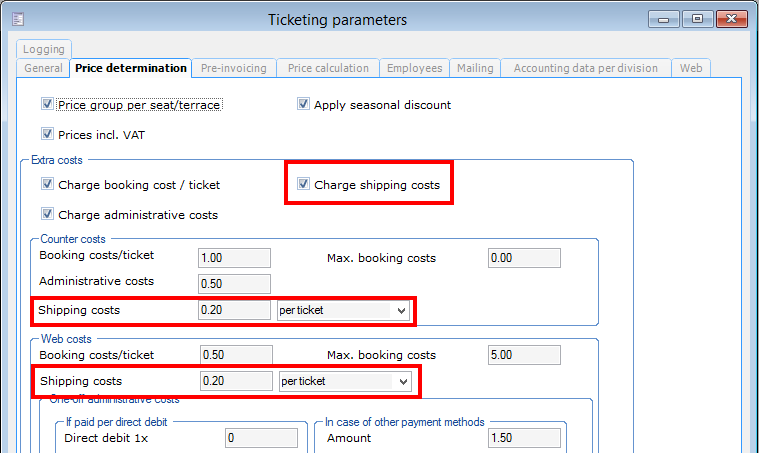
User can have tickets sent | If this parameter is used, the user will be able to have the booked tickets sent physically as well.
NoteFor this purpose, the system of shipping costs has to be activated in the Recreatex ticketing parameters.
| ||
Sent minimum days ahead | This setting is entirely in function of shipping costs (sending tickets) and determines the required minimum number of days between the booking and the event date, as of which date it will no longer be possible to have the tickets sent. This is necessary to be sure that the customer will receive the tickets before the event. | ||
Row display | It is possible to determine the visualisation of row code or row description when the Webshop user selects a seat on the venue plan.
|

History settings
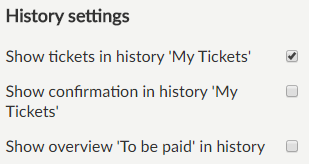 |
Show tickets in history 'My Tickets' | This option allows you to determine that the user can call up (and if required reprint) his/her ordered e-Tickets in History and overviews (My tickets). | |
Show confirmation in history 'My Tickets' | This setting determines if the booking certificate is available or not for the user under History and overviews. | |
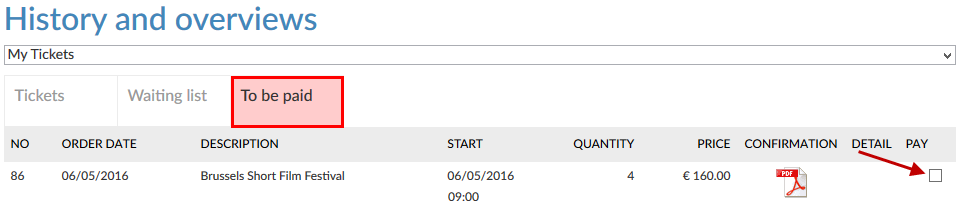
Show overview 'To be paid' in history | Activating this option results in an additional overview To be paid in the history of My tickets. In this way, the logged-in user will be able to pay for booked but not yet paid ticketing bookings on the Webshop. Further processing is, as always, done in the shopping basket.
|
Messages
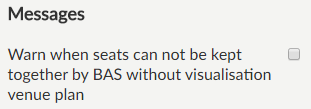 |
If the setting Warn when seats can not be kept together by BAS without visualisation venue plan is active, an extra message will appear if the seats that have been assigned by BAS could not be kept together (only if on the event level, tab Web it has been defined that the venue plan does not have to be visualised).
E-mail notification
 |
As is the case with general notification e-mails (to be set up under General > Settings > E-mail messages) the e-mail address that is filled in here, is the addressee of the internal service, that will receive the copy of the e-mail sent to the customer. By filling in a deviating e-mail address per module, however, it is possible to make the addressee of the order confirmation (e-mail) dependent on the module in which the order was placed. In this way, orders of module X can be sent to service X, of module Y to service Y, etc.
Donation settings
If a donation amount is defined for the chosen price group, the user will be able to donate an extra amount when making a booking.
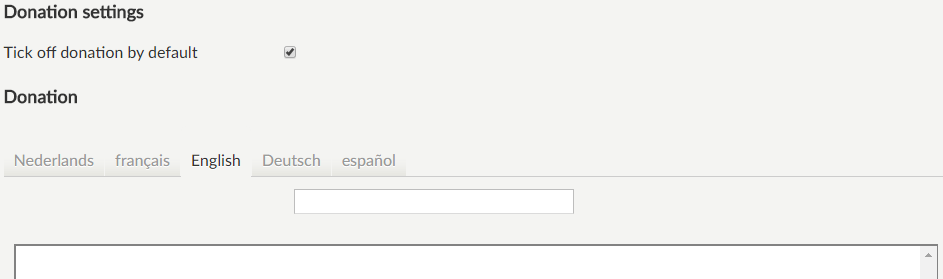 |
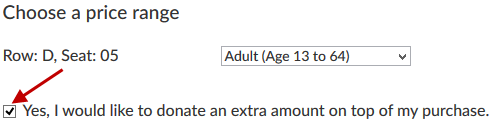
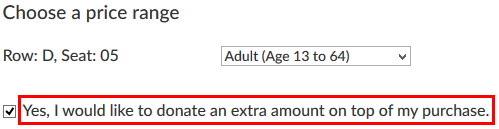
Tick off donation by default | If this setting is active, the option to donate will be selected by default and the donation amount will automatically be added to the booking when selecting a price group. The user can, of course, choose to de-select the option and the donation amount will be removed.
NoteFor this purpose, the option Donations active must be activated from the Ticketing parameters in the Recreatex Desktop Application (Ticketing > Parameters > tab General). Moreover, the donation amount must be entered for each price group. For this, go to Event details > tab Prices. Select a price group and enter the donation amount.
| ||
Donation | Specific text relating to donation can be filled in per language.
|

Introductory text module
 |
It is possible to fill in an introductory text per Webshop module. As is the case with the general welcoming and introductory text, HTML is supported for the creation of the introduction per module and the text can be translated if you wish so. The introductory text is always visualised at the top of the module's primary page.
Always save the new settings by clicking on the button Save.