Example
Revenue report
Note
Due to the flexible nature of the Report designer, there are many ways to design reports. What follows is an example of designing a report. Please note that multiple configurations are possible to design a report.
 |
Step 1: Add fields for table report
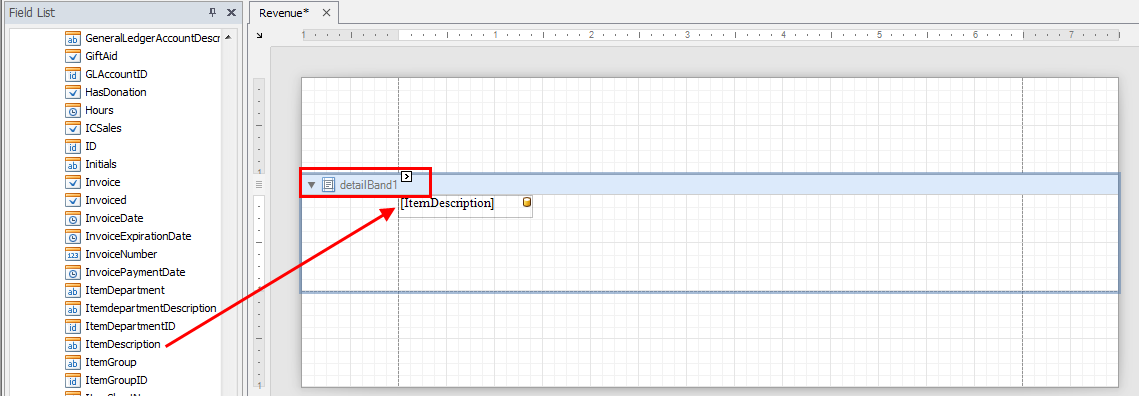
Add data fields
To configure a report, drag and drop the required fields from Field List to the area under detailBand on the Design Panel.
 |
Add title row
To add a title row for the table report, right-click on the Design Panel, and select Insert Band > GroupHeader.
 |
Add the same fields as in the detailBand area, but the difference is that the fields in the title row should be of type labels and not data (indicated by a yellow database icon).
For adding fields as labels, click on the desired fields (while holding the Ctrl button). Now, drag the fields with the right mouse button and have the Shift button pressed on the keyboard.
Warning
To add a field as label, it is necessary to drag the filed with the right mouse button and have the Shift button pressed on the keyboard.
 |
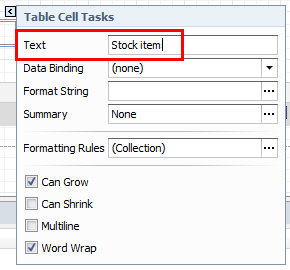
You can choose to edit the field name to a more appropriate row title.
To do so, click on the Smart Tag of the field name in question.
 |
This will open the Table Cell Tasks dialogue. Edit the Text field to change the row title.
 |
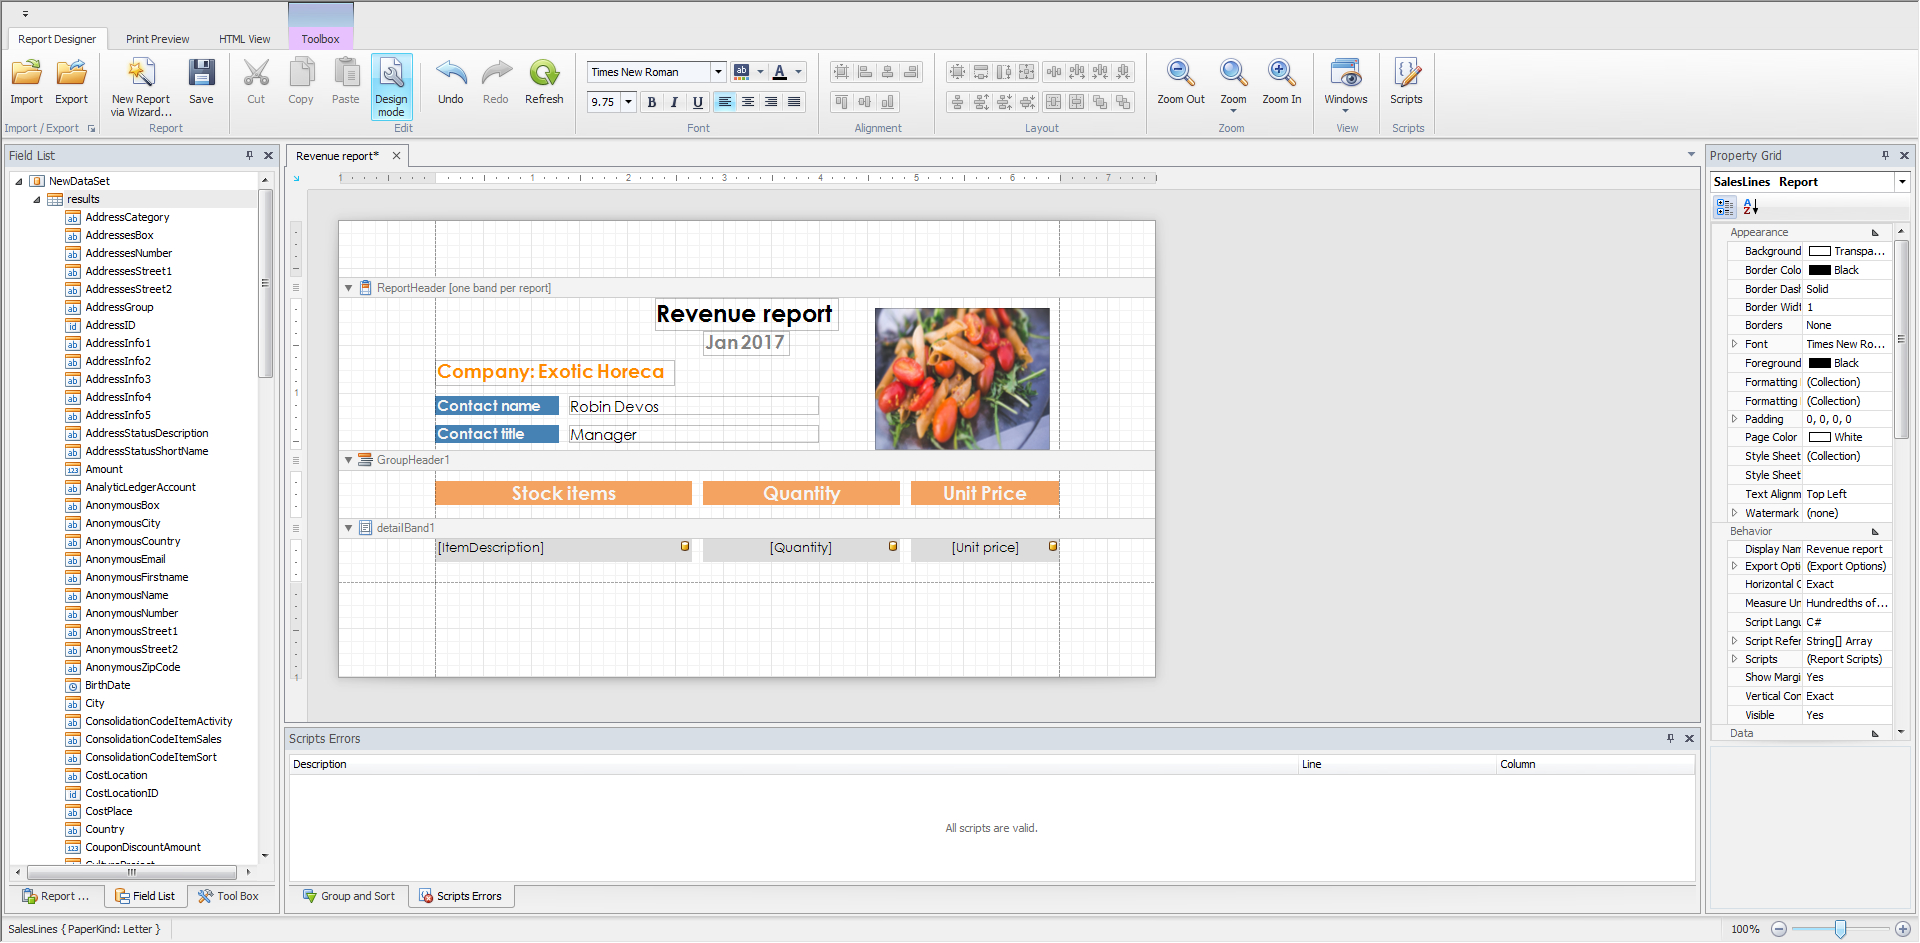
Step 2: Add report header
Right-click on the Design Panel and select Insert Band > ReportHeader.
 |
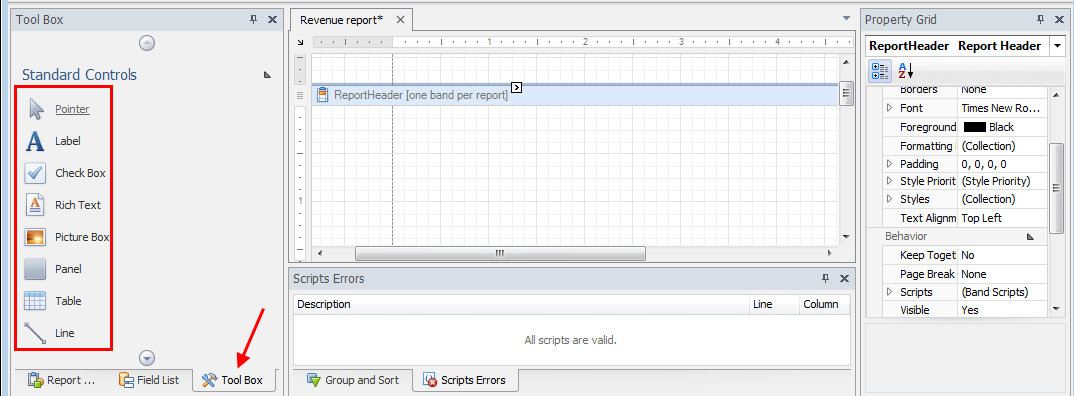
For adding text in the header section, go to tab Tool Box located at the bottom of the the left panel of the Report designer. Drag and drop the Label field to the report header area.
Double-click on the field to edit the text. For more information, see Label.
Similarly, you can add images using the option Picture Box. For more information, see Picture Box.
 |
Step 3: Format the report
Next, customize the font, colour, alignment of the report elements.
For more information on formatting, see Change Fonts and Colors of Report Elements.
Note
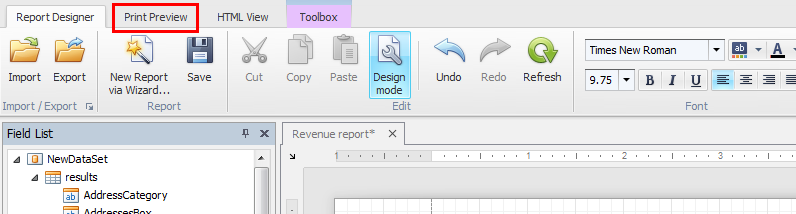
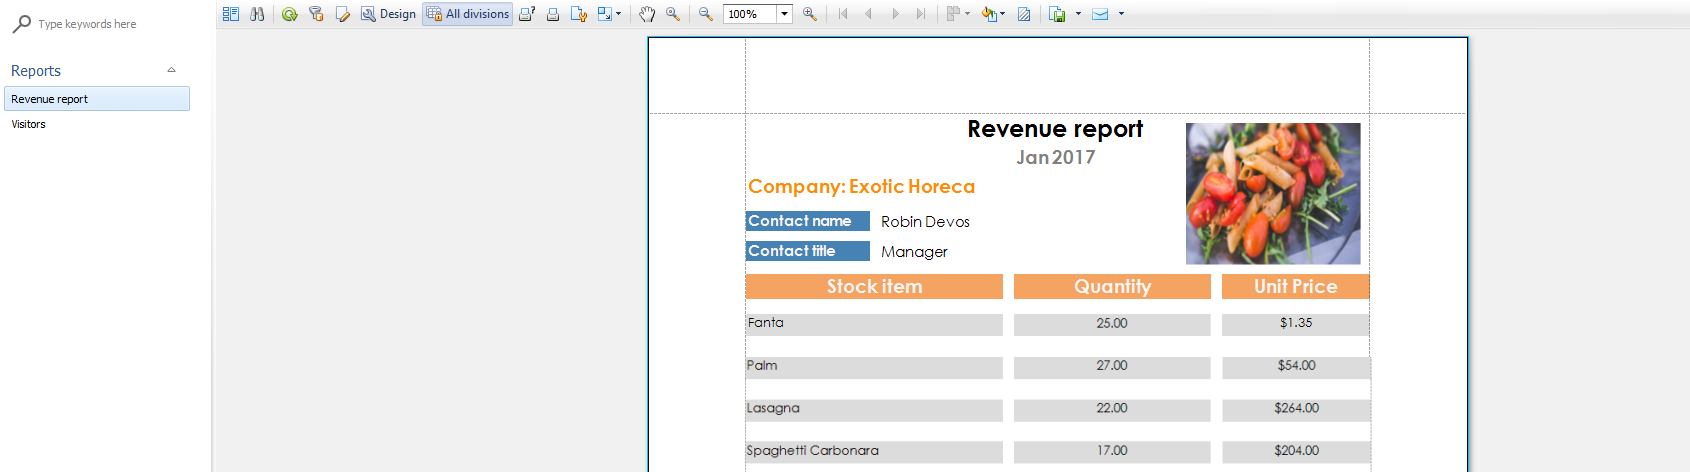
It is possible generate an immediate preview of the report from the main tab Print Preview.
 |
Step 4: View report
To consult the configured report, go to Reporting > Reports > View.
 |
For more information, see View report.