Exhibitions
Warning
The functionalities described in this chapter are only applicable if you have a license for the Exhibitions module.
In this part the integration of the exhibitions module in the Recreatex POS is explained, such as selling/booking exhibition tickets and finding and settling exhibition visits.
Select exhibition
It is possible to select the desired exhibition in two ways.
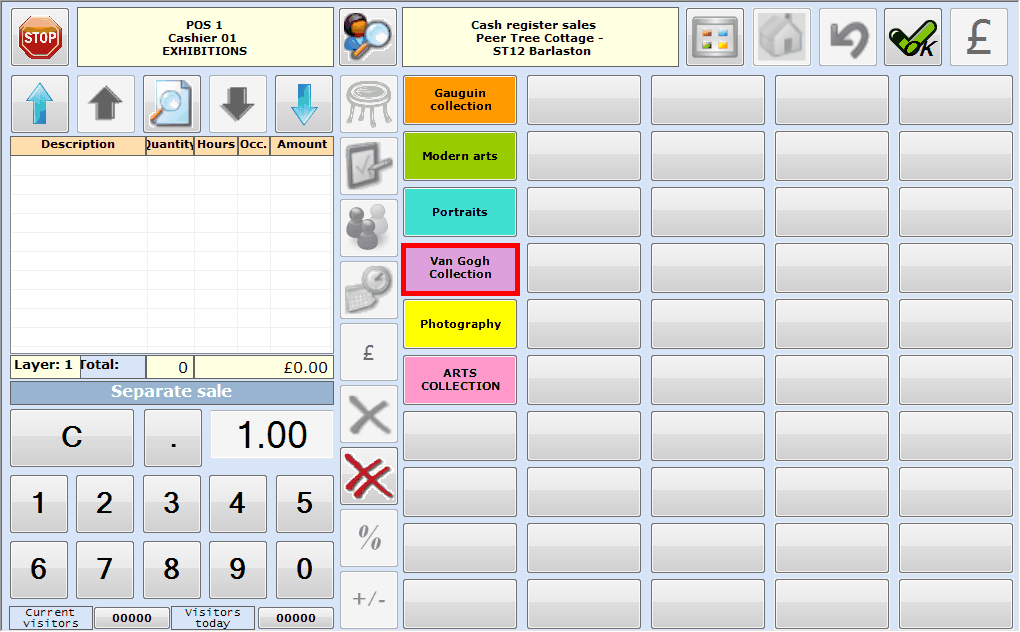
If the exhibition is on the POS menu, you can simply click on the button in question to select the exhibition, for example:
 |
Note
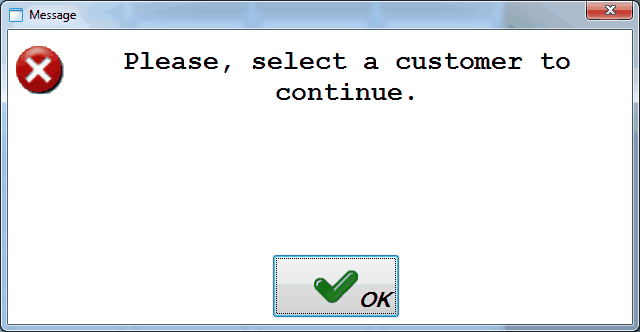
If it has been defined on the current point of sale that exhibition visits can only be sold on customer name (customer mandatory), the following message will first appear after choosing an exhibition, after which you have to select the correct customer.
 |
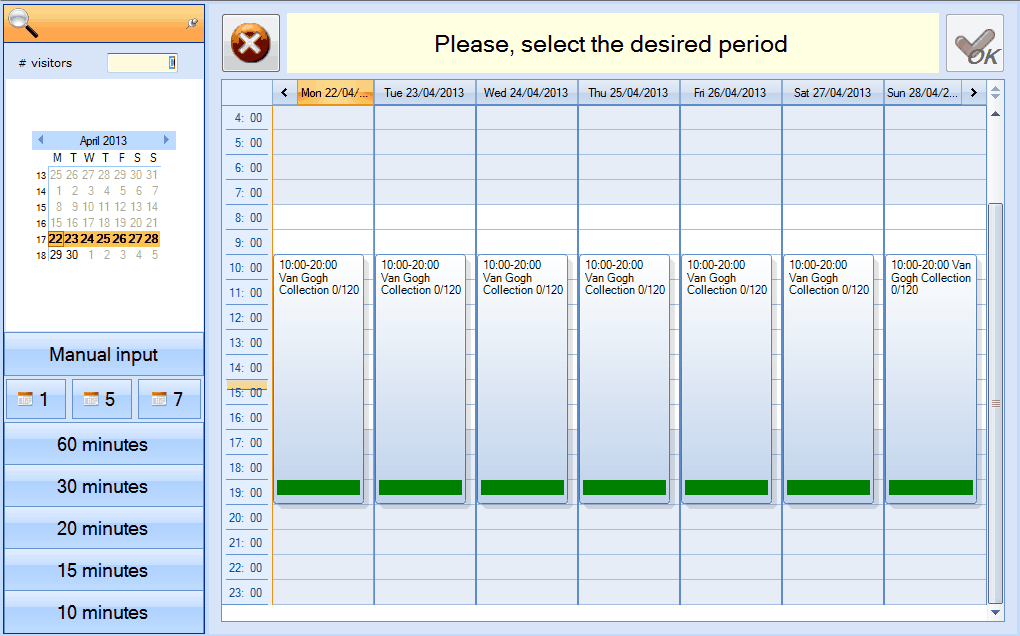
After the selection of the desired exhibition (and if required the customer) the exhibitions overview will appear showing the available periods of the selected exhibition.
 |
Note
On the left of the exhibitions overview you can select the desired date in the calendar and modify the visualisation (1, 5 or 7 days and the hours).
By entering the number of visitors, you can make sure that only the exhibition periods with enough free places are visualised.
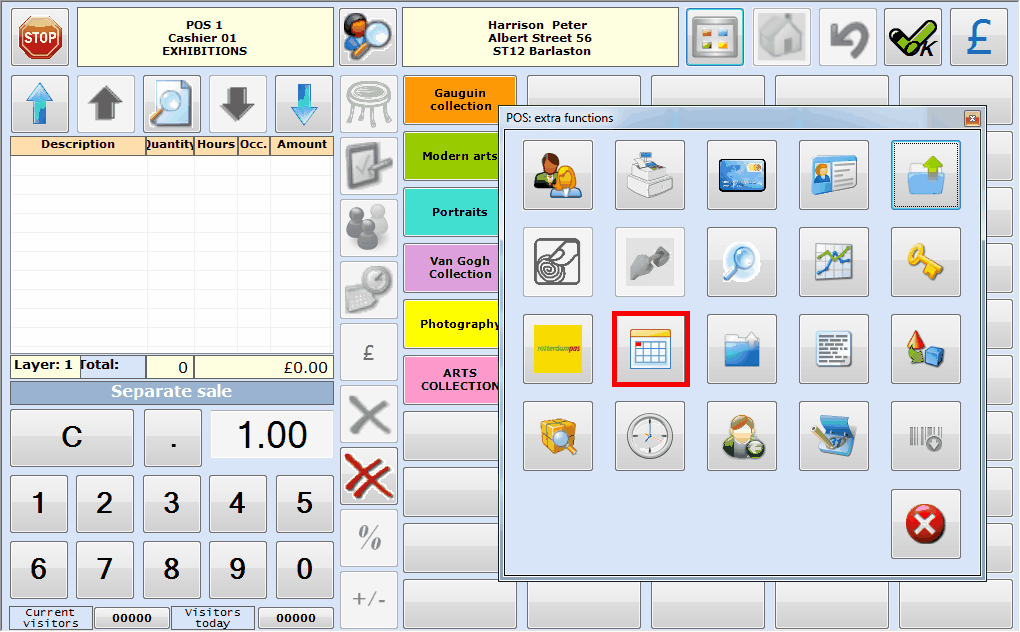
If the exhibition is not on the POS menu, or if you are not able to find it fast enough, you can search for the exhibition using the Extra POS function > Exhibitions calendar:
 |
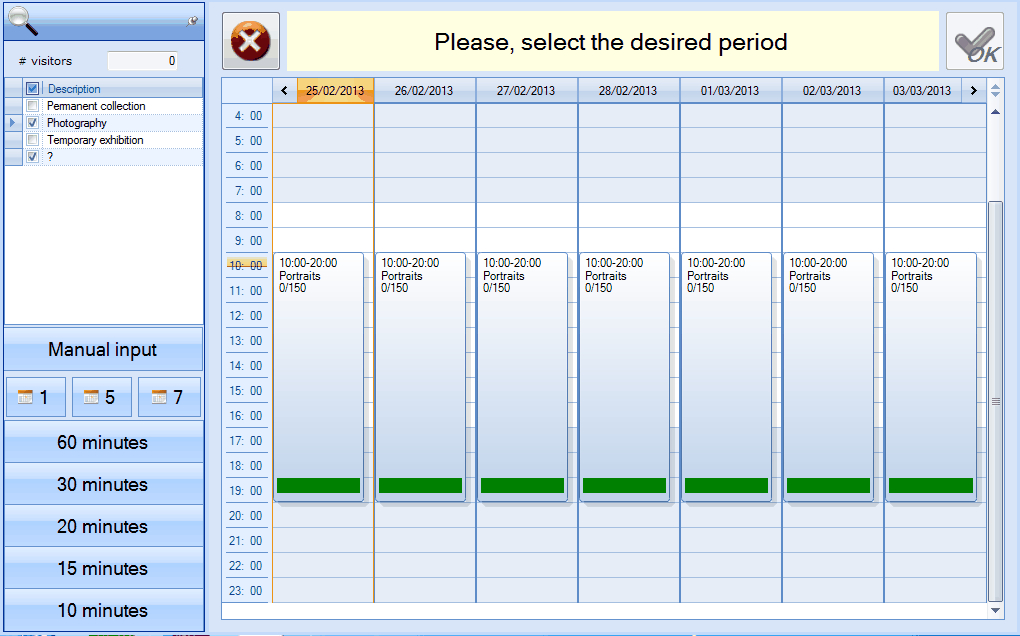
The exhibitions calendar will appear:
 |
Note
This window only shows the exhibitions that meet the criteria set up on the left of the window.
As opposed to the first method to select an exhibition, the message concerning the obligatory sales customer will in this case only appear after the effective selection of the exhibition period.
The further explanation on the registration of exhibition visits is based on the use of the first method to select an exhibition.
Sell/book exhibition tickets
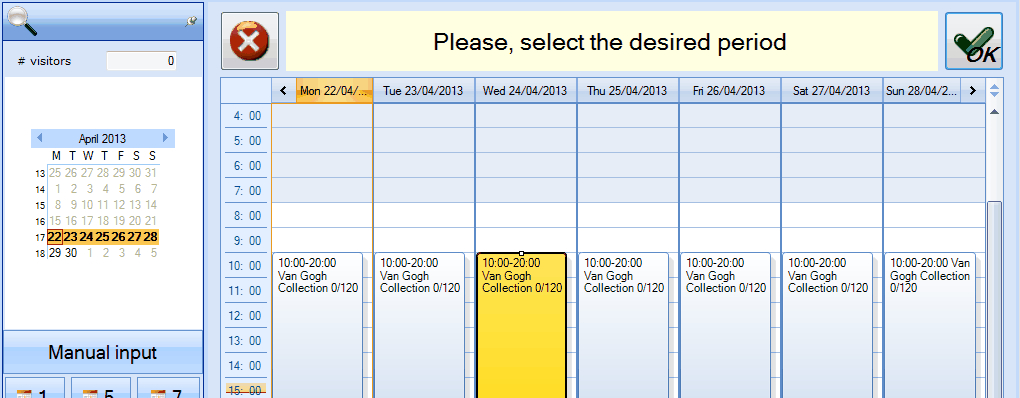
In order to select a desired exhibition (period), you can indicate it with the left mouse button (the exhibition will be marked in yellow) and press <Enter> to continue and eventually register visitors.
 |
After the selection of the exhibition period, a window appears allowing you to register the exhibition visits. Dependent on the settings of the current exhibition, this can be done in three ways.
On the basis of articles
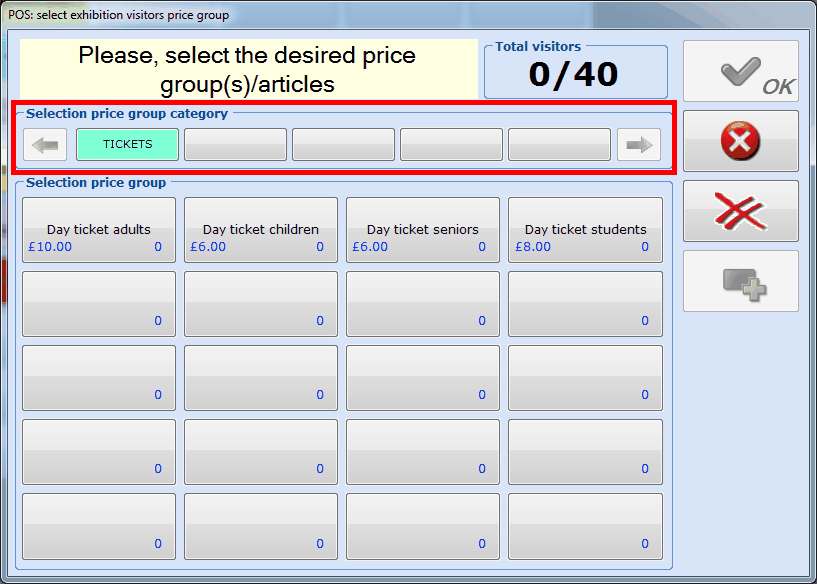
If the setting Use articles to register visit (setting on exhibition level) is active, visits will be registered on the basis of specific articles, for example entrance tickets. In this case, you can select the desired articles on the basis of the article group (category).
 |
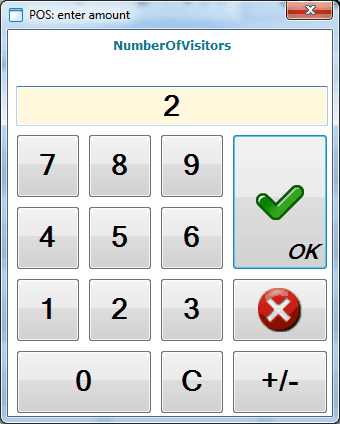
After the selection of the article in question, you can enter the desired number of visitors.
 |
Note
The number of visitors entered is always shown (in the lower right-hand corner of the button) and can, if required, easily be modified by reselecting the article and re-entering the desired number of visitors.
On the basis of price group in function of price group category
If the setting Use articles to register visit (setting on exhibition level) is NOT active, visits will be registered on the basis of price groups. If you, however, also work with price group categories (see Customersmanual 'GENERAL - Customers'), you first have to select the category before you will be able to select the actual price group.
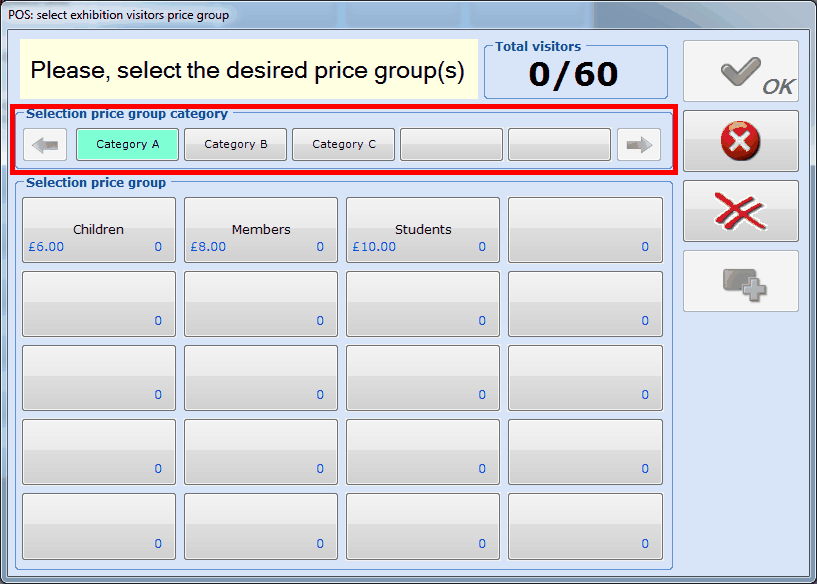 |
After the selection of the price group in question you can enter the number of visitors.
 |
Note
The number of visitors entered is always shown (in the lower right-hand corner of the button) and can, if required, easily be modified by reselecting the price group and re-entering the desired number of visitors.
On the basis of price group
If the setting Use articles to register visit is NOT active and if the price groups are NOT linked to price group categories, you will immediately be able to choose the desired price group.
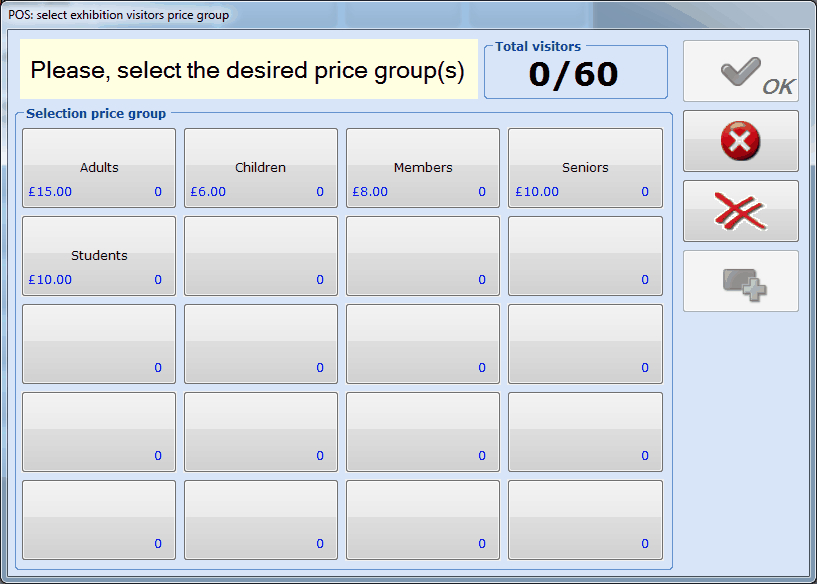 |
After the selection of the price group in question, you will be able to enter the desired number of visitors.
 |
Note
The number of visitors entered is always shown (in the lower right-hand corner of the button) and can, if required, easily be modified by reselecting the price group and re-entering the desired number of visitors.
Additional days
If the customer wants to register for several exhibition days/periods within one sale/booking, you can do so using the button Additional days.
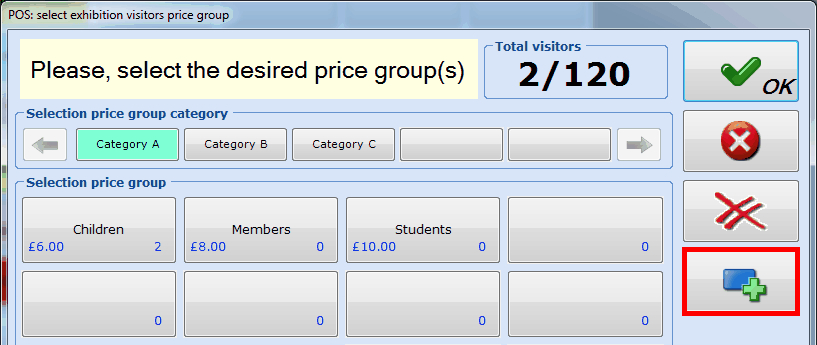 |
Note
The button Additional days isn't visible until you have entered the desired number of visitors per price group/article.
Next, the overview of all future periods of the current exhibition will appear, for example:
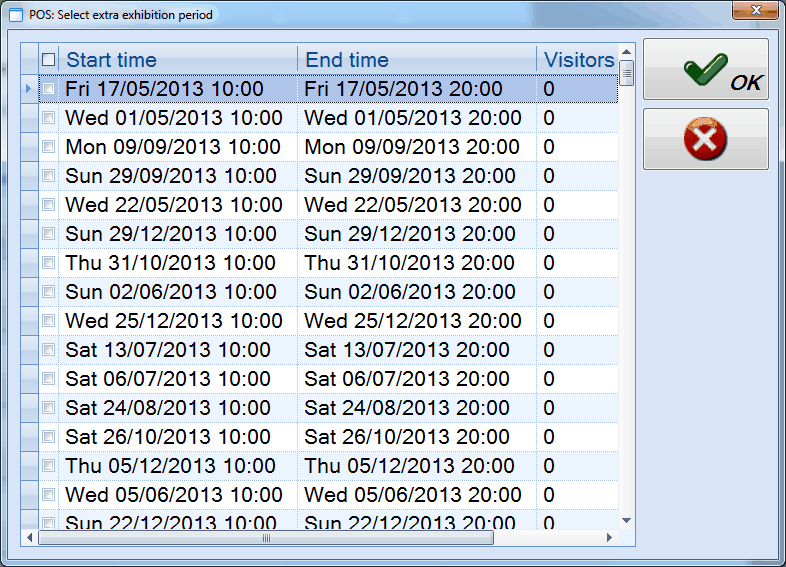 |
Here, you can tick off the desired extra days/periods and confirm by clicking on the button  . These days/periods will then also be added to the sale/booking, on the basis of the price groups/articles previously selected.
Manual input
Using the button Manual input it is possible to sell/book an exhibition visit for a manually created exhibition period. In this case, a unique exhibition visit will in fact be created for a specific customer.
In order to register a manual input, you first have to click on the desired day and time in the exhibitions overview, followed by a click on the button Manual input.
The following window will appear:
 |
The selected date and time are filled in by default (location on which you have clicked in the exhibitions overview). It is, however, possible to change these data.
Note
In case of an exhibition that has been selected with a POS button, it is only possible to create a period for this specific exhibition. If you have used the extra POS function Exhibitions calendar See Select exhibition', however, it will be possible to select the exhibition for which a period has to be created.
After confirmation by clicking on  the window will appear in which you will have to select the desired price groups/articles (see above).
If you consult the exhibitions overview afterwards, a manually created exhibition period will be marked with a stop symbol:

Book/record
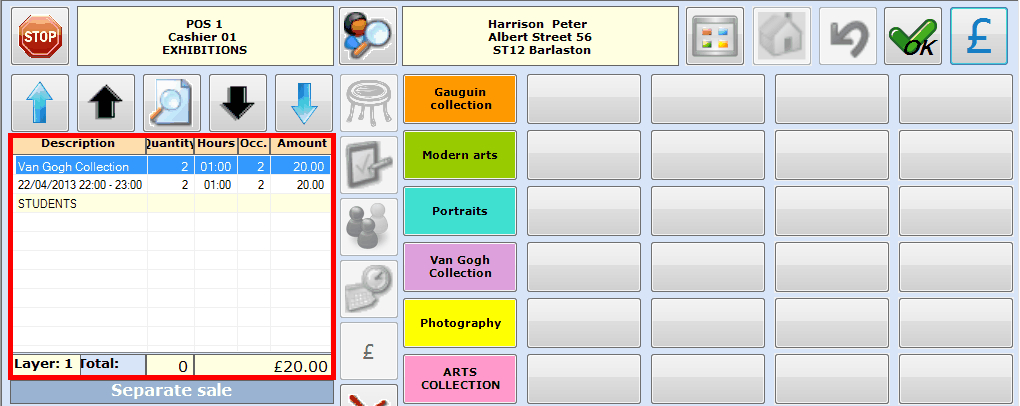
If the number of visitors has been entered on the basis of an article or price group, all data in question will appear in the POS selection screen and the registration can be finalised.
 |
Note
If sales articles are linked to the exhibition, these will also be added to the total amount in the list of chosen articles.
There are two ways to finalise the registration of an exhibition visit:
Sale/record: the exhibition visits in question are immediately recorded and paid using a certain payment method. Also if you decide to pay by means of an invoice, this is considered as a record.In order to register the exhibition visits, you have to click on
 in the selection screen or press <Enter> to continue to the payment screen in which you can settle the sale as you would do in case of a conventional POS sale (select payment method(s) and confirm).
Booking: the exhibition visits in question are booked and paid only later (at the cash register, back office, invoice, ...).
Warning
Booking and not (yet) paying is only possible if this allowed on the point of sale. (see Salesmanual 'GENERAL - Sales')
In order to book the tickets, you don't have to click on  in the selection screen but on
  . The following message will appear:
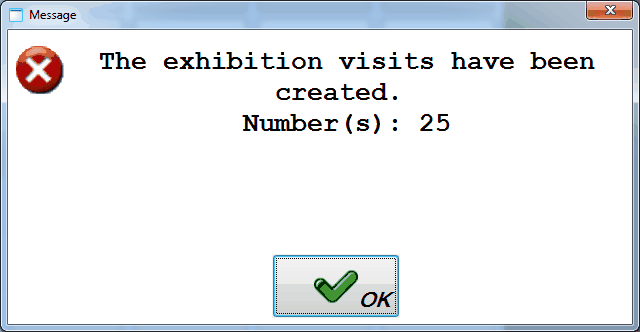 |
The created booking can then later be settled at the cash register or in the module Exhibitions.
Note
Despite the fact that it is not obligatory to record a booking on the name of a customer, it is strongly advised to do so in function of finding back the booking later to record/pay it.
Find and settle exhibition visits
Booked exhibition visits can not only be paid for in the exhibitions module itself but can also be searched and settled at the cash register.
Warning
Finding and settling booked exhibition visits is IMPOSSIBLE with the simplified POS screen.
Note
Settling an exhibition booking is also possible using the extra POS function Find exhibition visit.
In order to pay for booked exhibition tickets at the cash register, you first have to search the customer in the selection screen by clicking on  :
:
 |
Next, you have to click on  or press <Enter> to continue to the payment screen, in which you will be able to see the outstanding exhibitions amount.
 |
Under the tab Exhibitions all outstanding exhibition bookings are listed and you can select the booking(s) you want to settle now by ticking them off:
 |
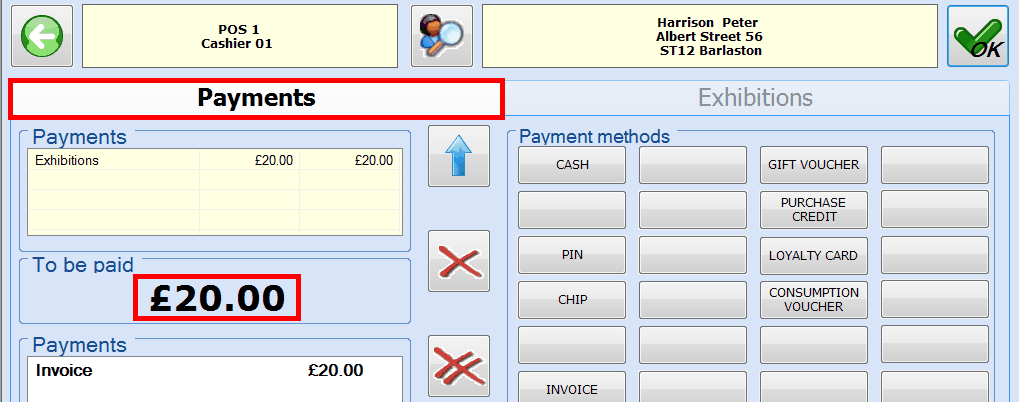
Afterwards, you can reselect the tab Payments and you will notice that the amount in question is put in the section To be paid.
 |
After the selection of the desired payment method(s) you have to click on  or press <Enter> after which the sale will be registered and a receipt printed.
Find exhibition visit (extra POS function)
Using the extra POS function Find exhibition visit it is possible to find exhibition visits previously registered to do one of the following actions:
Settle an exhibition booking partially or entirely
Move an exhibition visit
Close an exhibition visit
Reprint exhibition tickets
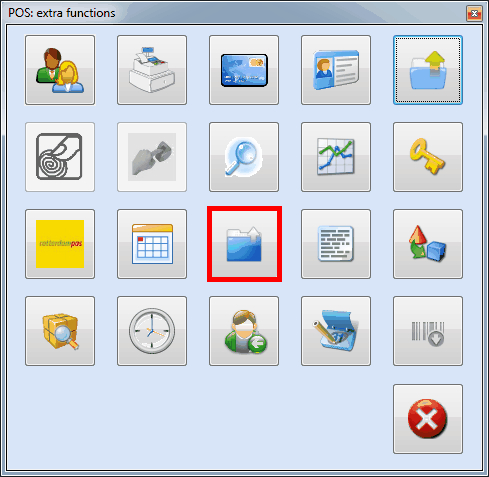
In order to call up exhibition visits at the cash register, you have to click on  in the window of extra POS functions.
 |
The window POS: import exhibition parts will appear.
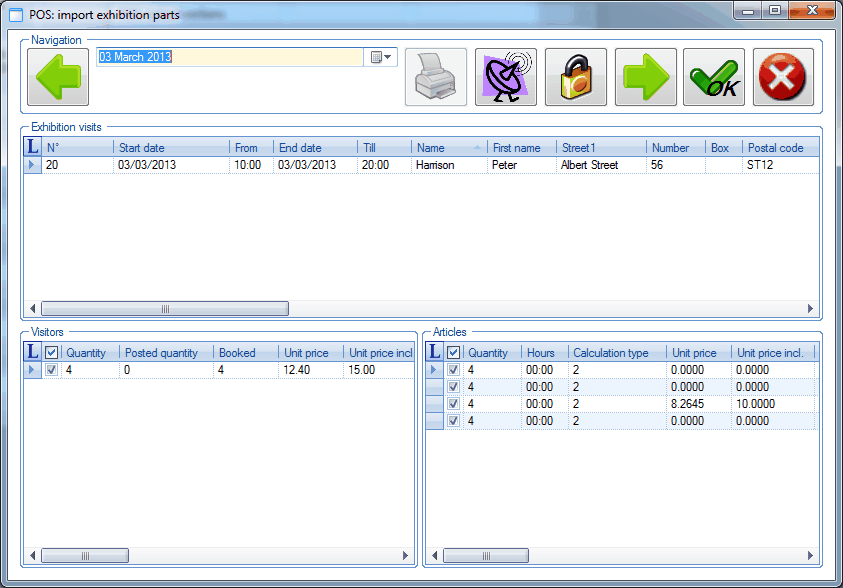 |
In the window POS: import exhibition parts you can select the desired exhibition visits and possibly the articles you want to settle at the cash register. In order to settle the selected visits/articles, you have to click on  , after which the selected visits/articles are added to the list of chosen articles in the selection screen.
Moreover, the following buttons are available:
| Previous day. | |
| Next day. | |
| Reprint exhibition tickets (copy). This button is only active in case of closed (recorded/paid) exhibition visits of which the tickets have previously already been printed. | |
| Move exhibition visit to another exhibition period. | |
| Close exhibition visit. |
Note
For more information on moving and closing exhibition visits, as well as reprinting exhibition tickets, we refer to the manual 'EXHIBITIONS'Exhibitions.


