Points of sale
To set up points of sale in Recreatex, go to Sales admin > Settings > Points of sale.
The current list of points of sale will appear.
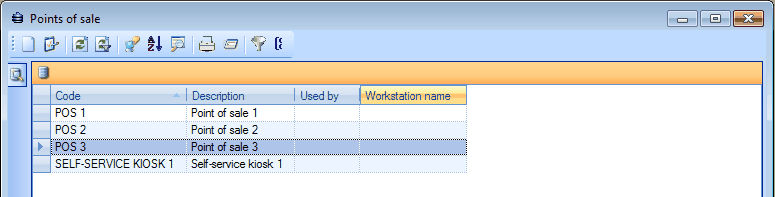 |
You can create, modify or delete points of sale at all times.
(see manual 'FRAMEWORK'Framework)
 |
The settings of a point of sale are subdivided into different tabs:
General
The tab General contains all basic data of the point of sale.
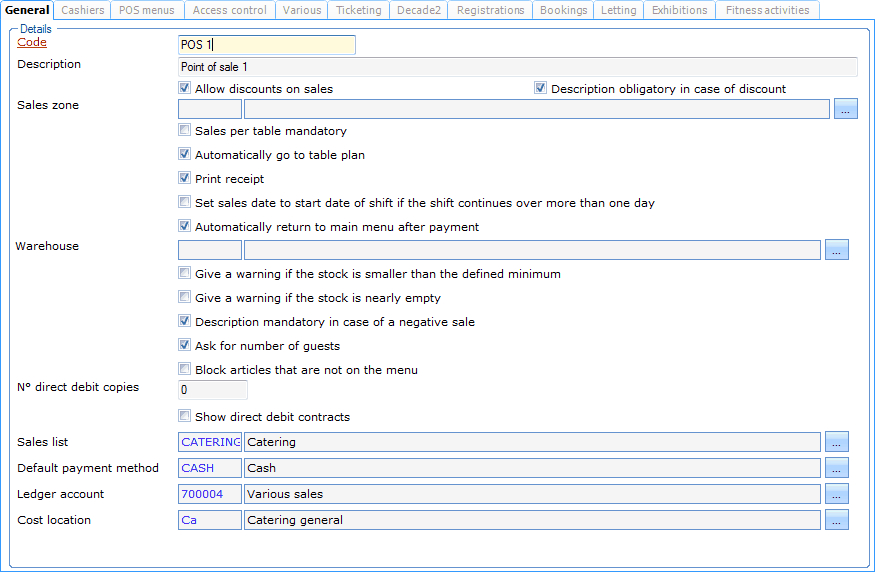 |
Code | The code of the point of sale is mandatory and preferably unique. It is advised to choose a relevant code so that you can immediately derive from the code which point of sale is concerned. |
Description | A description of the point of sale. |
Allow discounts on sales | If this option is ticked off, it is allowed on this point of sale to attribute a discount percentage to a sale in the POS module (see POS - Usemanual 'POS - Use'). It is, however, also required that the current employee is authorized to link discounts (see Employeesmanual 'GENERAL - Employees'). If this option is not active, you will not be able to link a discount percentage to a sale, irrespective of the fact if the current employee is authorized to do so or not. |
Description obligatory in case of discount | If this option is activated, an obligatory description will have to be filled in if a discount is granted to an article at the cash register. In this way you can define that the cashier has to motivate a discount granted at the cash register before the sale can be registered. WarningAn obligatory description is only asked for if a discount is granted per article. An obligatory description will thus not have to be filled in if a global discount is granted (on the entire sale). See also POS - Usemanual 'POS - Use' |
Sales zone | If you want to register sales per table, you can specify the desired sales zone (table plan). Sales zones are mainly used for catering. (see POS - Usemanual 'POS - Use') |
Sales per table mandatory | If you work with a sales zone, this setting allows you to determine if each sale has to be registered per table. If not, it is allowed to also register separate sales in addition to table sales. (see POS - Usemanual 'POS - Use') |
Automatically to to table plan | This parameter allows you to determine that, in case a sales zone (table plan) is used, the system always has to return to the table plan after the sale per table is finished. If you choose not to do so, the cashier can always return to the table plan manually through the POS menu. NoteIf the parameter Sales per table mandatory is active, the parameter Automatically go to table plan will also be ticked off automatically and the system will always automatically return to the table plan after a sale has been finished. |
Print receipt | If this option is ticked off, a receipt will be printed if the sale is finished on the condition that this has also been set up on article level and/or payment method level. If this option is not active, NO receipt will be printed, irrespective of the settings on payment method level and article level. |
Set sales date to start date of shift if the shift continues over more than one day | If a POS shift continues for several days, this parameter allows you to make sure all sales of this shift are registered on the start date of the shift. This may for example be necessary for catering shifts that last until after midnight. In this way, all sales within the shift will be registered on the day the shift started. |
Automatically return to main menu after payment | If this parameter is ticked off, the POS menu will always automatically return to the main menu after settlement of a sale instead of the (sub)menu that was last used. For example: a catering POS layout contains a main menu with the default articles and in addition some submenu buttons that each refer to an underlying article menu (for example beers, wine, ...). The articles that were last chosen on this POS menu are abbey beers that are subdivided under the menu 'Beers' . If this parameter is NOT active, the POS window will automatically return to the 'Beers' submenu after settlement of the sale. If this parameter is active, the POS window will return to the main menu with the default articles. |
Warehouse | If you want to keep the current stock up-to-date during sales, you can fill in the warehouse of which you want to continually modify the stock. (see Purchase and Stockmanuals 'PURCHASE' and 'STOCK') |
Give a warning if the stock is smaller than the defined minimum | If you decided to keep the current stock up-to-date, it is possible to ask for a message during sales if the current stock is getting smaller than the defined minimum stock. |
Give a warning if the stock is nearly empty | If you decided to keep the current stock up-to-date, it is possible to ask for a message during sales if the current stock is nearly empty. |
Description mandatory in case of a negative sale | If an article is hit negatively, this parameter allows you to make sure the cashier always has to fill in an extra description that can contain a reason and/or extra information. |
Ask for number of guests | If ticked off and dependent on the article (see Articlesmanual 'GENERAL - Articles') the number of guests will be asked for after registration of the payment (purely informative). |
Block articles that are not on the menu | This parameter allows you to avoid that articles that are no longer available on the POS and can thus no longer be sold, can still be renewed. For example: if you scan a membership and if the POS gives you the possibility to renew the membership, this will only be allowed if the membership article is also effectively available on the current POS menu as a sales article. |
N° direct debit copies | The number of direct debit contracts you want to print automatically after recording a direct debit article. (module Direct debit required) |
Show direct debit contracts | If ticked off and if a direct debit article is sold, the direct debit contract will immediately be visualised so that you can consult and if required modify it. (module Direct debit required) |
Sales list | The sales list you link to this point of sale determines the content of the article list that can be consulted under POS: Extra functions > Find article (see POS - Usemanual 'POS - Use') If no sales list is linked here, the article list shown under Find article will only contain the articles of the current POS menu. |
Default payment method | This is the payment method that will be suggested by default in case of sales. If, however, a default payment method has also been defined for the sales customer and if this payment method is different from the default payment method defined on point of sale level, the payment method of the sales customer will be suggested. |
Ledger account | The ledger account number on which all financial transactions of the chosen point of sale are recorded. (see Managementmanual 'GENERAL - Management') |
Cost location | This is the cost location on which the sales of the current point of sale have to be recorded by the accountancy department. |
Cashiers
Warning
Choosing cashiers is only required if you have the POS module.
Under the tab Cashiers you can define which employees may work on the chosen point of sale. The employees you indicate here are in fact those you will be able to select as cashiers when starting up a POS shift. (see POS - Usemanual 'POS - Use')
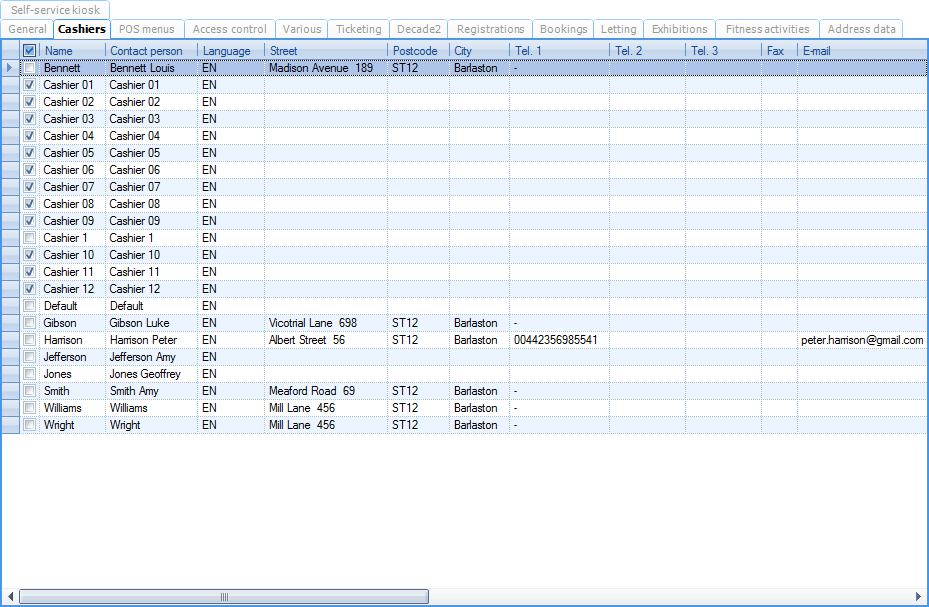 |
You can create, modify or delete cashiers at all times.
(see manual 'FRAMEWORK'Framework and General - Employees')
POS menus
Warning
Selecting POS menus is only necessary if you have the POS module.
Per point of sale you can define which POS menus have to be available. The POS menus you indicate here, are in fact those that can be selected when starting up a POS shift. (see POS - Usemanual 'POS - Use')
The start-up window of the POS module can visualise up to 7 POS menus.
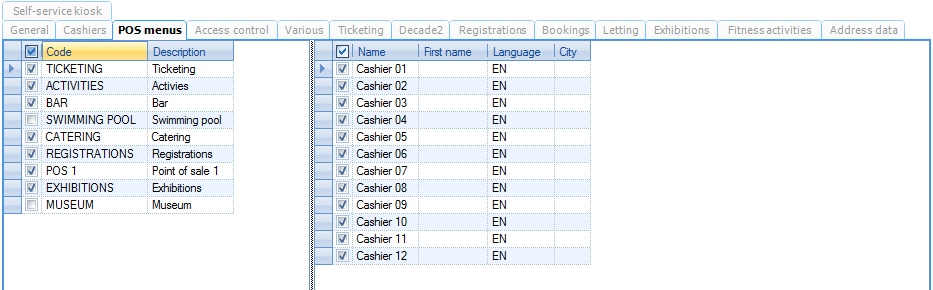 |
In the left part of the window you can select the POS menus that can be used on the current point of sale. Afterwards, you can link employees per selected POS menu (ticked off in the left part) in the right part. In this way you can define which employees can work with which POS menus. These employees and POS menus are visualised in the start-up screen of the POS.
Access control
Warning
The settings under the tab Access control only apply if one works with access control. (see manual 'Access control')
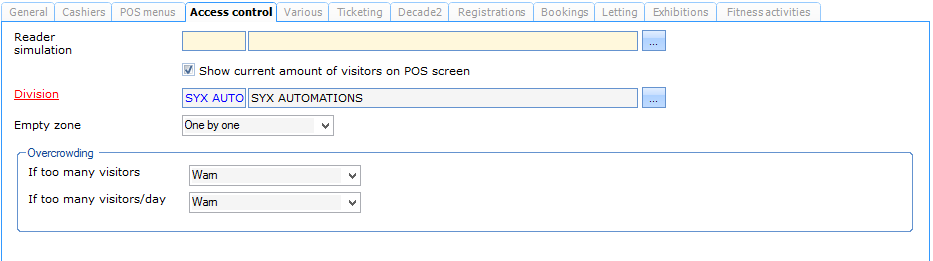 |
Reader simulation | Setting up reader simulation assures that, if a card/badge is scanned at the POS, the same controls are executed as those that would be executed if that card/badge was scanned at the given access reader. If no reader simulation is set up, it is a lot harder for the cashier(s) since validity period, time, ... are not checked at the counter, possibly leading to confusion and requiring the cashier's full attention. |
Show current amount of visitors on POS screen | Normally, the current amount of visitors (within the access control) is always shown on the POS screen (see POS - Usemanual 'POS - Use'). If you, however, work without access control, the visualisation of the current number of visitors is not relevant and deactivating this visualisation will lead to a faster functioning of the POS. |
Warning
Only if reader simulation is set up, the Current visitors will be shown in the POS window next to All visitors.
Division | If no division has been linked to a sales article (see Articlesmanual 'GENERAL - Articles') all revenues of the sales articles will be attributed to the division mentioned here. Specifying a division per article and/or per point of sale is important in function of reports, statistics and accountancy. |
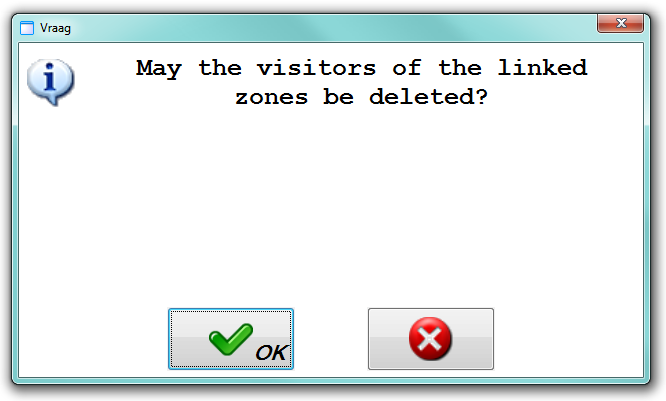
Empty zone | If you are the first cashier to log in in the chosen point of sale and if it seems that (according to the system) there are still visitors in the access zone(s) of the selected reader (reader simulation) the message below will appear:
If you set the parameter Empty zone to One by one the system will ask you for each zone if the visitors can be deleted. If you choose for All, the system will ask you only once to delete the visitors from all zones. | |
Overcrowding | If zone control is used, you can indicate here which action has to be executed in case of overcrowding.
|
Various
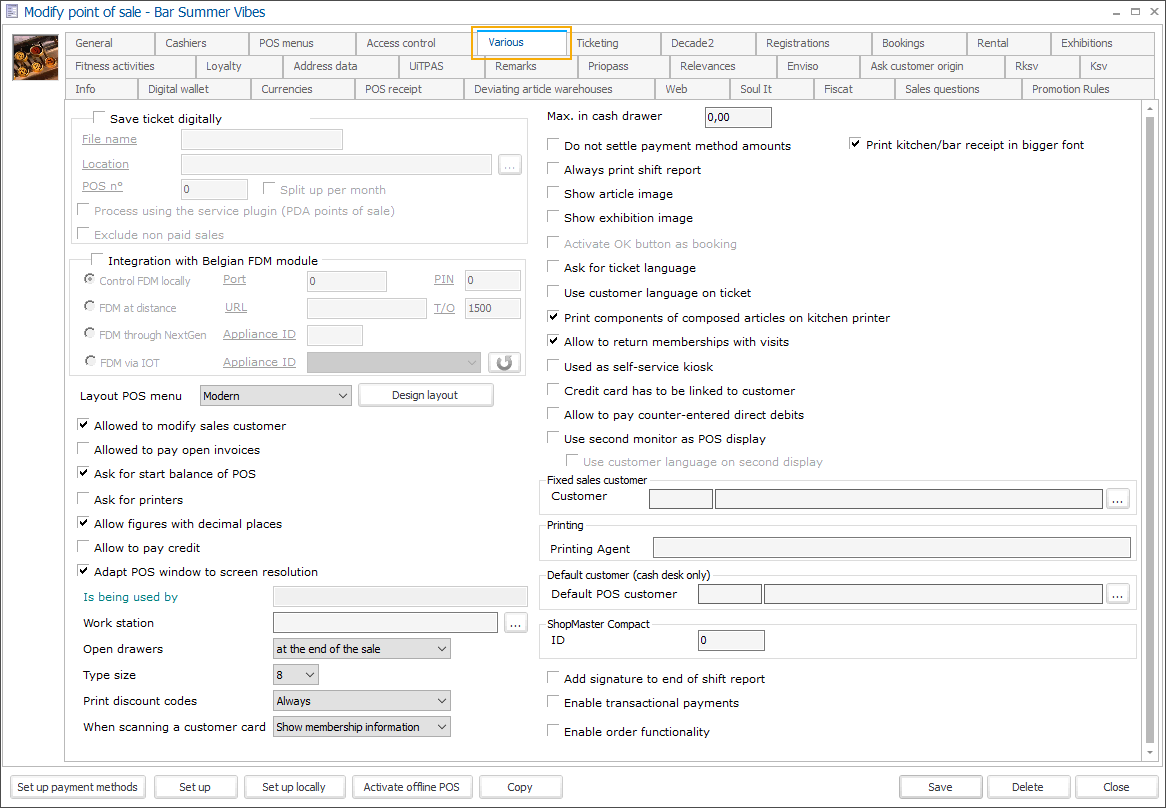
Save ticket digitally | This parameter allows you to indicate if all sales of the chosen point of sale have to be saved in a digital file or not. If you tick off this setting, you can define further details:
The option Process using the service plugin (PDA points of sale) allows you to determine that the digital receipts have to be automatically created/exported periodically using a specific SyDelSoft Service Plug-in. | ||||||
Fixed sales customer | If you select a sales customer here, all POS sales registered at the current point of sale will be registered to this specific customer. If you work with a fixed sales customer, you will not be able to click on the button Search customer (see manual 'POS - Use') and you will thus not be able to choose another customer during the POS sales. | ||||||
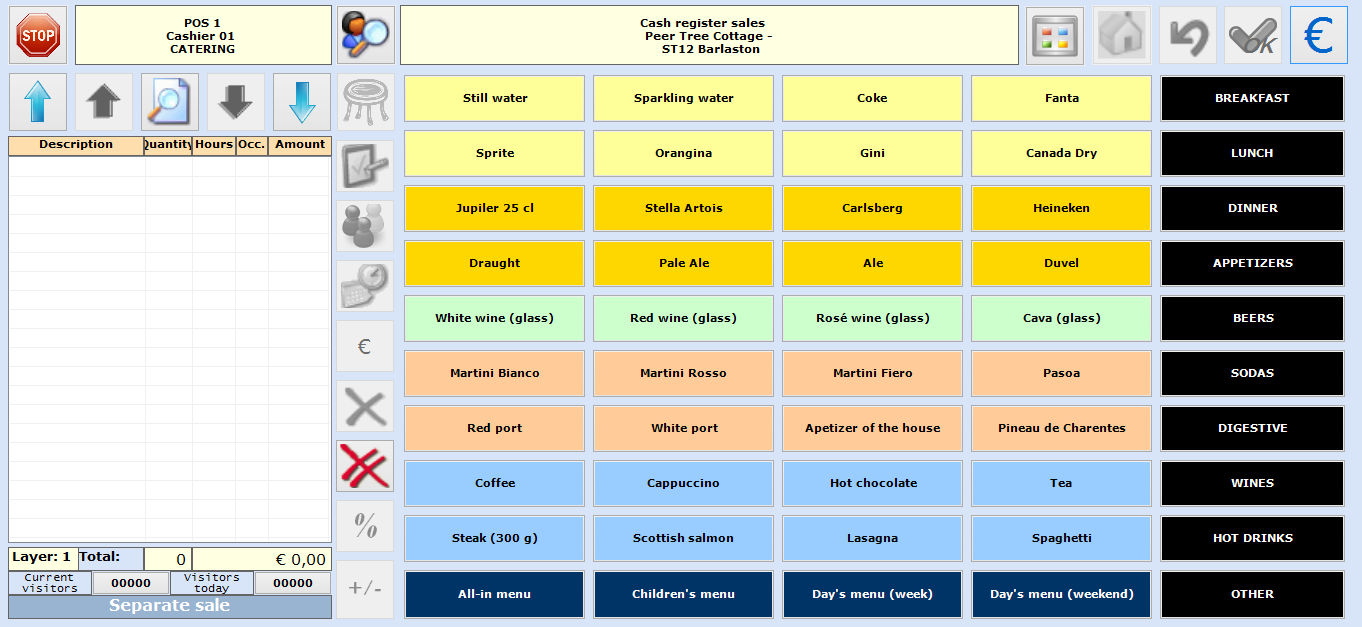
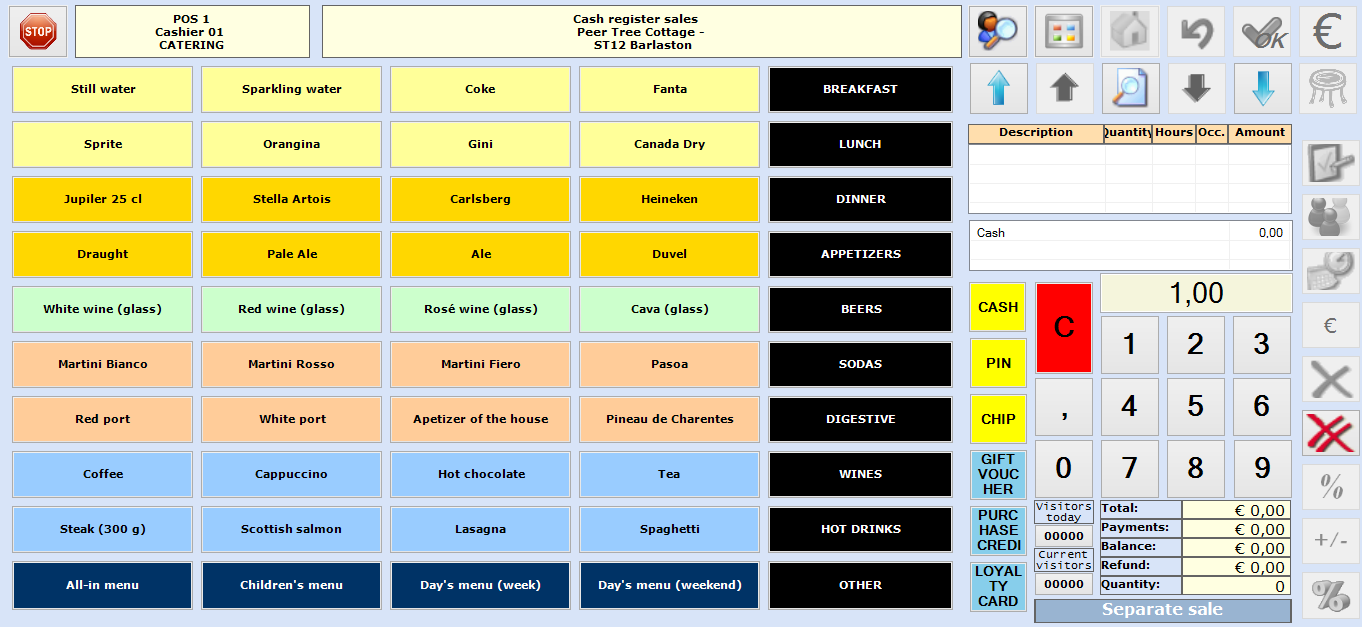
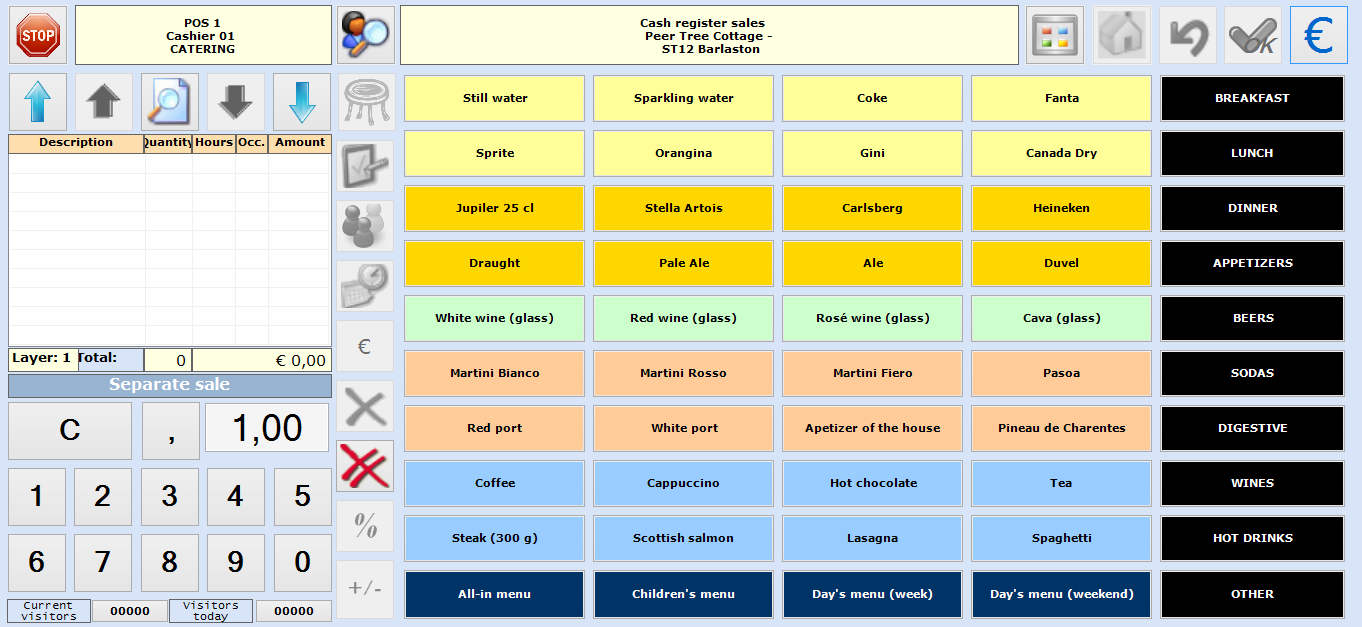
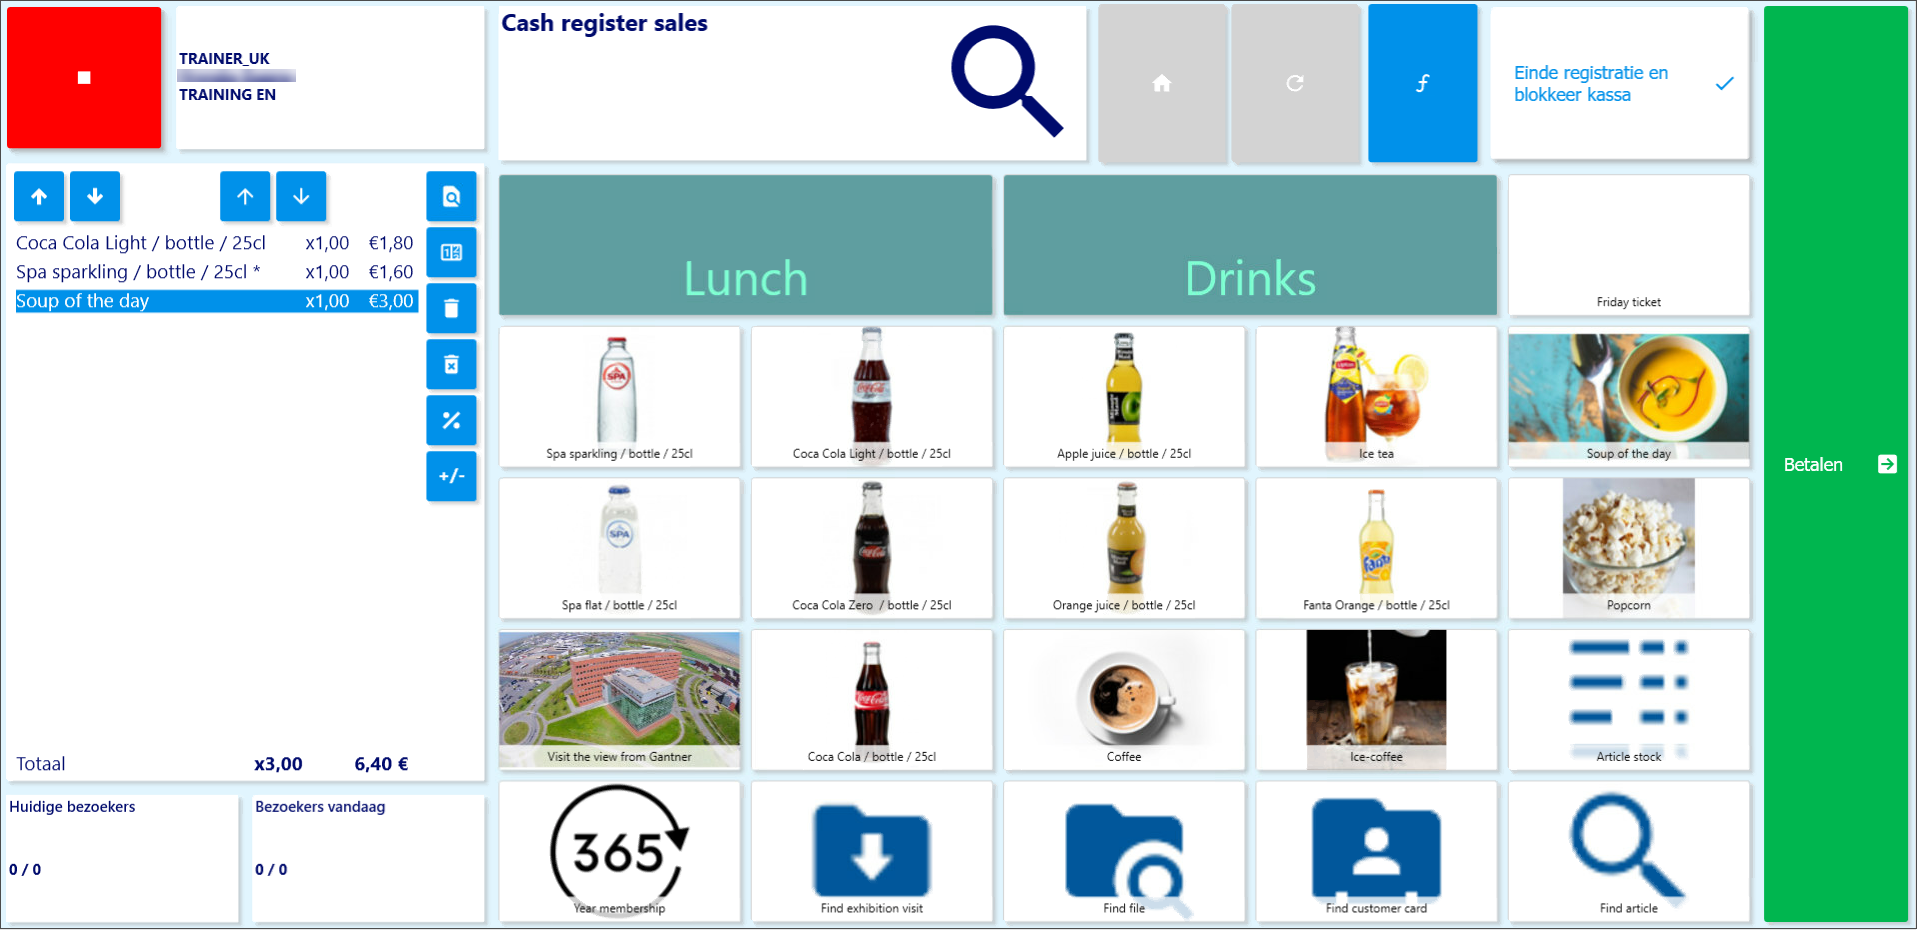
Layout POS menu | These are the currently available layout options for the POS screen:
| ||||||
Max. in cash drawer | If you fill in an amount here, the system will check after each registration of a sale if this maximum amount has been reached or not. If the defined maximum amount has been reached, a message will appear. If you do not want to define a restriction for the maximum amount in the POS, make sure this value is set to 0,00. | ||||||
Allowed to modify sales customer | This parameter allows you to determine if the cashiers may modify the data of the Default POS customer (set up in the parameters of the POS module - POS - Management manual 'POS - Use'). | ||||||
Allowed to pay open invoices | With this parameter, you can allow the cashiers to settle outstanding invoices of sales customers or not. (see manual 'POS - Use') | ||||||
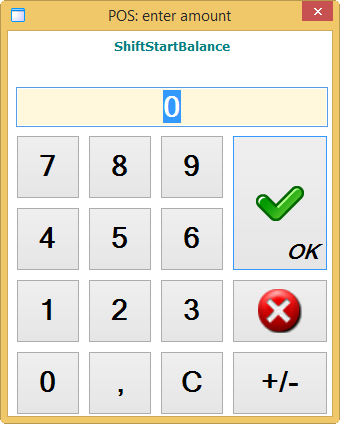
Ask for start balance of POS | If you tick off this parameter, the cashiers will have to fill in the amount of money that is in the cash drawer when starting up a new POS shift.
| ||||||
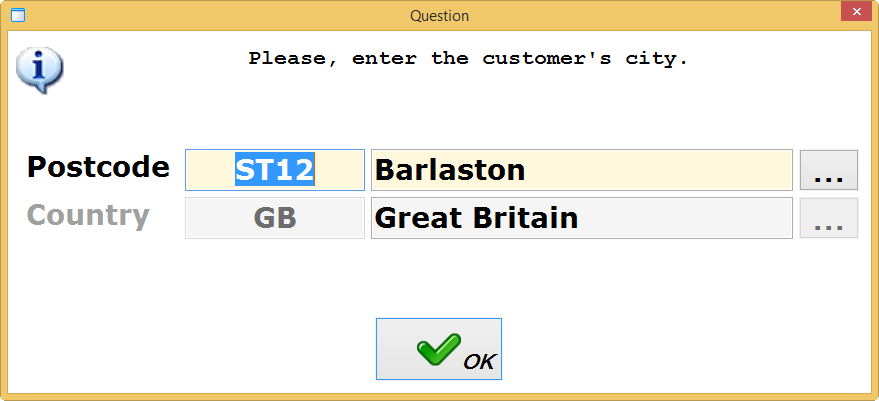
Ask for city of customer | This parameter makes sure that the postcode of the customer is asked for at each sale
The report Sales per postcode gives an overview of all sales per given postcode. NoteIf you make a sale to an existing customer to whom a postcode has been linked on the customer card, this postcode will automatically be suggested when asking for the postcode at the POS. It is, however, always possible to change it. | ||||||
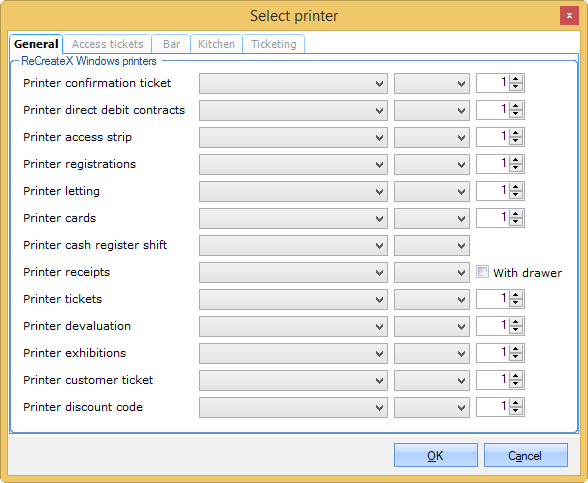
Ask for printers | If this parameter is ticked off and if Recreatex is started up (and if applicable: after selection of the division) the system will ask you which printers have to be activated.
| ||||||
Allow figures with decimal places | With this parameter, you can allow to enter figures with decimal places when filling in the number of units to be sold. This parameter does not influence the possibility of entering figures with decimal places for amounts to be paid. | ||||||
Do not settle payment method amounts | If NOT ticked off and if different payment methods are chosen, the system will always take into account the total amount to be paid. In other words, if a second payment method is selected with an amount higher than the outstanding balance, the amount of the first payment method will automatically be changed. If ticked off, the system does not take into account the total amount to be paid and the amounts entered by the cashiers are used. WarningThe same parameter also has to be set up per payment method (see manual 'GENERAL - Management'). If you want to use the settlement of amounts, you have to make sure the payment methods in question are correctly set up. The setting on point of sale level is general, which means that if you tick off this parameter on point of sale level (and thus not allow settlements), the amounts at the POS will never be settled, irrespective of the setting on payment method level. | ||||||
Always print shift report | With this parameter you can determine if the shift report has to be printed automatically or not after filling in the amounts counted. (see manual 'POS - Use') | ||||||
Show article image | By ticking off this parameter, it is possible to visualise the image linked to an article on a sales button on the POS screen. (see manual 'GENERAL - Articles') | ||||||
Activate OK button as booking | If this parameter is ticked off, the OK button in the POS module is made available, allowing to make sales that do not have to be paid (immediately). In this way it is possible to book (fix) a facility booking, ticketing event, registration, exhibition or rental at the POS that will be paid by the customer at a later point in time. (see manual 'POS - Use') WarningThis setting is not available if a sales zone (table plan) is linked to the current point of sale. | ||||||
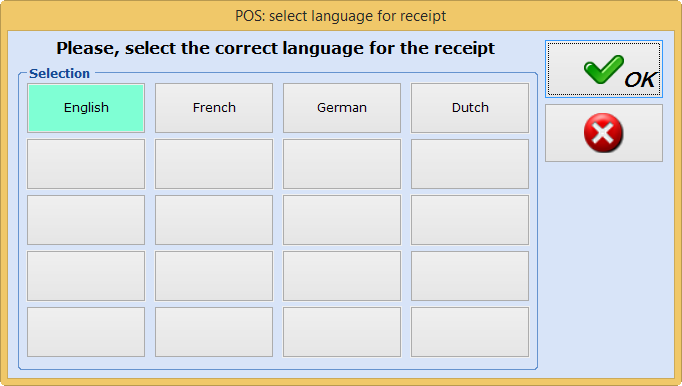
Ask for ticket language | With this parameter you can determine if the language in which the receipt will be printed has to be asked for during a POS sale.
| ||||||
Print components of composed articles on kitchen printer | If this parameter is ticked off and if composed articles are sold, the components of these articles will be printed as well on the chosen kitchen printer (catering). | ||||||
Allow to return memberships with visits | If you deactivate this parameter (active by default), it will not be possible to cancel a membership of which the only session has been devalued (for example a day ticket) at the POS. | ||||||
Print kitchen/bar receipt in bigger font |
Finally, the tab Various also contains the fields Is being used by and Work station. These settings relate to the concept of Point of sale locking (internal controls that make sure points of sale are not being used by several users at the same time) and are described in the separate manual Point of sale locking.
Ticketing
Warning
Setting up the ticketing parameters on point of sale level is only necessary if you have the Ticketing module.
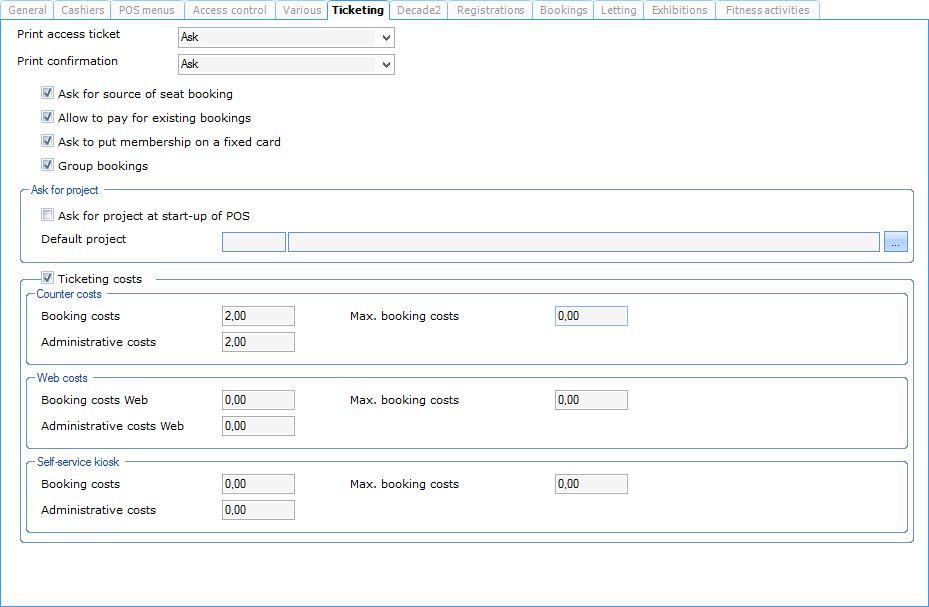 |
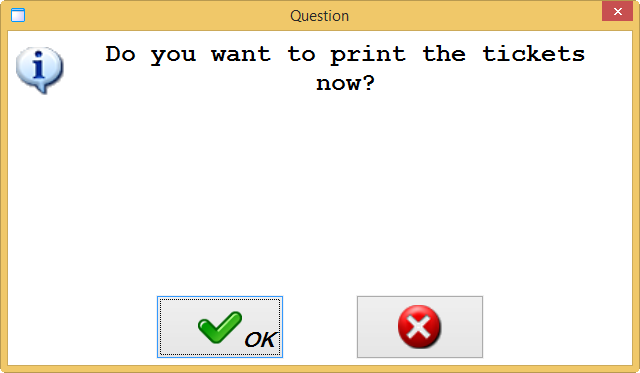
Print access ticket | This parameter allows you to determine if access tickets have to be printed or not when tickets/seats are sold at the POS. You will be able to choose between Always, Ask and Never.
If you choose Ask, the message below will appear after payment:
| ||
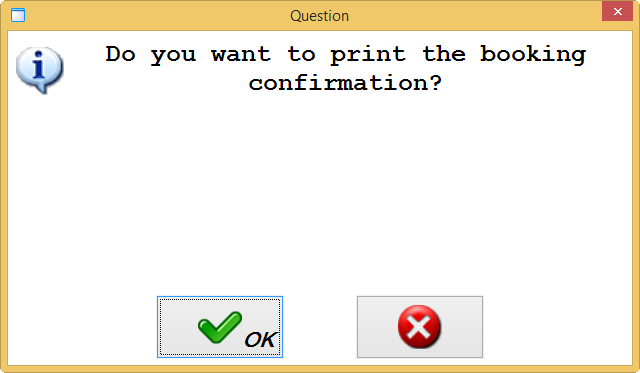
Print confirmation | This parameter allows you to determine if a booking certificate has to be printed or not when tickets/seats are sold at the POS. You will be able to choose between Always, Ask and Never.
If you choose Ask, the message below will appear after payment:
|

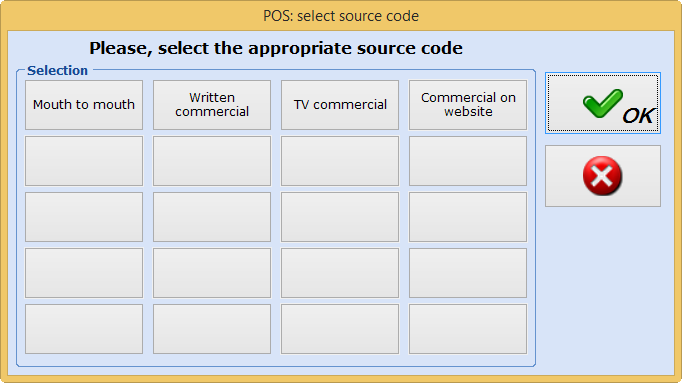
Ask for source of seat booking | With this parameter you can determine if the source of the ticketing booking has to be asked for during sales. The source of the booking will, however, only be asked for if this parameter is also ticked of for the event in question. (see Ticketing - Managementmanual 'TICKETING - Management'). In this case, the message below will appear if event tickets are sold:
| |
Allow to pay for existing bookings | With this parameter you can determine if it is allowed on the current point of sale to pay outstanding amounts of ticketing bookings (of the selected customer) in the payment window of the POS. See also POS - Usemanual 'POS - Use'. | |
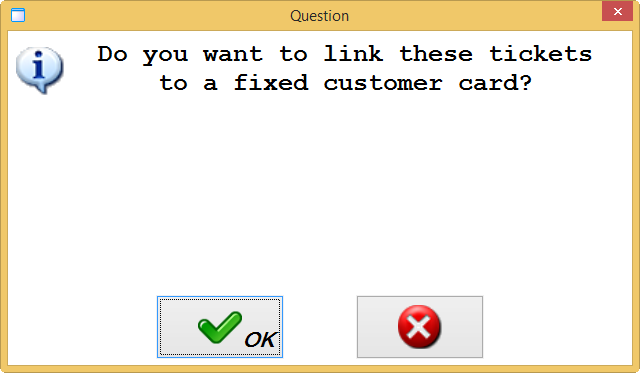
Ask to put membership on a fixed card | If the location in which the event is organised has access control (module Access control required), you will first have to link a membership article for access control on the level of the event in question (see Ticketing - Usemanual 'TICKETING - Management'). With the parameter Ask to put membership on a fixed card you can determine if the system has to ask to link the tickets to the access article (card) when event tickets are sold. After payment the system will ask you to scan the card(s), by means of which access will be granted to the event.
| |
Group bookings | If this parameter is ticked off and if a certain customer books tickets for different events during one POS sale, the different bookings will be recorded as one booking (grouped). If NOT ticked off, the different bookings will be recorded separately. |
Ask for project at start-up of POS | By ticking off this parameter you determine that all article sales within a certain POS shift have to be recorded on a specific ticketing project(see POS - Managementmanual 'TICKETING - Management'). If you also fill in a Default project, all article sales on this point of sale will automatically be recorded on that project. If this parameter is ticked off but no default project has been chosen, you will be able to choose the project at start-up of the POS:
WarningRecording sales on a specific project is possible for articles (for example drinks) but not for event tickets. Sold event tickets are in fact recorded on the project that is linked to the event in question. | |
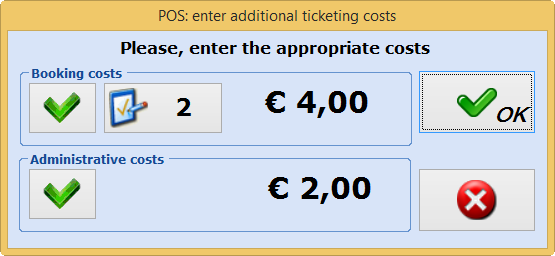
Ticketing costs | In the parameters of the Ticketing module additional booking and administrative costs can be defined that can be charged when selling event tickets. (see POS - Use and Ticketing - Managementmanuals 'TICKETING - Management' and 'POS - Use')
With the Ticketing cost settings on point of sale level, it is possible to define divergent ticketing costs for this point of sale. |

Decade 2
Warning
Setting up the article department for export to Decade2 is only necessary if you have the module Financial export.
 |
In this tab you can choose the article department that applies for export to Decade2.
For more information we refer to the manual 'Financial export' (available on demand).
Registrations
Warning
Setting up the registration parameters on point of sale level is only necessary if you have the Registrations module.
 |
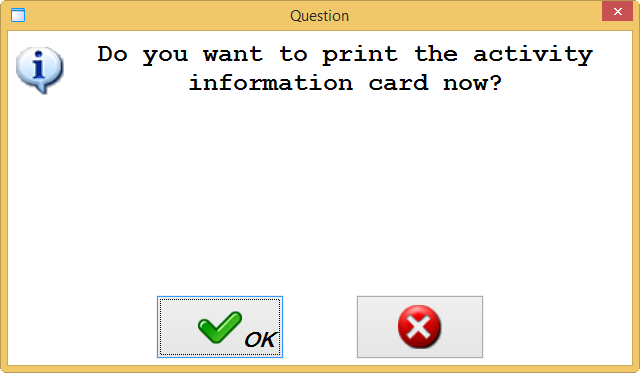
Print information card | With this parameter you can make sure that the information card of a registration activity is printed. You will be able to choose between Always, Ask and Never.
If you choose for Ask, the message below will appear after payment:
WarningThis message will only appear if the setting Print information card in case of POS sale is also ticked off for the activity in question. (see Registrations - Managementmanual 'REGISTRATIONS - Management') | |||
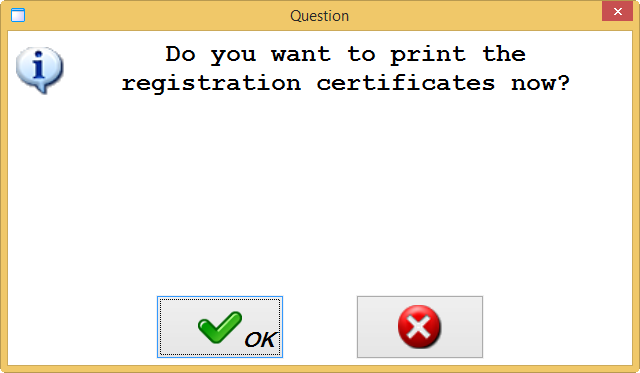
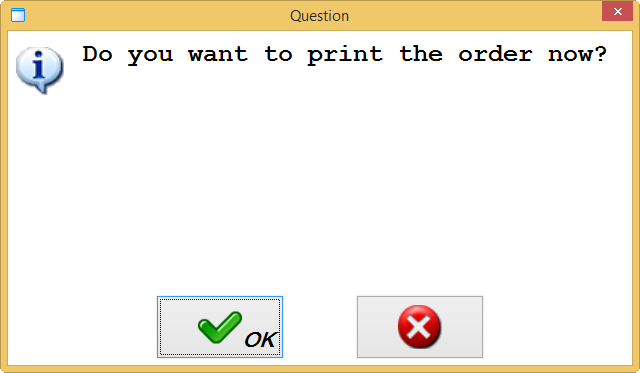
Print registration certificate | With this parameter you can make sure that the registration certificate of a registration is printed. If you choose for Ask, the message below will appear after payment:
|

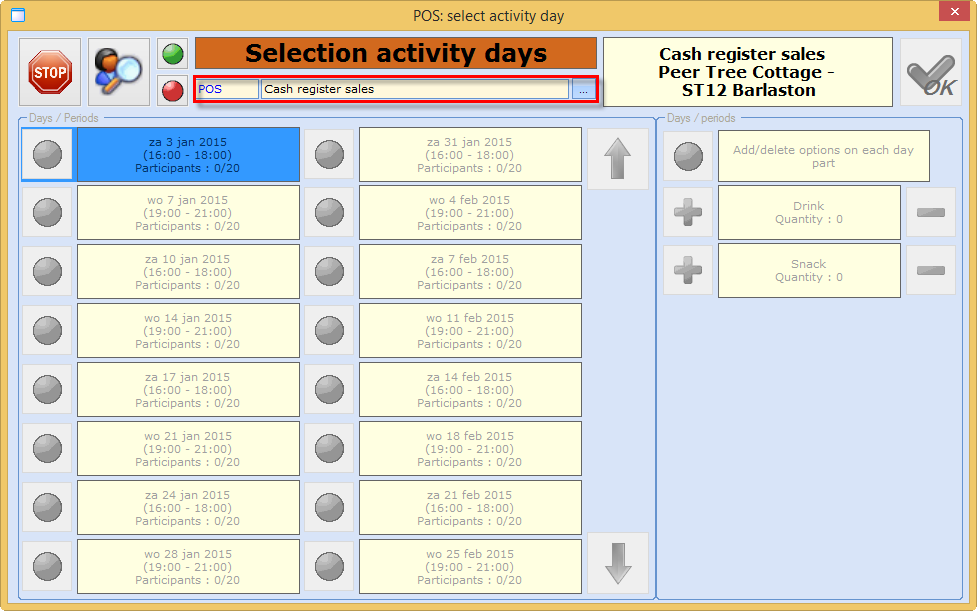
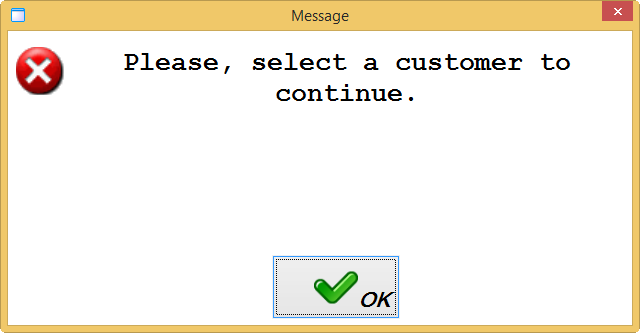
Customer mandatory | With this parameter you can determine if specifying the sales customer is mandatory or not when making a registration in the window 'POS: Select activity day' (see POS - Usemanual 'POS - Use')). If ticked off, you will not be able to select one or several activity days without selecting a sales customer first.
| |
Allow to pay for existing bookings | With this parameter you can determine if it is allowed on the current point of sale to pay outstanding amounts of registrations (of the selected customer) in the payment window of the POS. See also POS - Usemanual 'POS - Use'. |
Bookings
Warning
Setting up the booking parameters on point of sale level is only necessary if you have the Facility bookings module.
 |
Customer mandatory | With this parameter you can determine if the customer has to be specified when making a facility booking using the POS module (see POS - Usemanual 'POS - Use'). If you tick off this option, the message below will appear after choosing a booking location:
NoteIf you have already modified the sales customer before choosing the facility booking on the POS, the message above will not appear. | |
Allow to pay for existing bookings | This parameter allows you to determine if it is allowed on the current point of sale to pay outstanding amounts of facility bookings (of the selected customer) in the payment window of the POS. See also POS - Usemanual 'POS - Use'. |
Rental
Warning
Setting up the letting parameters on point of sale level is only necessary if you have the Rental module.
 |
Print confirmation | With this parameter you can determine if a booking certificate has to be printed in case of a rental at the POS.
If you choose for Ask, the message below will appear after payment:
| ||
Customer mandatory | With this parameter you can determine if the customer has to be specified when creating a rental using the POS module (see POS - Usemanual 'POS - Use'). If you tick off this option, the message below will appear after choosing a rental article:
NoteIf you have already modified the sales customer before choosing the rental article at the POS, the message above will not appear. | ||
Warehouse | The location of the letting material for this point of sale. | ||
Ask for collection/return time | With this parameter you can define that the time of collection and return has to be specified when registering a rental order at the POS. See also POS - Usemanual 'POS - Use'. | ||
Allow to pay for existing letting orders | With this parameter you can determine if it is allowed on the current point of sale to pay outstanding amounts of rental orders (of the selected customer) in the payment window of the POS. See also POS - Usemanual 'POS - Use'. |
Exhibitions
Warning
Setting up the exhibition parameters on point of sale level is only necessary if you have the Exhibitions module.
 |
Customer mandatory | With this parameter you can determine if the customer has to be specified when registering an exhibition visit using the POS module (see POS - Usemanual 'POS - Use'). If you tick off this option, the message below will appear after choosing the exhibition:
NoteIf you have already modified the sales customer before choosing the exhibition at the POS, the message above will not appear. | |
Allow to pay for existing bookings | With this parameter you can determine if it is allowed on the current point of sale to pay outstanding amounts of exhibition visits (of the selected customer) in the payment window of the POS. See also POS - Usemanual 'POS - Use'. |
Fitness activities
Warning
Setting up the fitness parameters on point of sale level is only necessary if you have the Fitness module.
 |
Customer mandatory | With this parameter you can determine if the customer has to be specified when booking a fitness activity using the POS module (see POS - Usemanual 'POS - Use'). If you tick off this option, the message below will appear after choosing the fitness activity:
NoteIf you have already modified the sales customer before choosing the fitness activity on the POS, the message above will not appear. | |
Allow to pay for existing bookings | With this parameter you can determine if it is allowed on the current point of sale to pay outstanding amounts of fitness bookings (of the selected customer) in the payment window of the POS. See also POS - Usemanual 'POS - Use'. |
Digital wallet
You can specify how digital wallets should be handled per point of sale, by applying the following settings:
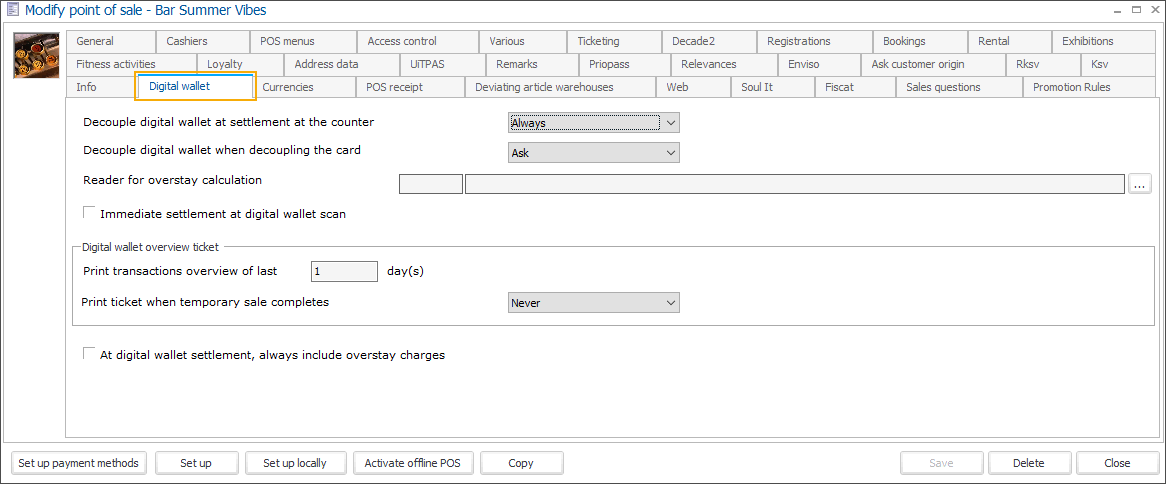
Decouple digital wallet at settlement at the counter
Decouple digital wallet when decoupling the card
Reader for overstay calculation
Immediate settlement at digital wallet scan
Section Digital wallet overview ticket
Print transactions overview of last ...x day(s)
Specify the number of days to include in the printed overview when printing digital wallet transactions at the POS (cash register). The default value is 1 day which is always the current day.
Print ticket when temporary sale completes
At digital wallet settlement, always include overstay charges
POS receipt
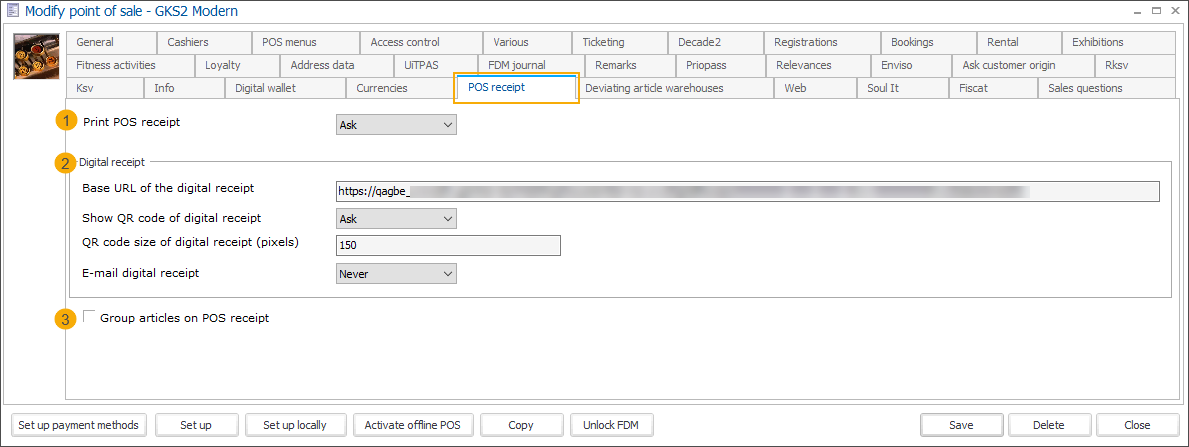
Print POS receipt (1) setting supports 3 possible printing scenarios for your POS receipts.
Never: The POS receipt is not printed
Ask: The cashier will be presented with a Yes/No question pop-up and can decide whether to print the receipt in accordance with the customer's preference.
Always: The POS receipt is automatically printed
Web
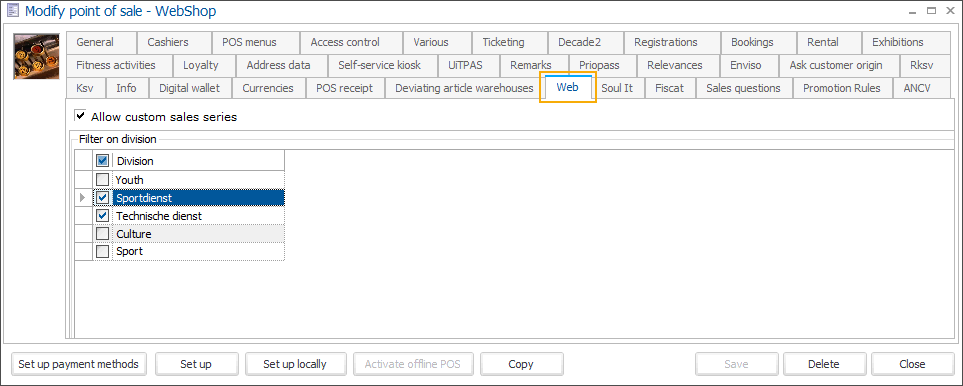
Allow custom sales series
This setting controls whether multiple sales made within the same session can be grouped under the same sales series.
When the setting is activated, it is possible to group multiple sales under the same sales series ID within one session. This is particularly useful in the context of the mPOS mobile app.
When the setting is deactivated, each sale within one session will have a separate sales series ID generated to ensure the sales of multiple (anonymous) customers are not grouped under the same sales series ID when completed within the same session on the Webshop.
Default value: Activated
Filter per division
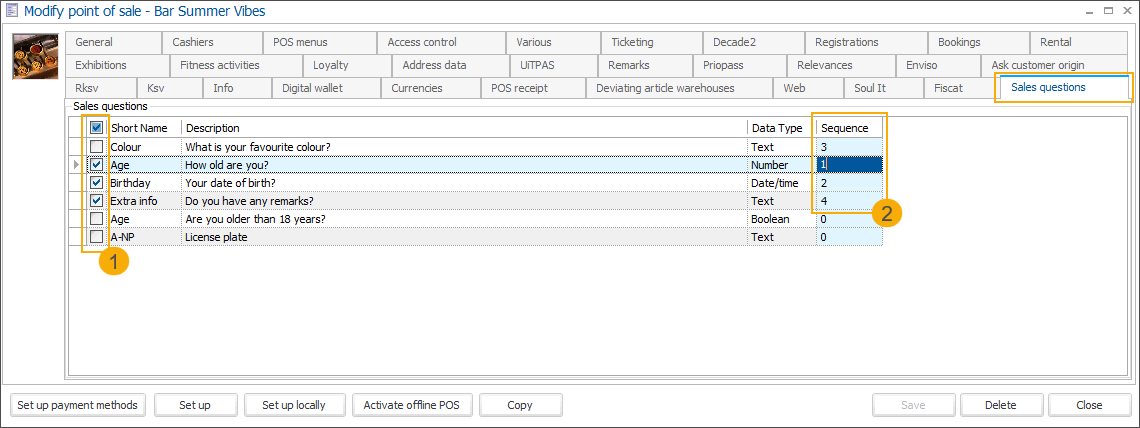
Sales questions
Under the tab Sales questions, you activate the sales questions per point of sale. The questions are then presented to the customer (webshop) or the cashier (POS) during the payment flow.
Note
The functionality is currently available for the Recreatex Webshop and the cash register (all available layouts).
Go to Sales admin > Settings > Points of sale and open the point of sale associated with your Webshop or cash register.
Under the tab Sales questions, select all questions that you want to activate for this specific point of sale (1) and specify the order in which the questions should be asked (2).
You can consult the responses in Recreatex under Sales > Visualisation > Sales.
Search for a sale record and click on it for details. In the resulting window, you will be able to consult the answers in the tab Sales questions.
See the complete procedure here: Ask custom sales questions at the checkout
Set up point of sale
Warning
If one uses point of sale locking, the link between user/work station/point of sale is done in a specific way and not as described below. See manual 'Point of sale locking' (available on demand).
In order to be able to register sales in no matter what module, it is required to set up a point of sale.
Dependent on the way in which you, as a customer, use Recreatex, you have to set up the point of sale by clicking on Set up or Set up locally.
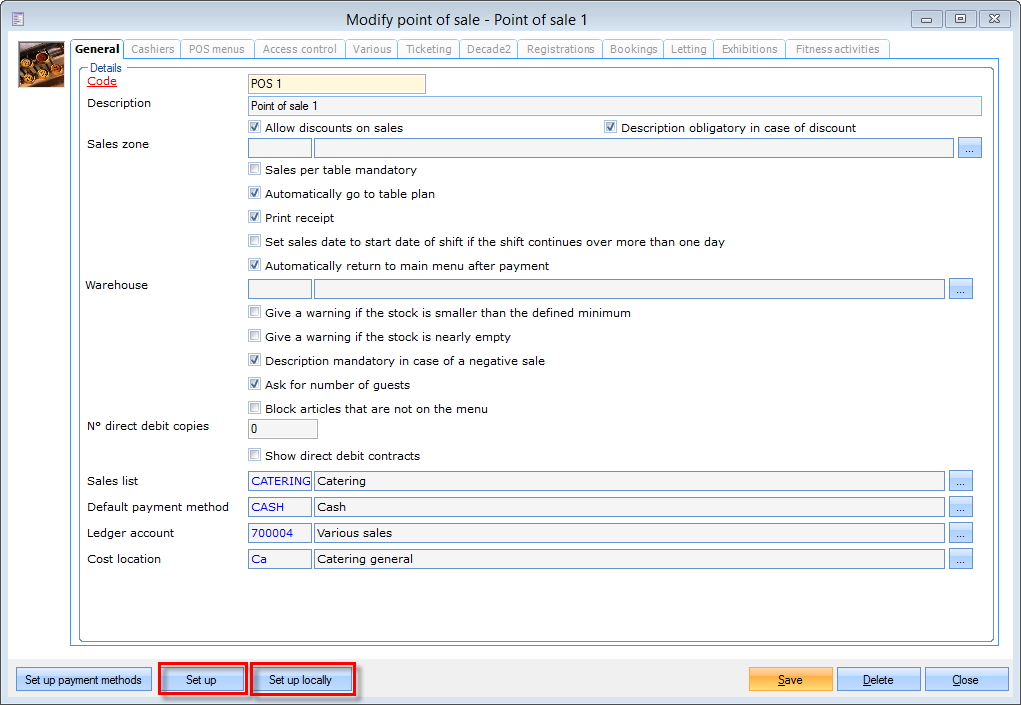 |
If you want to set up the current point of sale for the current PC, you have to click on Set up. The message below will appear:
 |
As of now, the point of sale settings apply specifically to the current PC.
If you want to set up the current point of sale for the current Windows user, you have to click on Set up locally. The message below will appear:
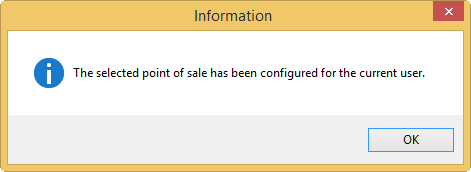 |
As of now, the point of sale settings apply to the current Windows user.
Warning
Once you have clicked on Set up locally, the system does NOT take into account Set up of a point of sale anymore, as of this moment you will always have to click on Set up locally.
Set up payment methods
Warning
Linking payment methods to a point of sale is only necessary if you have the POS module.
By clicking on the button Set up payment methods you can determine which payment methods are available in the POS module in order to settle sales.
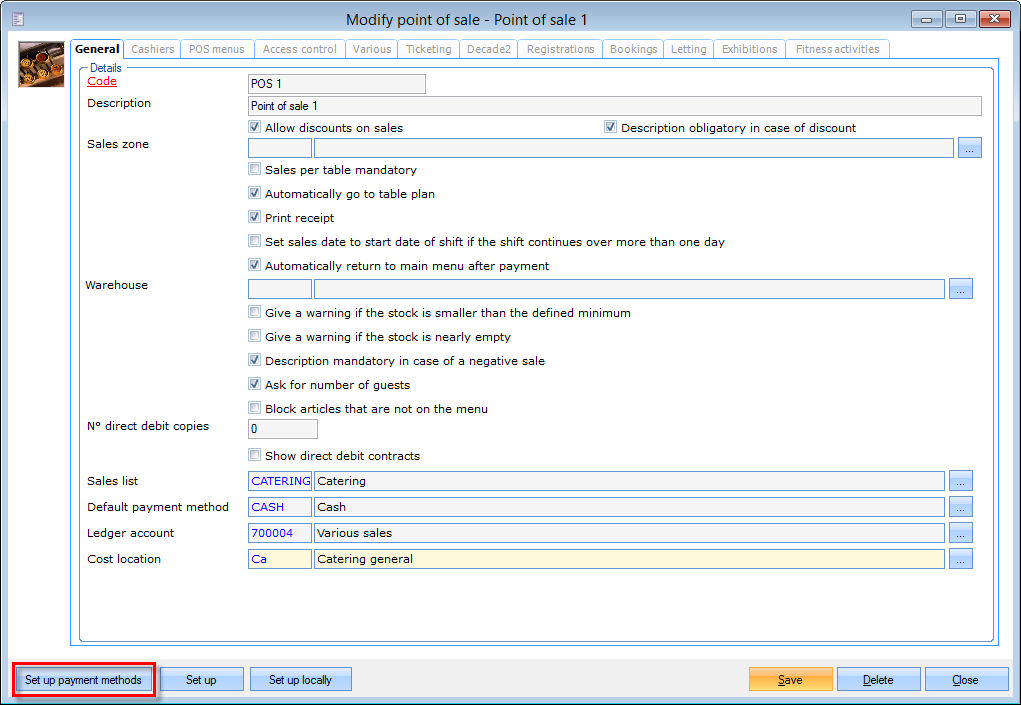 |
The window below will appear:
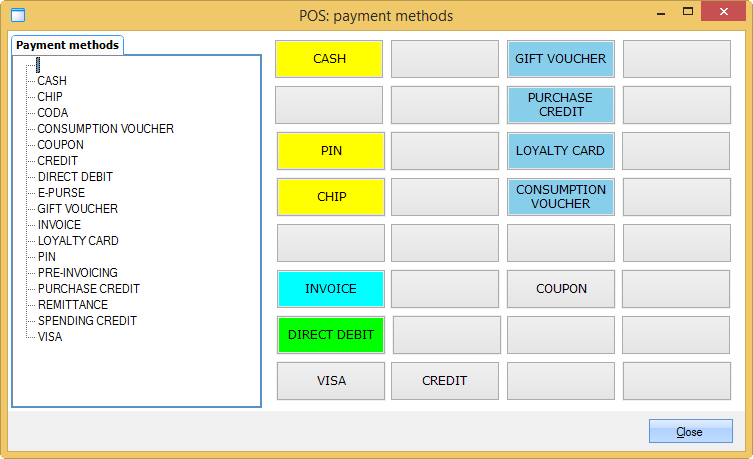 |
In the left part of the window, you will find an overview of all payment methods that have been defined in Recreatex (see Managementmanual 'GENERAL - Management'). In the right part you will see an example of the layout of buttons used in the POS module for paying sales. You have to select the desired payment method in the left part and then drag it to the desired empty button in the right part of the window.
In order to add a payment method to the layout of buttons, you have to proceed as follows:
Click with the left mouse button on the desired payment method in the left part of the window. The selected payment method will be marked in blue.
Click a second time on the selected payment method and keep pressing the left mouse button.
Drag the cursor to the desired (empty) payment method button in the right part of the window and finally let go of the left mouse button. The chosen payment method will appear on the chosen button.
If you want to you can further modify the payment method button by clicking with the right mouse button on the button in question:
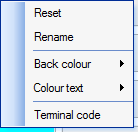 |
Reset | Reset the current button. | |
Rename | Rename the current button. This does not influence the name of the payment method itself but only the text on the button. | |
Back colour | Change the back colour of the button. | |
Colour text | Change the text colour of the button. | |
Terminal code | To some payment methods a terminal code has to be linked. You can fill in this code here.
|
Note
If you wish so, you can modify an existing payment method or create a new one in the window POS: Payment methods. You can do this by clicking with the right mouse button in the left overview:
 |
For a detailed explanation on creating and modifying payment methods, we refer to Managementthe manual 'GENERAL - Management'.