Create mailing to inform the customer
To facilitate interaction with your customer, you can set up mailing specifically for season planning purposes, using the existing Mailing module in your Recreatex application.
Important
The following licensed modules are necessary:
Mailing
CRM (to log the sent emails and make them available via the customer card).
In Recreatex, go to Management > Mailing > Mailing to open the Mailings overview screen.
You can create a new or modify an existing mailing. For more information, see New mailingNew mailing.
In the Modify mailing screen, go to the tab Selections. Right-click and select New from the context menu or click the shortcut key F2, to open the Modify mailing selection screen.
As Selection type, select Series of bookings from the drop-down list. Series bookings tab becomes activated and you can filter out which booking series should be included in the mailing.

From
Till date
When From and Till date are filled in: bookings with the start or the end time in the range are included.
When only From is filled in: bookings with a start date equal to the From date or later are included.
When only Till is filled in: bookings with an end date equal to or before the Till date are included.
Customer
Filter all the bookings that belong to a specified customer.
Infrastructure
Filter all the bookings for the specified infrastructure.
Place
Filter all the bookings for the specified place.
Season planning
Status
Filter all bookings linked to a season planning with the specified status as the current season planning status. Bookings not linked to season planning are considered approved.
Status modified from
Filter all bookings linked to a season planning which had the current season planning status modified since the specified date.
Status modified till
Filter all bookings linked to a season planning which had the current season planning status modified before the specified date.
When you have finished the modifications, click Save and Close. Your selection has been added.
Click Create. Based on your selection, a list of addresses will be generated under the tab Addresses.
Note
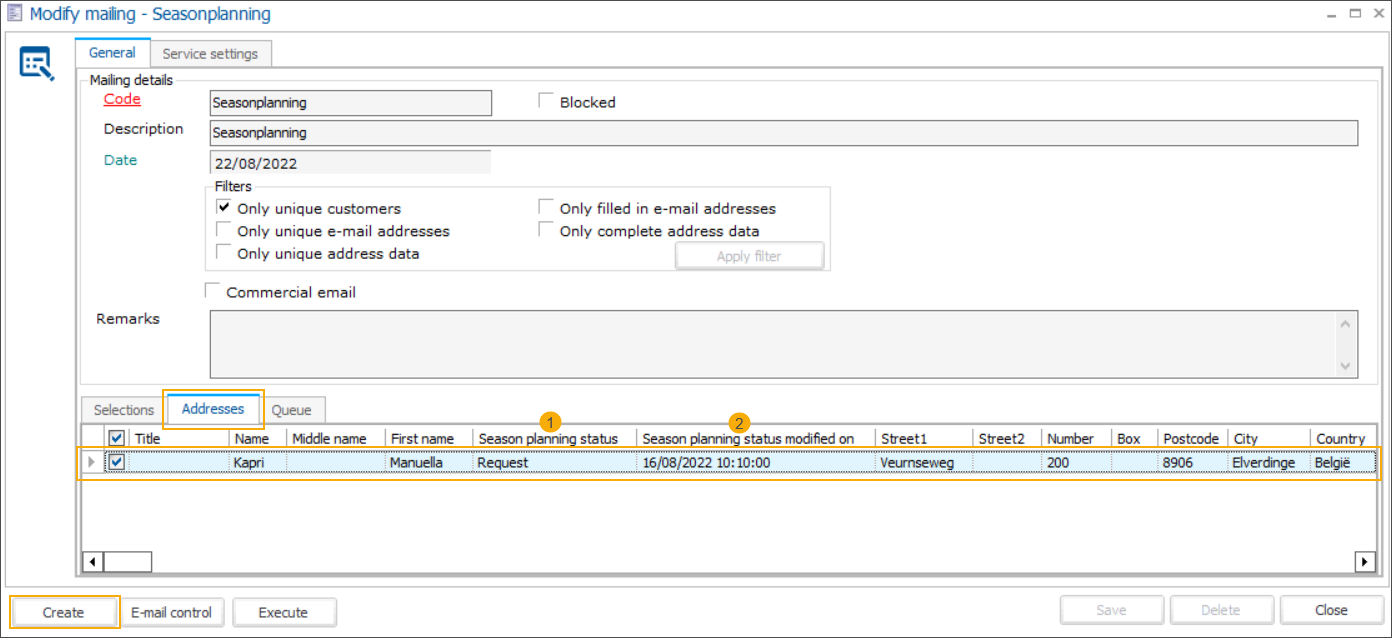
In the Addresses overview, you can also find information about the season planning status (1) and the last modification date/time (2).
Click Execute to further specify the e-mail options and send the mailing.