Registrations
Warning
The functionalities described in this chapter are only applicable if you have a license for the Registrations module.
In this part the integration of the registrations module in the ReCreateX POS is explained, such as registering for an activity and finding and settling registrations.
Register for an activity
Registering for an activity through the Recreatex POS happens by following the steps:
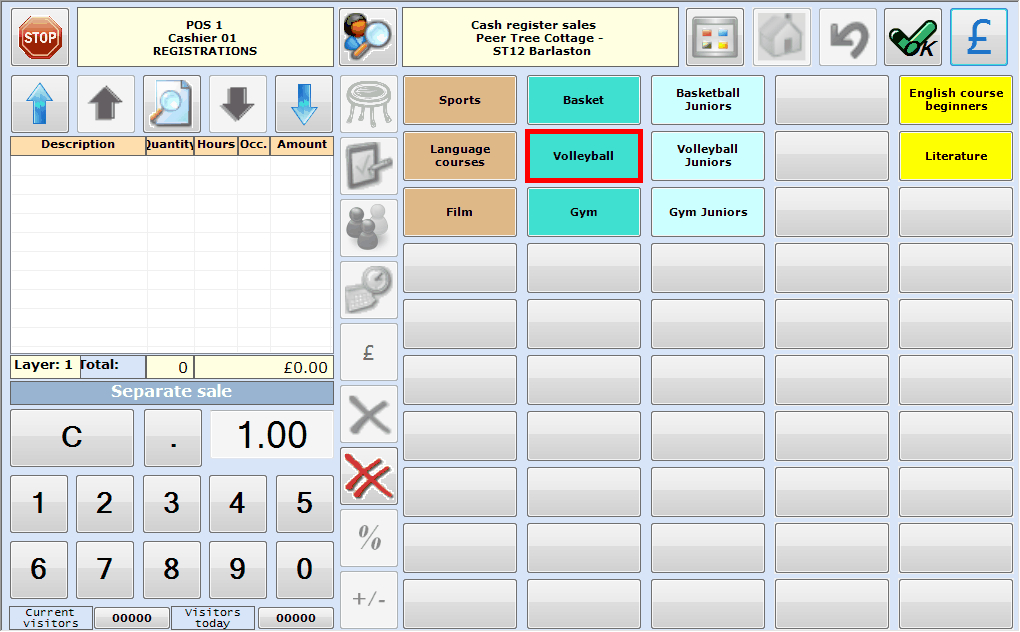
Select activity
Registering for an activity is similar to a conventional POS sale. In this case you have to hit the desired activity on the POS screen.
 |
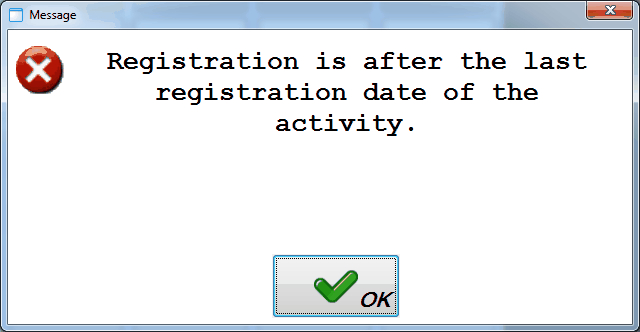
After the selection of the desired activity, it is possible that one or several of the following messages will appear. Either of these messages will prevent you from registering for the activity.
Registration date: this message appears if the current date is after the ultimate registration date of the activity.
 |
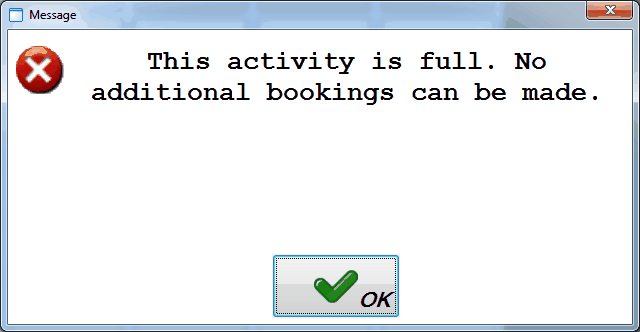
Activity full: this message appears if the maximal number of participants for the activity has been reached.
 |
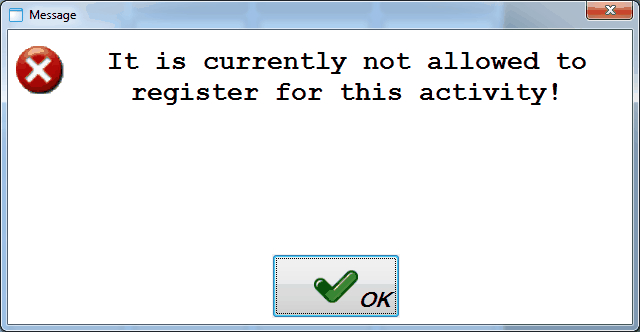
Defined sales period: this message appears if you select the activity on a day that is not within the defined sales period (registration period) of the activity.
 |
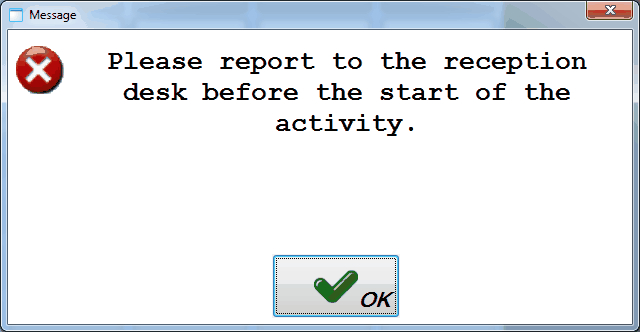
Internal message: this is the internal message that has been set up for the activity.
 |
Register
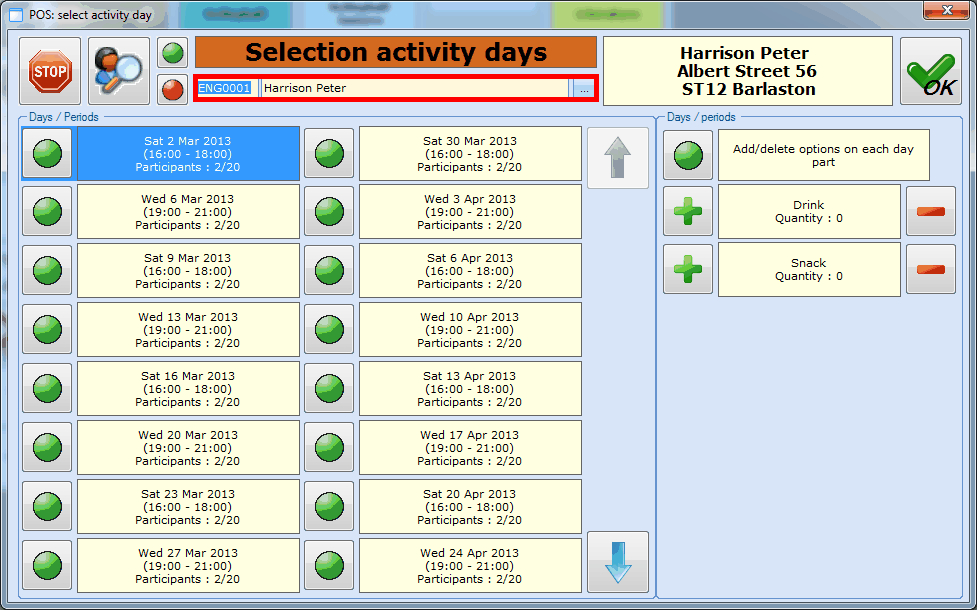
If you have chosen the desired activity on the POS screen, the window POS: select activity day will appear in which – dependent on the parameter Customer obligatory on point of sale level – you may first have to select the registration customer in question.
 |
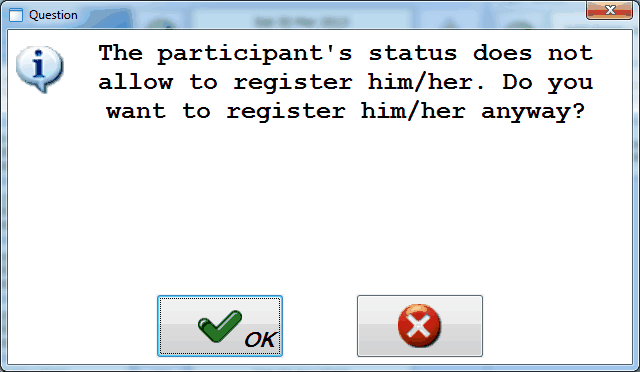
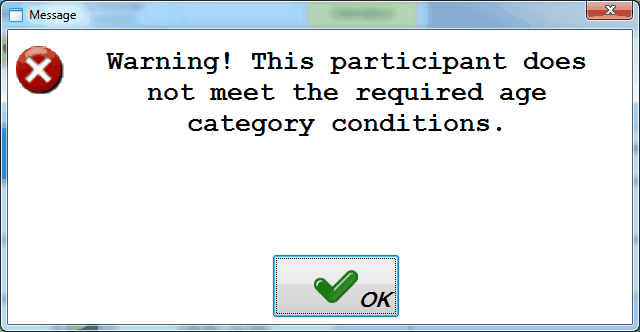
If the selected customer does not meet one or several conditions for the selected activity, one or several of the messages below will appear.
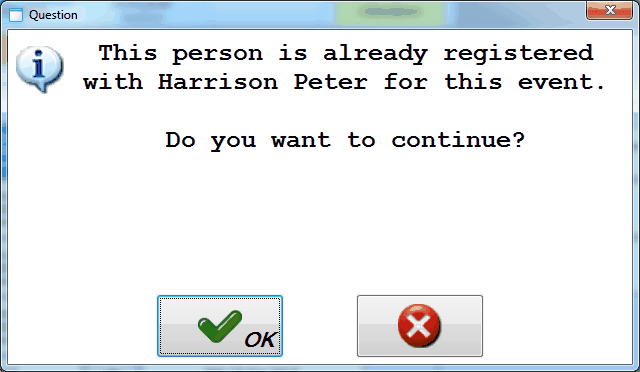
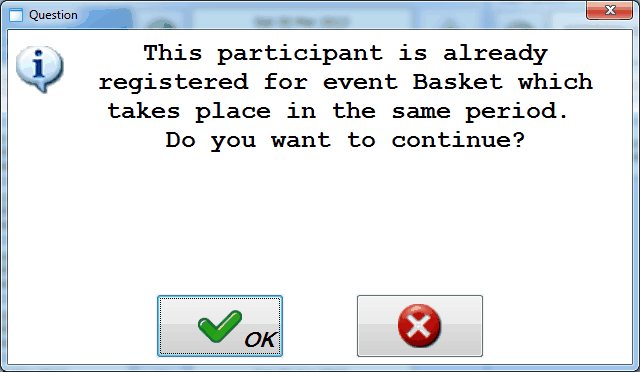
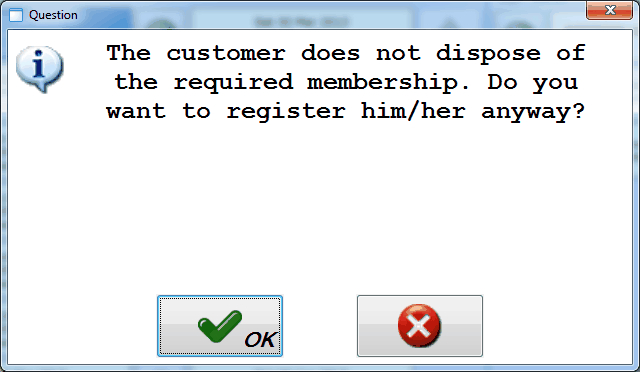 |
Warning
Dependent on the parameter settings Blocking tests it will be possible or not to continue the registration after one or several of the messages above. (see also Registrationsmanual 'Registrations')
Next, you will be able to select the activity days for which you want to register the customer, by each time clicking on the red button ( ) next to the desired activity day. Once a day has been selected, the red button is changed into a green one (
 ).
).
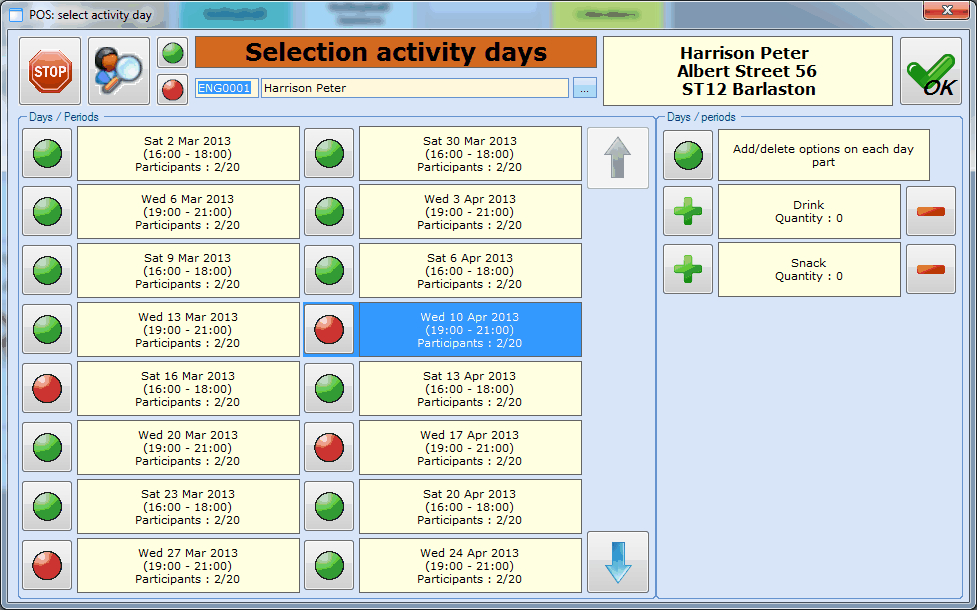 |
If more activity days are available than can be visualised on the screen, you can use  or
or  to go to the previous or next page of the list.
Note
It is also possible to select all activity days (parts) in one go by clicking on the green button in the bar at the top of the screen:
 |
Conversely, it is also possible to deactivate all selected days by clicking on the red button below the green button.
See next page.
Dependent on the settings on registration activity level, it might also be possible to link options.
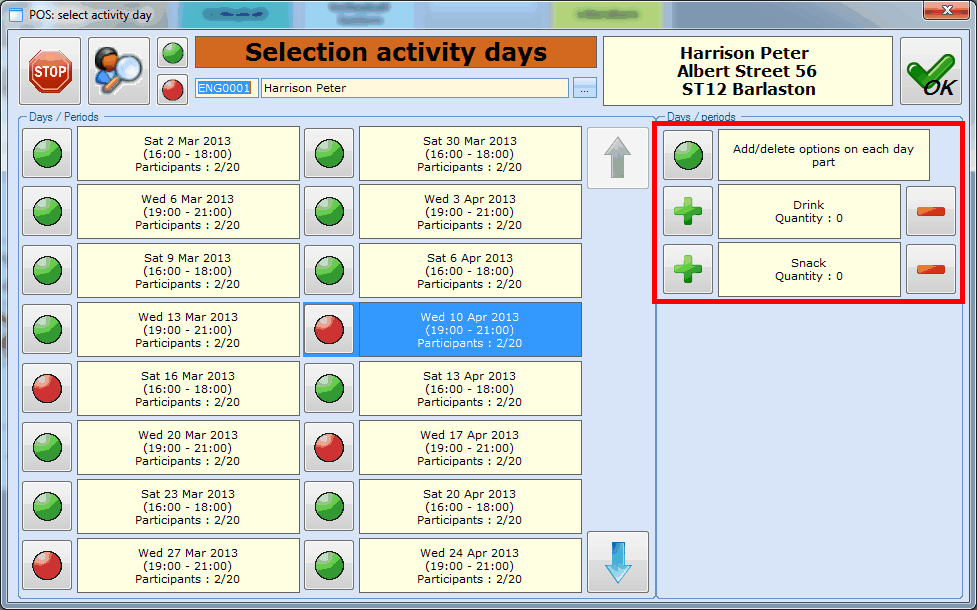 |
Here, you first have to decide if the options in question have to be added to each selected day or not. If the button next to Add/delete options on each day part is green (), all options you add by clicking on  will be added to all of the selected activity days.
If you, however, only want to add the options to some of the activity days, or if you want to use different quantities, you first have to click on the green button to make it red (), after which you will be able to add the required options per selected activity day (click on it).
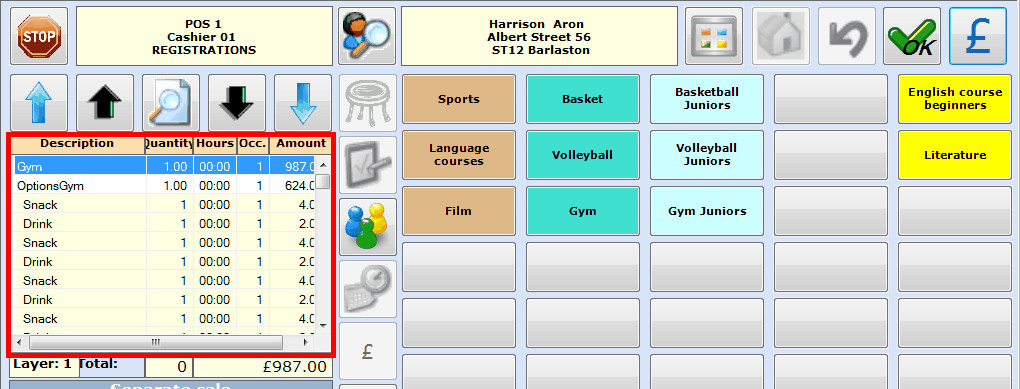
Once you have chosen the desired activity day(s) and, if required, the desired options, you can click on  . The system will return to the POS selection screen and the activity data will be added to the list of chosen articles.
 |
Note
In case it has been defined in the POS parameters that registrations at the cash register are recorded on the basis of manual price group determination, you will first have to select the required price group for the customer.
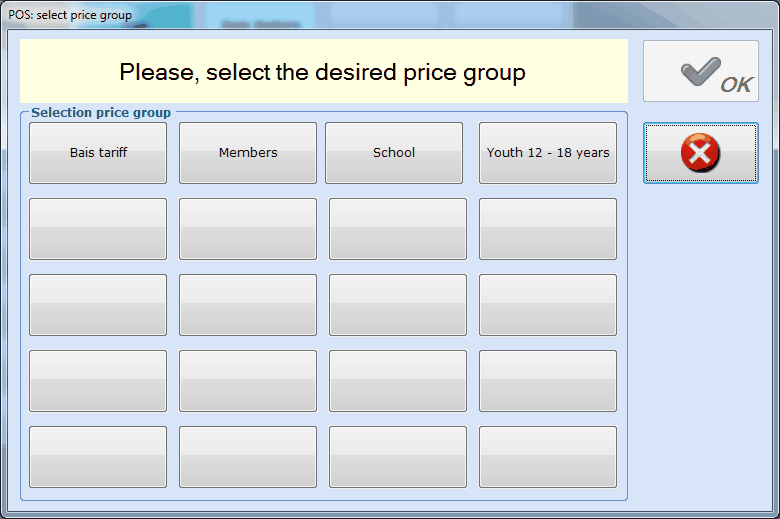 |
See also chapter General > Register a sale > Sale based on price group.
In you register only one participant (the registration customer), you can immediately continue recording the registration (see paragraph Register with or without immediately recording/paying).
If you, however, want to register several participants (on the name of the same registration customer), you first have to specify the number of participants. See next paragraph.
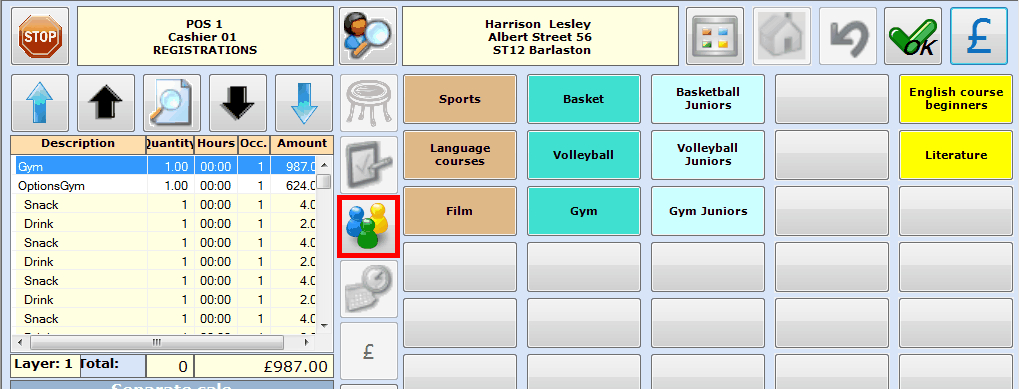
Register several participants
In order to link several participants to the current registration, you have to click on the button Modify visitors in the POS selection screen after the selection of the activity days and the possible options.
 |
Next, you can enter the desired number of participants:
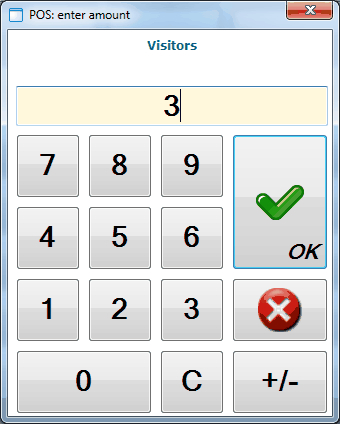 |
Note
If the maximal number of participants for the activity is exceeded by entering the desired number of participants, the following message will appear and the number of participants will be put back to the initial value (1).
 |
If you have entered the number of participants, the required recalculations will be executed in the POS screen, allowing you to settle the registration. See next paragraph.
Register with or without immediately recording/paying
After determining all required data, the registration can be recorded in the system. You can choose to pay for the registration (settle) immediately or not.
Warning
Registering and not (yet) paying is only possible if this is allowed on the point of sale. (seeSalesmanual 'GENERAL - Sales')
If the registration will immediately be recorded/paid, you have to click on
 in the selection screen or press <Enter> and settle the registration in the payment screen as you would do for a conventional POS sale (select payment method(s) and confirm).
If you only want to register and not (yet) pay, you don't have to click on
in the selection screen but on .The following message will appear:
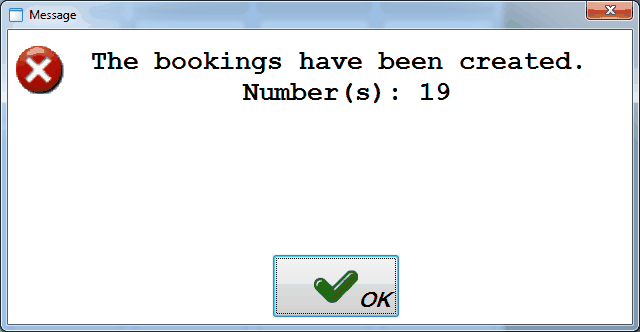 |
The created registration can later be settled at the cash register or in the module Registrations.
Note
Despite the fact that it is not obligatory to record a registration on the name of a customer, it is strongly advised to do so in function of finding back the registration later to record/pay it.
Find and settle registrations
Registrations can not only be settled in the registrations module itself but also at the cash register.
Warning
Finding and paying for previously made registrations is IMPOSSIBLE with the simplified POS layout.
In order to settle previously made registrations at the cash register, you first have to search the customer in the selection screen by clicking on  :
:
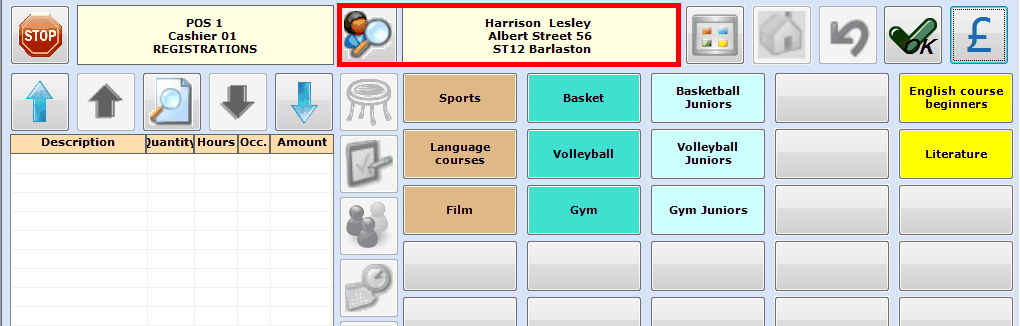 |
Next, you can click on in the right upper-hand corner or press <Enter> to continue to the payment screen in which you will see the outstanding registration amount.
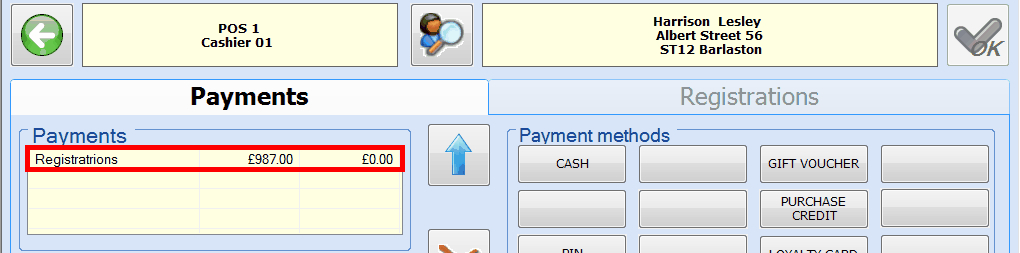 |
Under the tab Registrations all outstanding registrations are listed and you will be able to select the registration(s) you want to settle now by ticking them off:
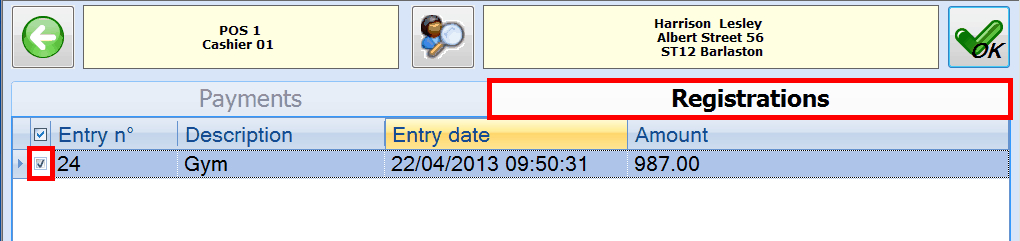 |
Next, you can reselect the tab Payments and you will notice that the amount in question is put in the section To be paid .
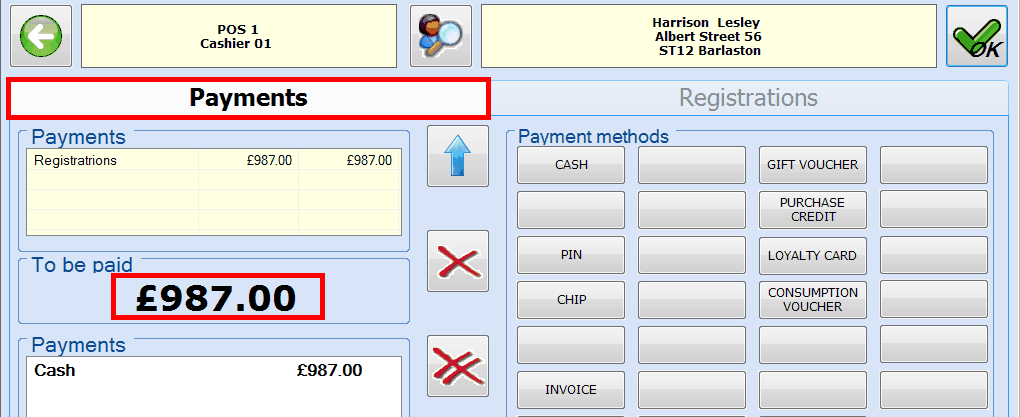 |
After selecting the desired payment method(s), you can click on or press <Enter> after which the sale will be registered and a receipt printed.