Placing an order
1. Make a selection
In the selection screen:
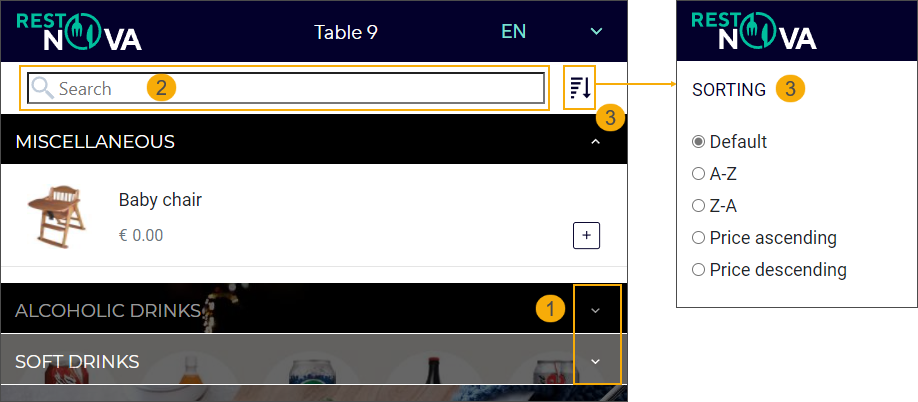
Browse through available articles using the accordion menus per category. (1)
Type the article name directly in the search field for quick selection. (2)
Use the sorting option to see all articles ordered alphabetically or per price. (3)
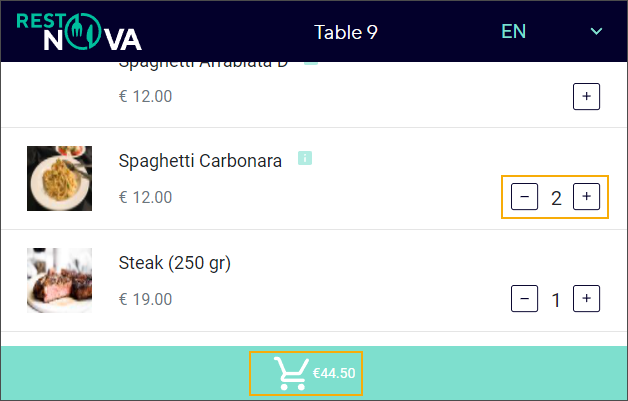
Add or remove items from your basket using the "+/-" icons. The price of your order will be updated immediately and visualized directly on the basket button, next to the basket icon.
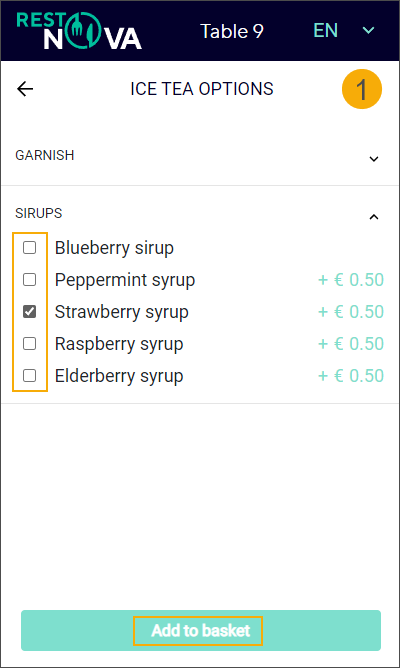
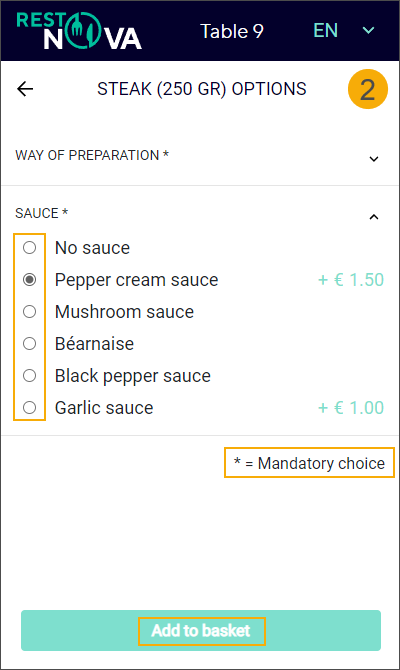
Articles may have additional options (1) and/or mandatory choices (2). Mandatory choices are marked with an asterisk *. These options and choices are offered upon selecting the desired article from the menu by clicking the '+' icon.
Note
If an article has a list of mandatory choices (2) you must select 1 option to be able to add the article to your basket.
If an article has a list of additional options (1) you can select 1 option or add the article to your basket without an additional option.
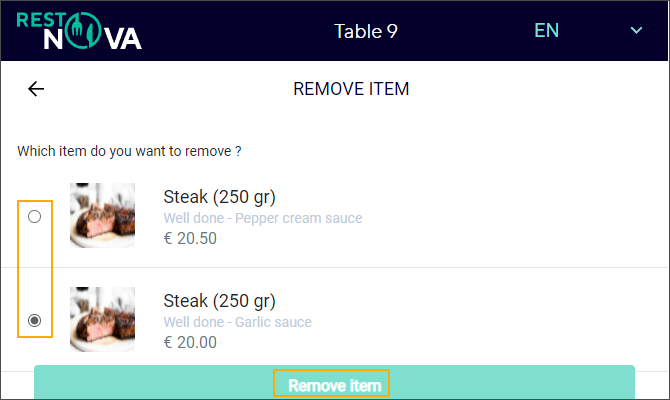
If you order one article several times with different options and/or mandatory choices and you want to remove some of the articles, you will get an additional question to specify which article(s) you want to remove.
Select an option and click Remove item to update the basket.
Click the info icon next to the article name to view additional information (e.g. allergy info or ingredients).

To finish your selection and proceed to the order overview, click the basket button  at the bottom of the screen.
2. Finalise the order
In the order overview screen:
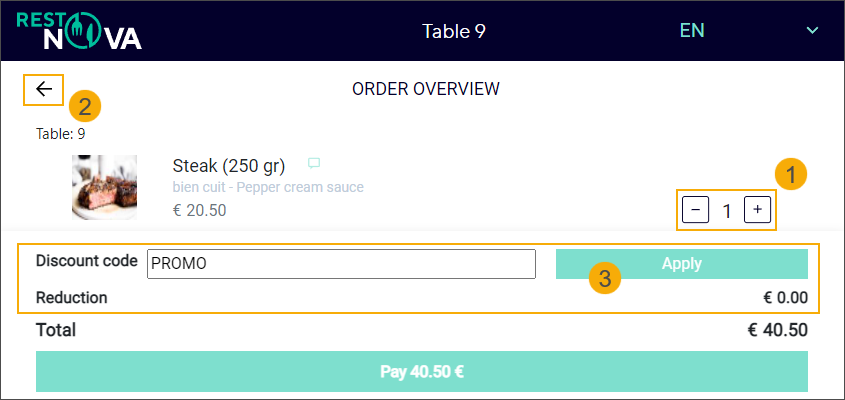
Adjust the amount or remove an item altogether. To remove an item, click '-'. When the amount is < 1, the item will be removed from the basket completely. (1)
To add additional items, return to the selection screen by clicking the arrow in the upper left corner. (2)
Enter a discount code if available and click Apply. The applied discount will be visualised separately and the total amount to pay will be updated immediately. (3)
Click the Clear basket option on the right side under your selection to remove all articles from the basket.

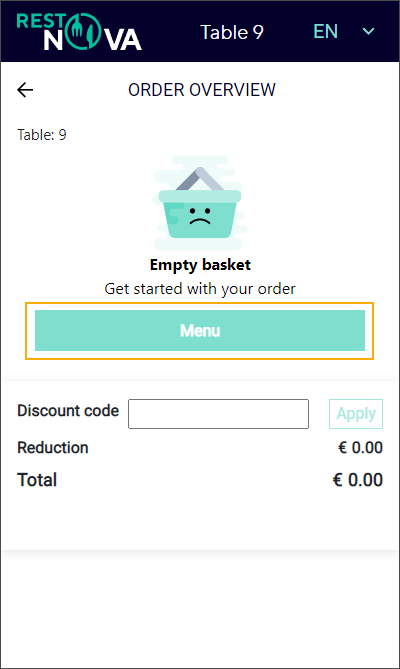
If you have cleared your basket for any reason or accidentally removed all items from your order, click Menu to start a new order.
Click the dialogue icon (1) to add comments to the items in your basket e.g. to provide important information for the cook or request options not available via the predefined selection. Click the return arrow (2) to go back to the order overview.

When your order is complete, click the Pay button (3) to proceed to the payment.
3. Select a country for your payment
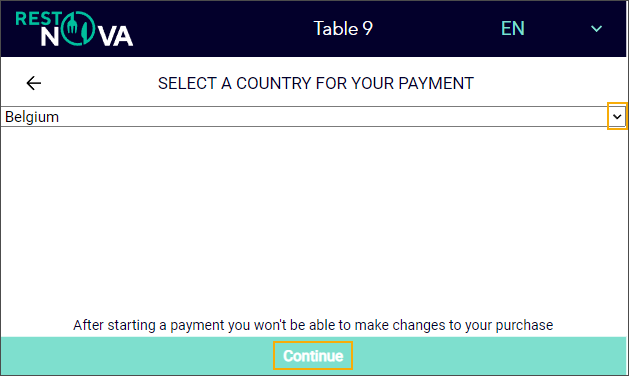
Select a country and click Continue to proceed to the selection of payment methods supported for the selected country.
Important
After starting the payment it is no longer possible to adjust your order.
4. Make the payment
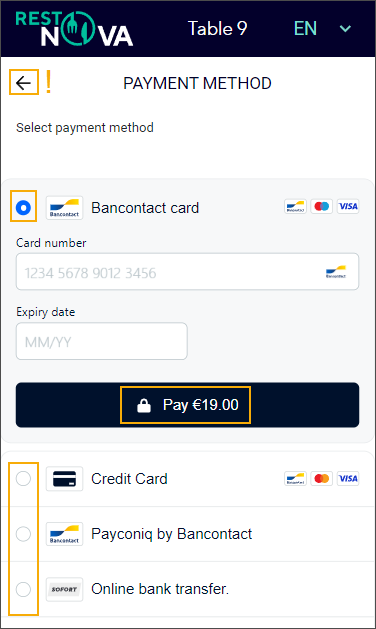
In the payment method screen, select the payment method of your choice using the radio buttons. Payment methods may differ per country.
Important
If you click the return arrow (!) at this point, your order will be cancelled and you will be redirected back to the login screen.
Click Pay to proceed with the payment. Follow the steps as specified by the selected payment method (fill in the card number, open an app on your mobile phone, and so on).
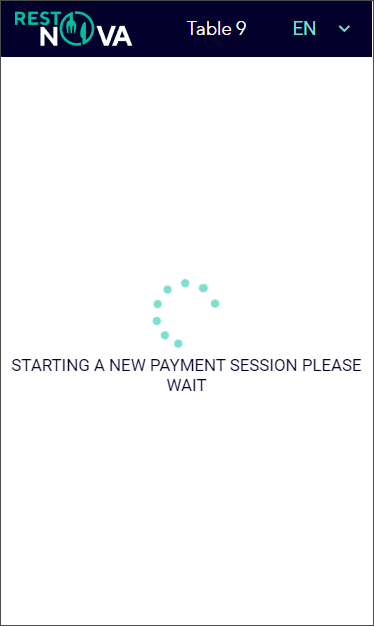
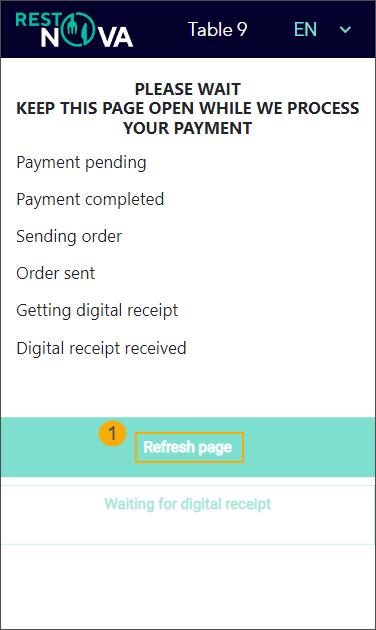
The processing of the payment may take a few moments. The screen will refresh automatically to show the progress. However, there is always a Refresh page button (1) available for a manual refresh of the screen.
5. Receive the order confirmation
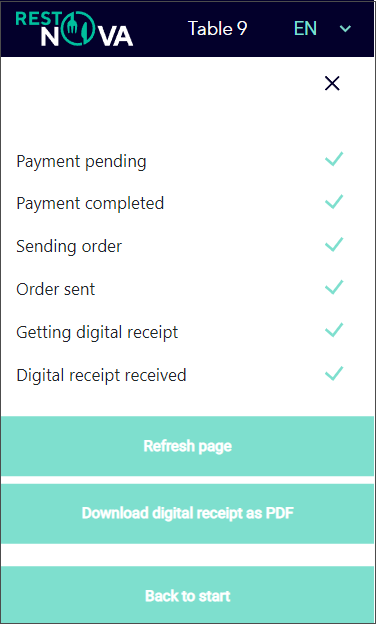
Your order is confirmed and payment processed when all order and payment steps are marked with a checkmark (1) and a payment receipt has been generated. Click Download digital receipt as PDF (2) and save the receipt to your device for your reference.
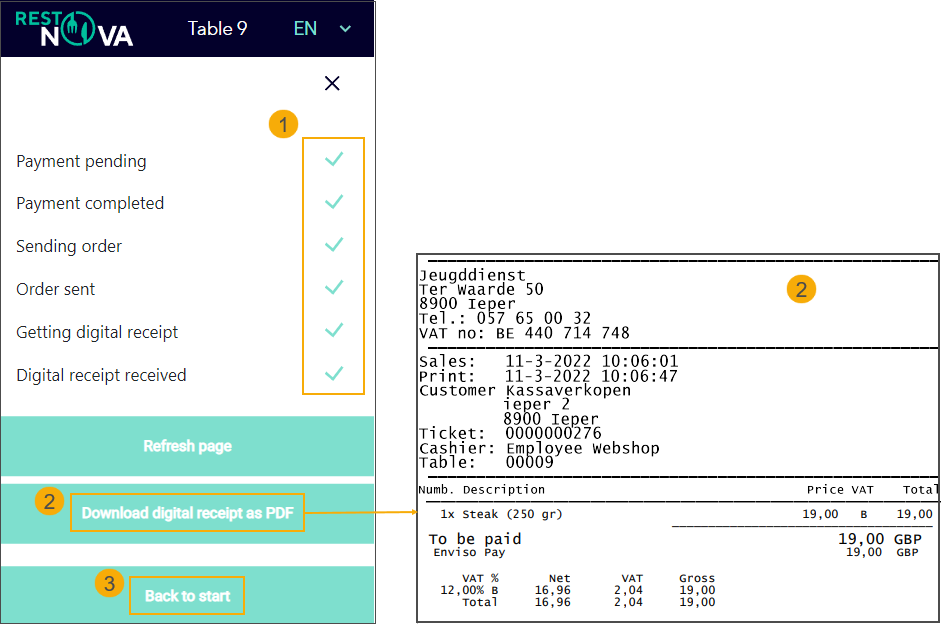
Click Back to start (3) to return to the login screen.