Quick Tutorial
In principle, the procedure of using the Reports is as follows:
Configure Data Source
Configuring data source defines which data you are retrieving from the database to show on your report.
For description on configuring data source, see Configure data source.
Configure Report
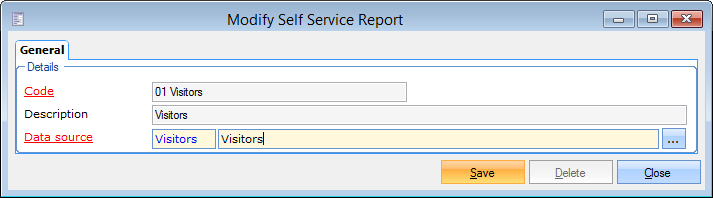
Go to Reporting > Reports > Configure to create a report (F2).
On the tab General, you can configure a code, a description and the data source to be used.
Click Save.
 |
Note
On the tab Rights, you can configure rights to view and/or edit the report for each user group (No access  , read-only
  , full control
  ).
).
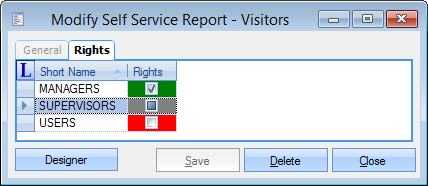 |
Click Designer to begin configuring the reports.
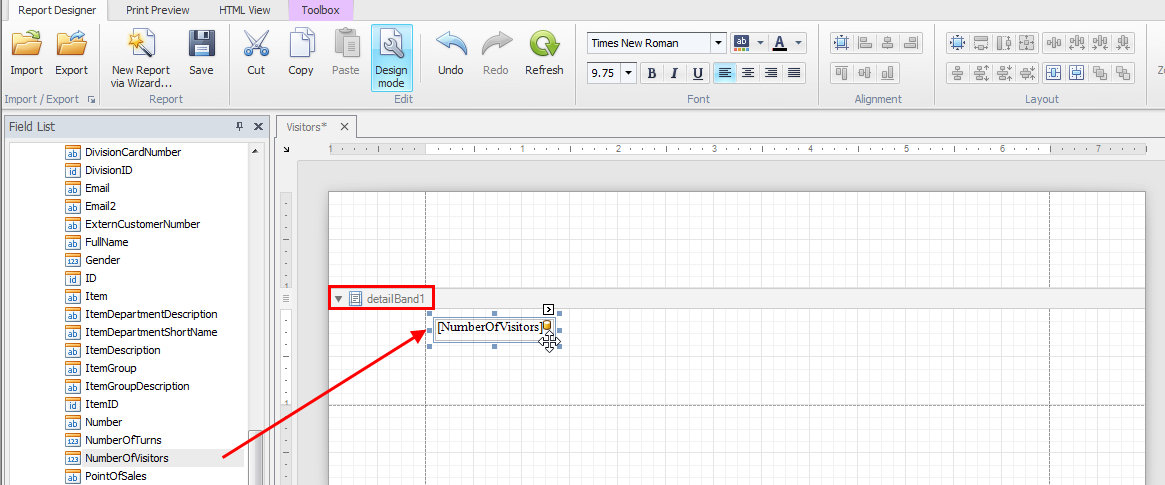
On the resulting screen drag and drop the desired fields from the Field List on the right panel to the detailBand area on the Design Panel.
 |
Next, format the report as desired. For more information on features to edit and format report, see topics under Report Editing Basics.
Note
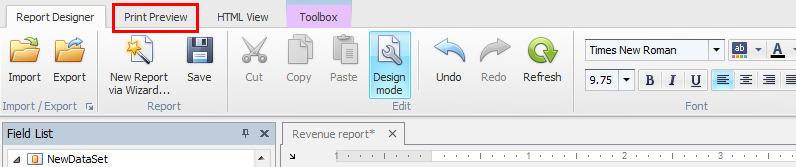
It is possible generate an immediate preview of the report from the main tab Print Preview.
 |
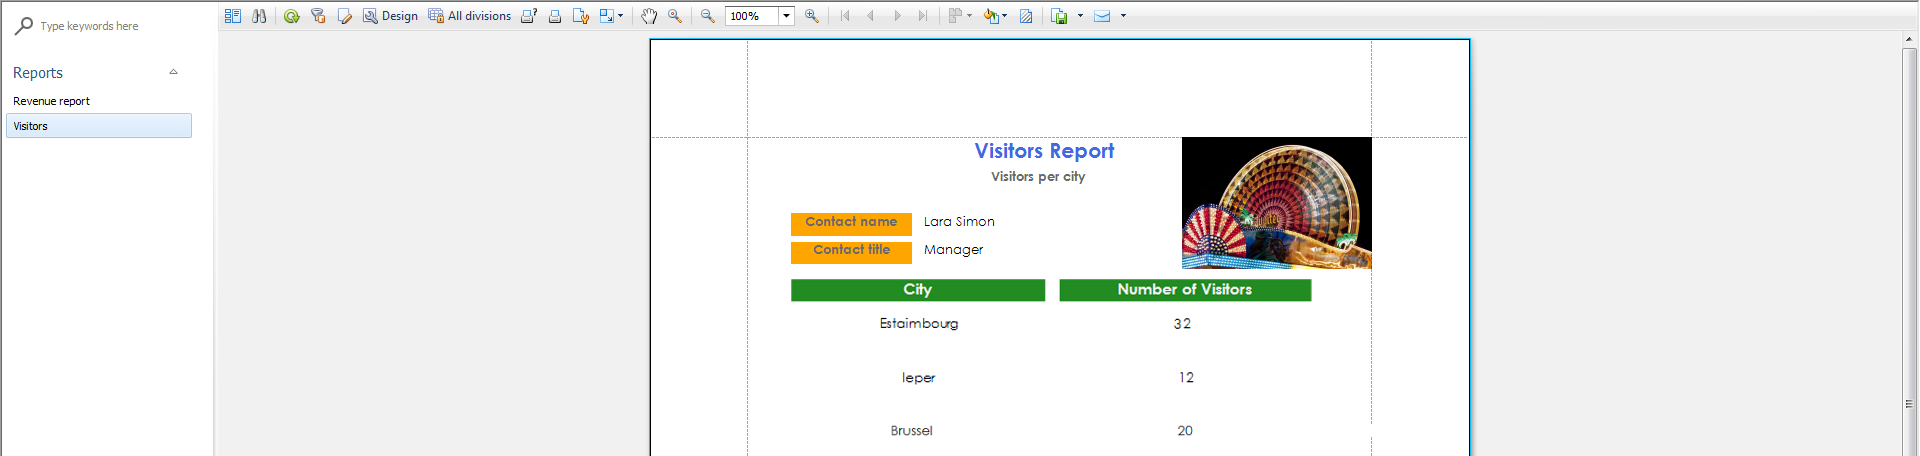
View Report
To consult the configured reports, go to Reporting > Reports > View.
 |
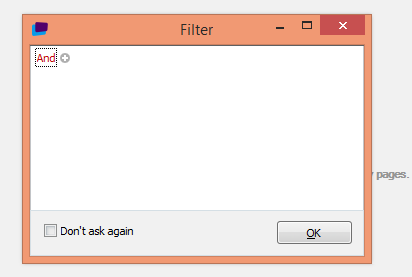
Note
Before viewing a report, filters can be used to limit the shown data on the report.
 |
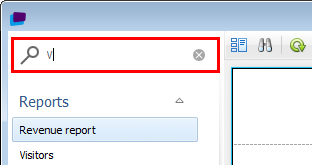
Side panel
The left panel on the Report viewer displays the available reports. By using the search bar at the top of the left panel, it is possible to search for specific reports by name.
 |
Top panel
The top panel contains controls for the Report viewer.
 |