Select addresses
In order to specify the target group of the mailing, you have to make at least one selection.
For this purpose, you have to press <F2> under the tab Selections or click on the right mouse button in the list, followed by New.
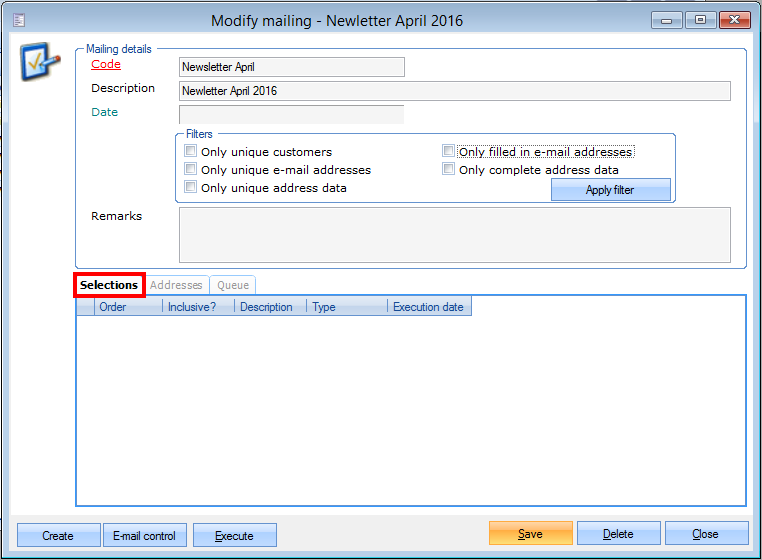 |
The window Modify mailing selection will appear:
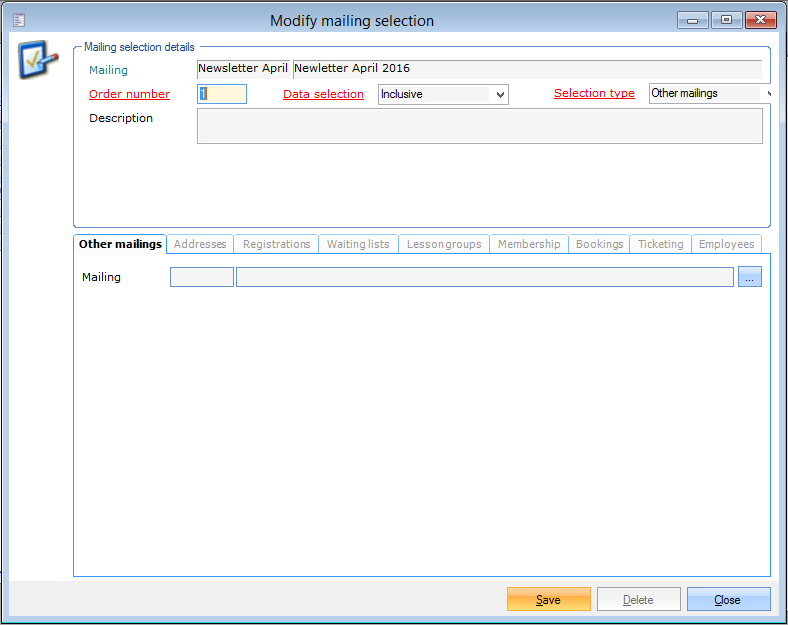 |
Mailing | The code and description of the mailing, shown informatively. |
Order number | If you create several selections within one mailing, you can define the order here. This order is always respected when calling up data. |
Inclusive | If this option is ticked, all addresses that are reached with the selection are included in the list of addresses. If Inclusive is not ticked (in other words, an exclusive selection), all addresses that are reached with the selection will be excluded from the list of addresses. WarnungAn exclusive selection is only possible if an inclusive selection has already been defined with a higher order number. An exclusive selection is in fact always based on the result of the more general inclusive selection. This is contrary to successive inclusive selections, in case of which the result of a selection is always merged with the result of the more general selection. |
Selection type | Dependent on the choice you make, the corresponding tab will become active and will allow you to define the customer selection. WarnungIt is not possible to use several selection types within one selection. You will have to create a separate selection line for each selection type you want to use. |
Other mailings
If you want to create a selection based on the customers of a mailing previously created, you have to choose Other mailings as selection type, after which the corresponding tab will become active.
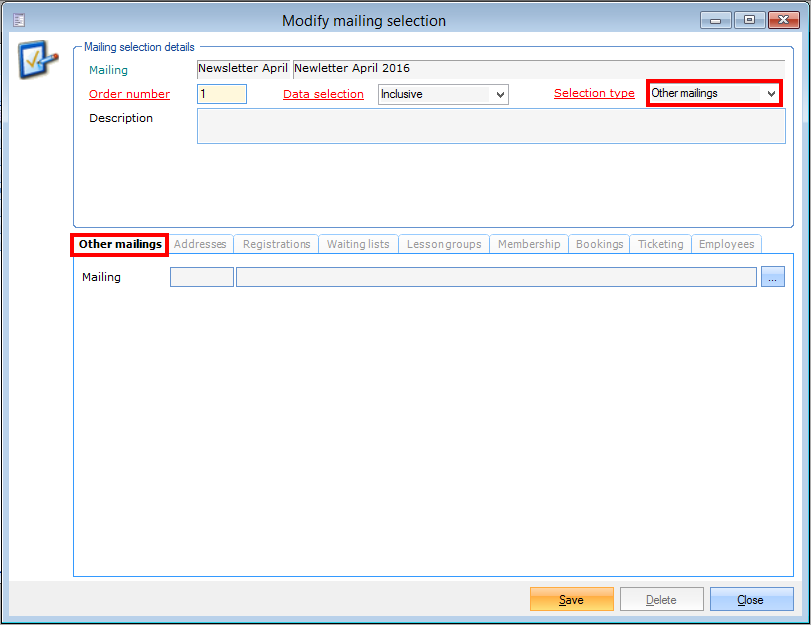 |
Select the desired mailing, followed by Save and Close to return to the previous window.
Addresses
If you want to create a selection based on the data filled in on the customer card, you have to choose Addresses as selection type, after which the corresponding tab will become active.
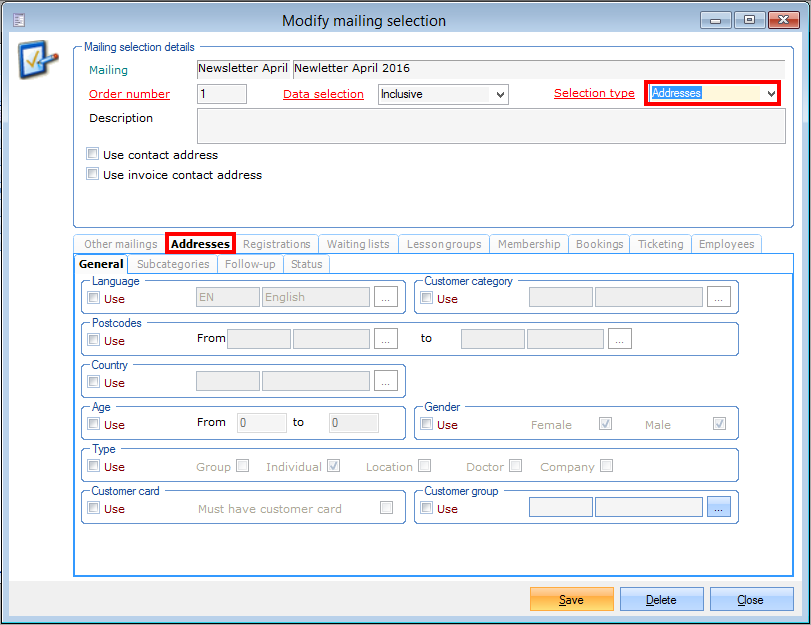 |
You can now determine some selection criteria on address level.
Use contact address | If you tick this option, the contact data of the customer will be used for the mailing instead of the main address data (see Customersmanual 'GENERAL - Customers'). Here you also have to choose which contact person is concerned, and if required which function the contact person has.
| |
Use invoice contact address | If you tick this option, the contact data of the invoice customer linked to the customer will be used for the mailing instead of the main address data (see manual 'GENERAL - Customers). |

If you have defined the selection, you have to click on Save and Close to return to the previous window.
General
Under the tab General you can determine which general criteria you want to use for making the selection.
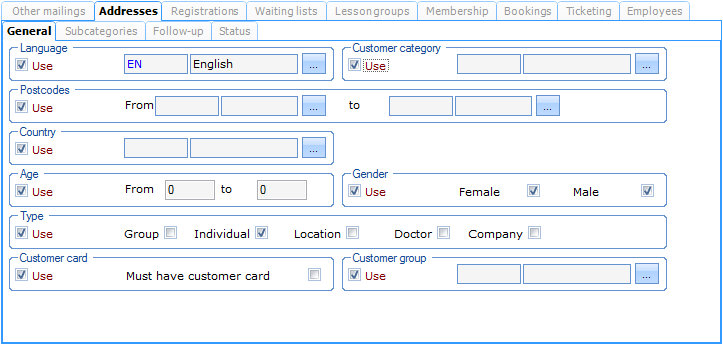 |
If you want to apply a certain criterion to the current selection, you first have to tick the option Use. Only then will you be able to effectively determine the criterion in question.
Language | The customer's language. |
Customer category | The category to which the customer belongs. |
Postcodes | Here you can define the postcode reach to be included in the selection. |
Country | The customer's country. |
Age | Here you can define the age reach of the customers. |
Gender | The customer's gender. |
Type | The customer type. (see Customersmanual 'GENERAL - Customers') |
Loyalty card | Here you can define that the customer needs to have a customer card. |
Subcategories
Under the tab Subcategories, you can choose to make a selection based on the subcategories filled in under the tab Subcategories of the customer card.
(see manual 'GENERAL - Customers)
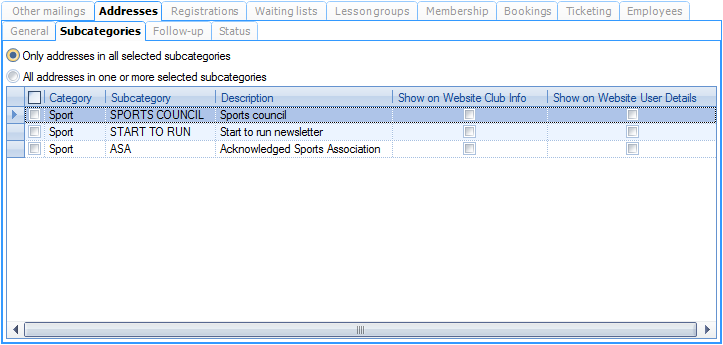 |
With the options, you can define if the customers have to be part of all subcategories chosen or only of one or several of the subcategories chosen.
 |
Warnung
It is only possible to select subcategories if you have saved the current selection.
Club
Under the tab Club you can specify the locations, subsidies and federations of a Group.
(see manual 'GENERAL - Customers)
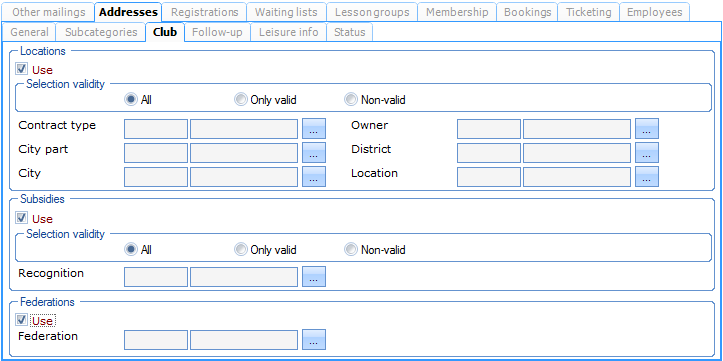 |
If you want to apply a certain criterion to the current selection, you first have to tick the option Use. Only then will you be able to effectively determine the criterion in question.
Warnung
The tab Club is only available if the customer type has been defined as Group under the tab General.
Follow-up
Under the tab Follow-up you can choose to make a selection based on the follow-up and/or actions filled in under the tab Follow-up of the customer card.
(see Customersmanual 'GENERAL - Customers')
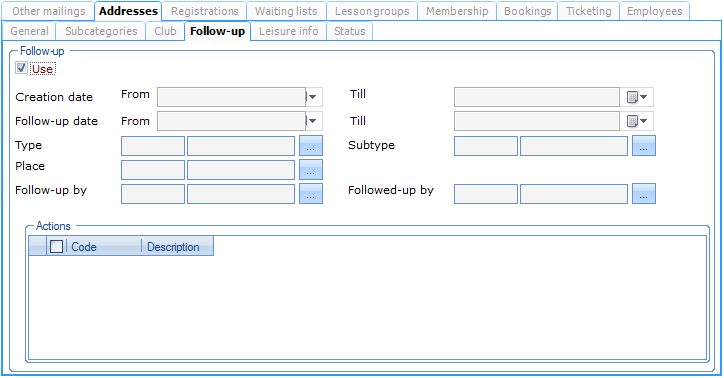 |
If you want to apply the follow-up criteria to the current selection, you first have to tick the option Use.
Leisure info
Under the tab Leisure info, you can specify the working days or period for a Group filled in under the tab Leisure info of the customer card.
(see manual 'GENERAL - Customers)
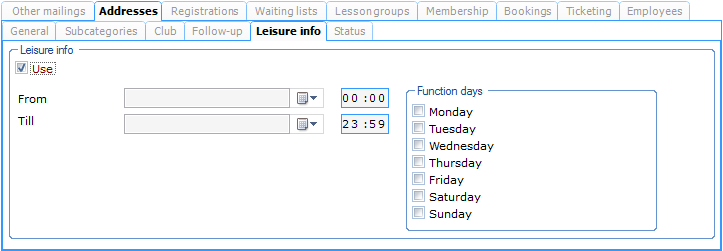 |
If you want to apply the criteria for leisure info to the current selection, you first have to tick the option Use.
Warnung
The tab Leisure info is only available if the customer type has been defined as Group under the tab General.
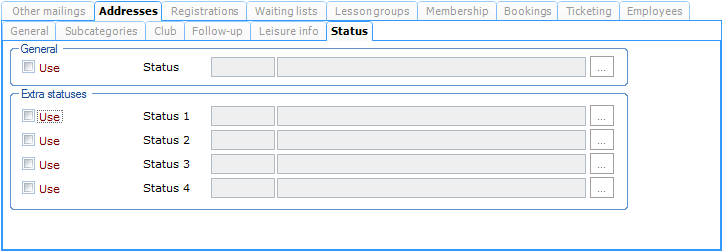
Status
Under the tab Status you can specify the status filled in under the tab Various of the customer card by means of additional statuses. You can also specify the status filled in under the tab General (customer card) through the general status.
(see manual 'GENERAL - Customers)
 |
Registrations
If you want to make a selection based on the registrations from the module Registrations, you have to choose Registration as selection type, after which the corresponding tab will become active.
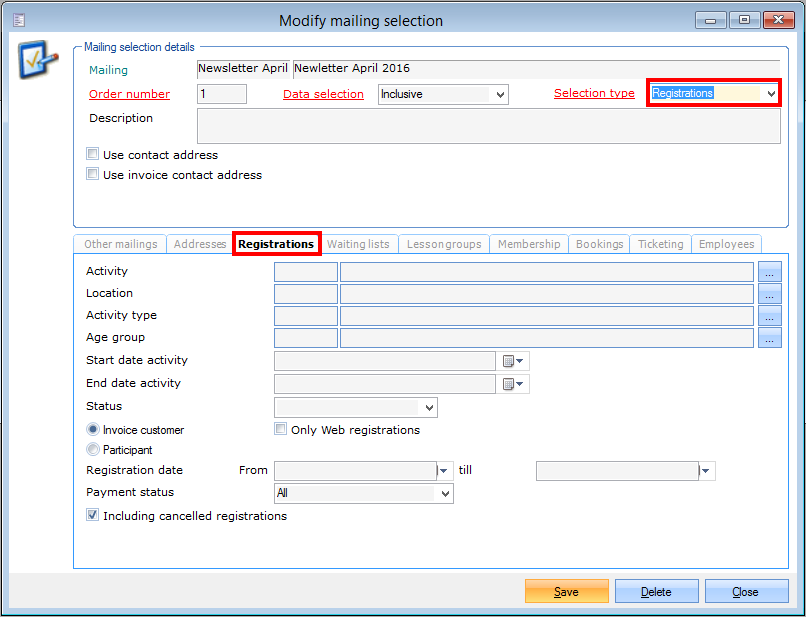 |
You can now determine the selection on the level of activity, location, activity type, age group, data, ...
You can opt to fill in one of the criteria or to combine several criteria.
Activity | The activity for which the customer is registered. | |
Location | The location where the activity or activities take place. | |
Activity type | The activity type. | |
Age group | The age group for the selection. | |
Start data activity End data activity | Here you can define the period during which, before which or after which the activities take place. | |
Status | The current registration status.
| |
Invoice customer / Participant | You can take the data of the invoice customer or those of the participant. | |
Only Web registrations | You can choose to only send the mailing to registrations made through the internet. | |
Registration date | Here you can define the period in which the customer has registered. |
The last option Payment status can be used for example to send a Payment reminder to customers that have not yet paid.
If you have defined the selection, you have to click on Save and Close to return to the previous window.
Waiting lists
If you want to make a selection based on the waiting lists from the module Course management, you have to choose Waiting lists as selection type, after which the corresponding tab will become active.
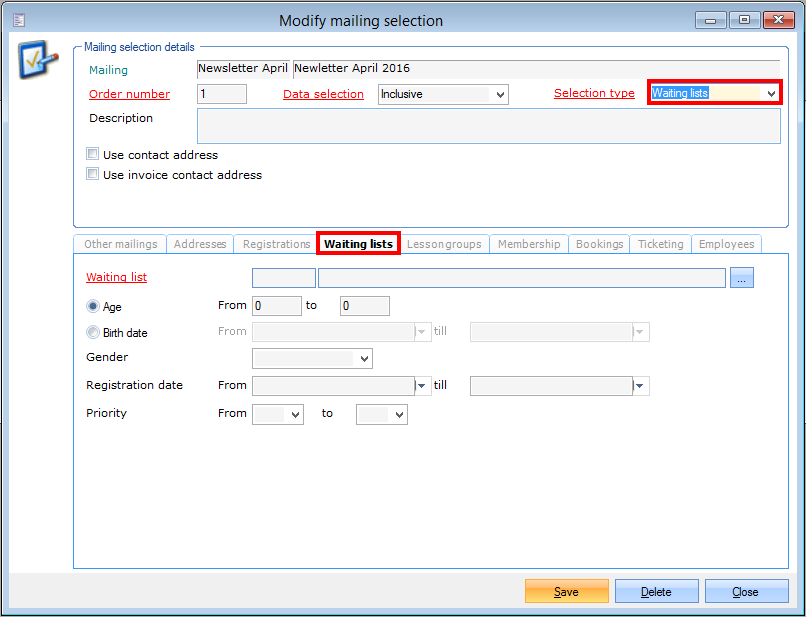 |
Waiting list | The waiting list on which you want to base your selection. |
Age | An addition selection based on the age of the customer. |
Gender | An additional selection based on gender. |
Registration date | The period in which the customer has registered. |
Priority | The priority on the waiting list. |
If you have defined the selection, you have to click on Save and Close to return to the previous window.
Lesson groups
If you want to make a selection based on the lesson groups from the module Course management, you have to choose Lesson groups as selection type, after which the corresponding tab will become active.
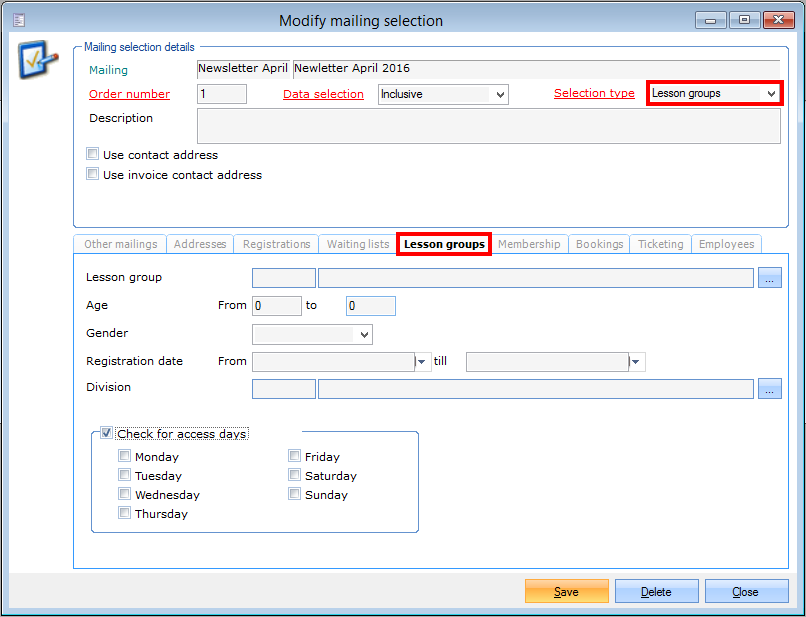 |
You will notice that no criterion is obligatory. You can select a specific lesson group, or contact the students of a specific age or gender, or all students that were registered in a specific period...
Lesson group | The lesson group on which you want to base your selection. |
Age | An addition selection based on the age of the customer. |
Gender | An additional selection based on gender. |
Registration date | The period in which the customer has registered. |
Check for access days | The days on which a customer has to be in a lesson group. |
If you have defined the selection, you have to click on Save and Close to return to the previous window.
Membership
If you want to make a selection based on memberships, you have to choose Membership as selection type, after which the corresponding tab will become active.
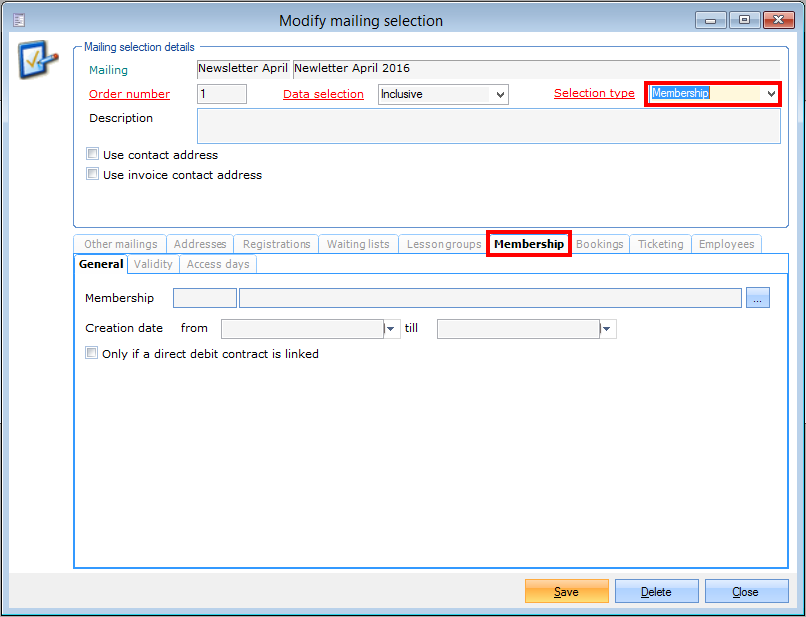 |
Here you can make a selection based on a specific membership (for example yearly membership, season membership, monthly membership, ...) with the specification of only valid memberships or not (customers that do not have a valid copy of the selected membership at that time). You can also opt to call up only active and/or inactive memberships.
If you have defined the selection, you have to click on Save and Close to return to the previous window.
General
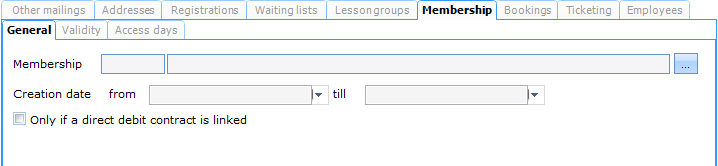 |
Membership | The membership on which you want to base your selection. |
Creation date | The period in which the membership was created. |
Only if a direct debit contract is linked | With this option you can determine if a direct debit contract has to be linked to the membership. |
Validity
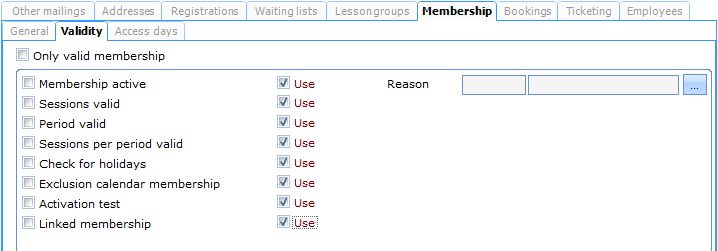 |
Only valid membership | This option allows you to only include valid memberships in the selection. |
The additional tests refer to the settings on the membership level.
(see manual Membership)
Access days
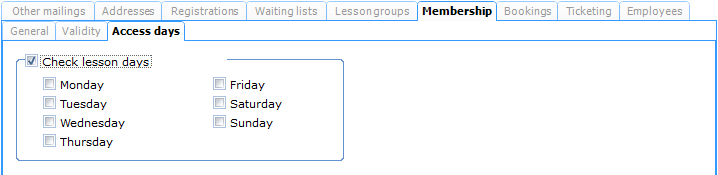 |
Check lesson days | The days on which a customer has to be in a lesson group. |
Bookings
If you want to make a selection based on bookings, you have to choose Bookings as selection type, after which the corresponding tab will become active.
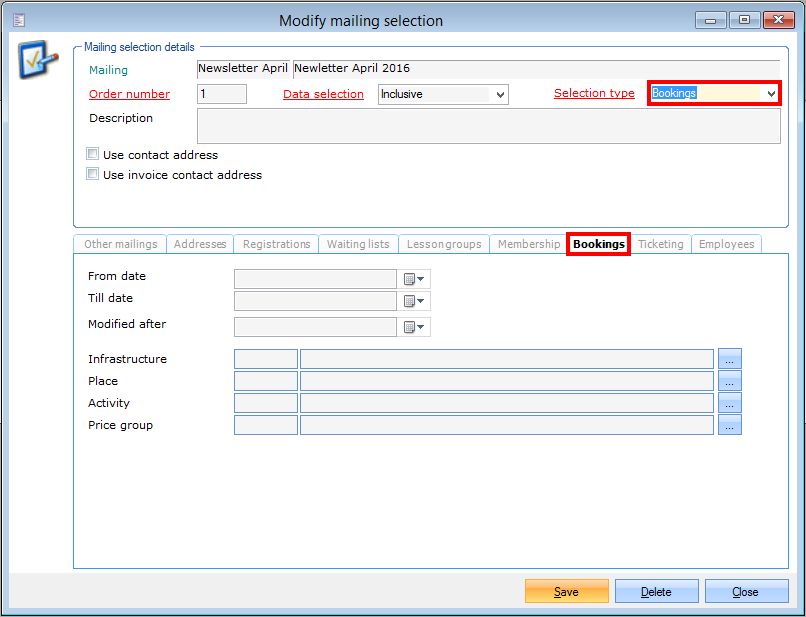 |
From date Till date | The period during which the booking has to take place. |
Modified after | If you fill in a date, only the bookings that have been modified after that date will be included in the selection. |
Infrastructure | The infrastructure in which the booking has to take place. |
Place | The place in which the booking has to take place. |
Activity | The activity for which the booking is/was made. |
Price group | The price group of the desired booking(s). |
If you have defined the selection, you have to click on Save and Close to return to the previous window.
Ticketing
If you want to make a selection based on ticket bookings, you have to choose Ticketing as selection type, after which the corresponding tab will become active.
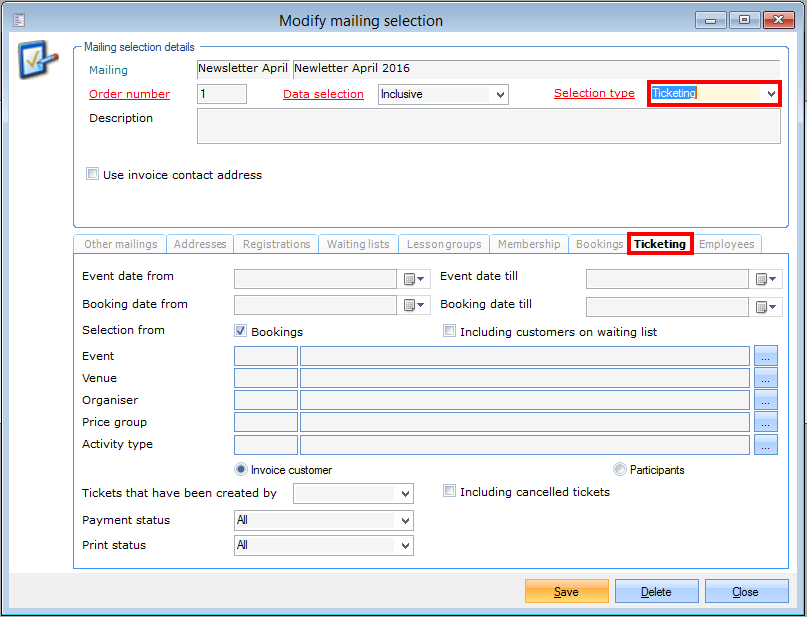 |
Event date from Event date till | The period in which the ticketing event takes place. |
Booking date from Booking date till | The period during which the booking takes place. |
Event | The ticketing event |
Venue | The venue where the event takes/took place |
Organiser | The organiser of the event. |
Price group | The price group of the desired booking(s). |
Activity type | The activity type that is linked to the ticketing event. |
Invoice customer / Participants | Here you can determine if the mailing has to be sent to the invoice customer or to the participant(s) to the event. |
Tickets that have been created by | The way in which the booking was made: through ReCreateX or through the Web. |
Including cancelled tickets | You can choose to include cancelled tickets in your selection or not. |
Including customers on waiting list | You can choose to include customers that are on the waiting list in your selection or not. |
Including seats in option | You can choose to include seats in option in your selection or not. This setting is only available if the option Participants is ticked. |
Including seats not in option | You can choose to include seats that are not in option in your selection or not. This setting is only available if the option Participants is ticked. |
If you have defined the selection, you have to click on Save and Close to return to the previous window.
Rental
To make a selection based on rental bookings, choose Rental as Selection type. The corresponding tab Rental will become active.

The target group of the mailing based on rental bookings can further be narrowed down, using the following filters:
Selection order date (start/end) | Select start date, end date or period based on order date. (1) |
Selection collection date (from/till) | Select start date, end date or period based on collection date. (1) |
Selection return date (from/till) | Select start date, end date or period based on return date. (1) |
Rental location | Make a selection based on rental orders of all articles that are assigned to the same location (warehouse). (2) |
Article group | Make a selection based on rental orders of all articles from the same article group. (2) |
Article | Make a selection based on rental orders of a specific article. (2) |
Division | Make a selection based on rental orders of all articles that are assigned to the same division. (2) |
Order status (3):
| Make a selection based on rental orders with one or more of the available order statuses. By default all statuses are selected. |
Click Save and Close to complete your selection and return to the previous window.
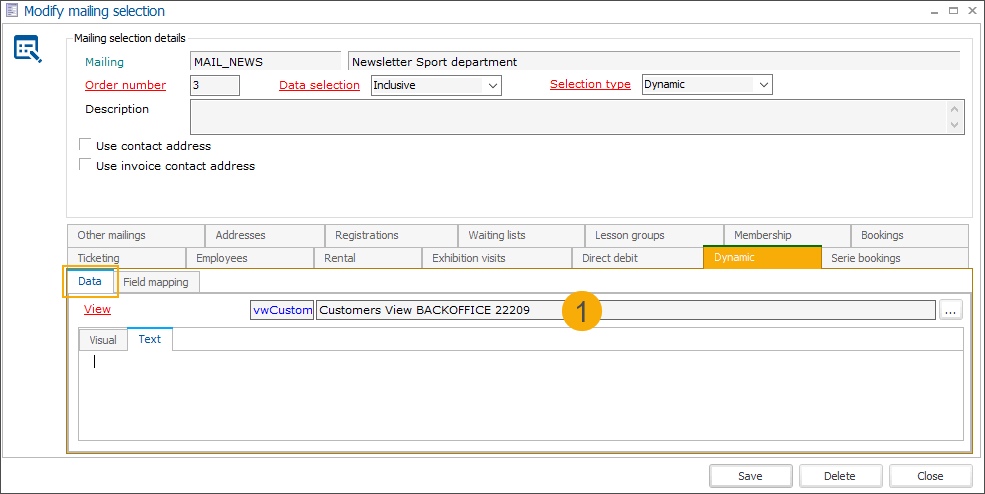
Dynamic
To make a selection based on a dynamic view, choose Dynamic as Selection type. The corresponding tab Dynamic will become active. The dynamic view allows you to map data fields from your custom views to the database fields and use them within the Mailing module.
First, under the tab Data select your custom view (1)
Then, under the tab Field mapping link each field from your custom view to an available database field by selecting a field from the drop-down list available for each field in the column Database. (2)
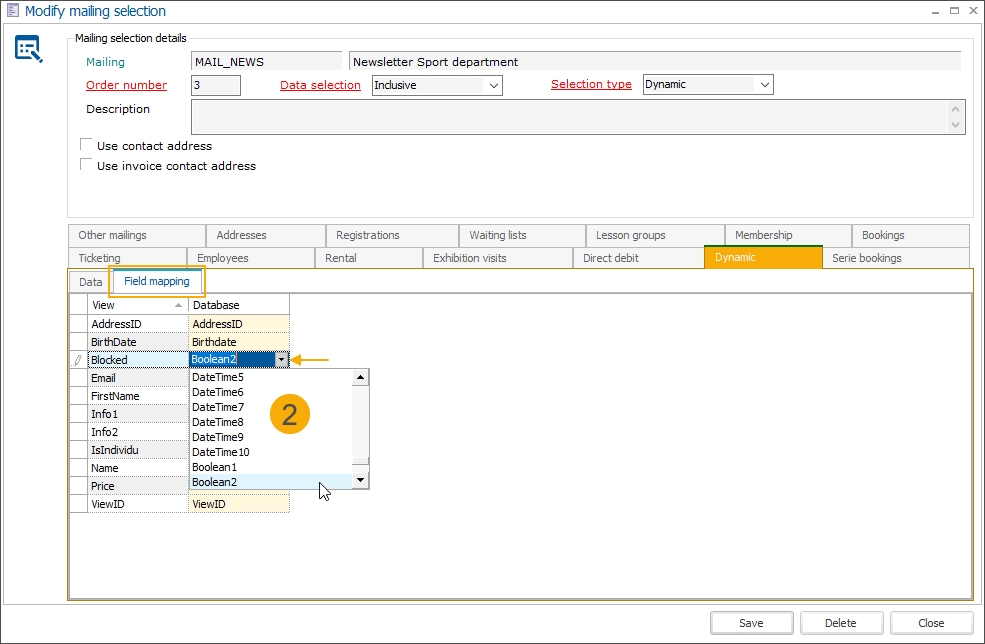
Next to the specific dedicated fields, there are a number of generic fields for different types of values that can be used to map additional custom view fields:
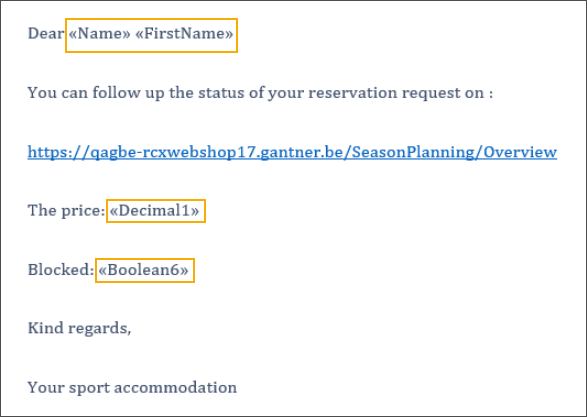
Info6 to Info20: text value (varchar(200))
DateTime1 to DateTime10: date/time values
Boolean1 to Boolean10: true/false values
Decimal1 to Decimal10: numeric values (format 20, 4)
The mapped database fields can further be used as mergefields in the mailing template (Word document), e.g.: