Processing
Under the part Processing different functionalities are available that relate to the Recreatex customer database.
Go to General > Basic data > Customers > Processing.
The following types of customer processing are available:
Modify family compositions in batch
Family compositions are automatically calculated and attributed while managing customers (more specifically heads of families). If a family composition is, however, added, modified or deleted, it is advisable to have the family composition of existing customers recalculated.
By executing the function Modify family compositions in batch, the family compositions are recalculated and attributed again to all existing customers so that all customers always have the correct family composition.
Go to General > Basic data > Customers > Processing > Modify family compositions in batch.
The following window will appear:
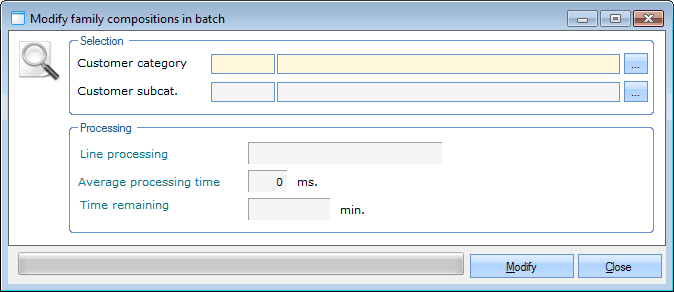 |
Customer category | Fill in the customer category of which you want to update the family compositions. |
Customer subcategory | Fill in the customer subcategory of which you want to update the family compositions. |
After pressing the button Modify, you can follow the update process in the section Processing.
Create web ID's in batch
If customers want to log in to the web modules, they have to dispose of a Web ID (user name) and a linked password. If, however, several customers have not yet been given a Web ID and password, it is possible to attribute a Web ID and a linked password to all these customers by making use of the function Create web ID's in batch.
Go to General > Basic data > Customers > Processing > Create Web IDs in batch.
The following window will appear:
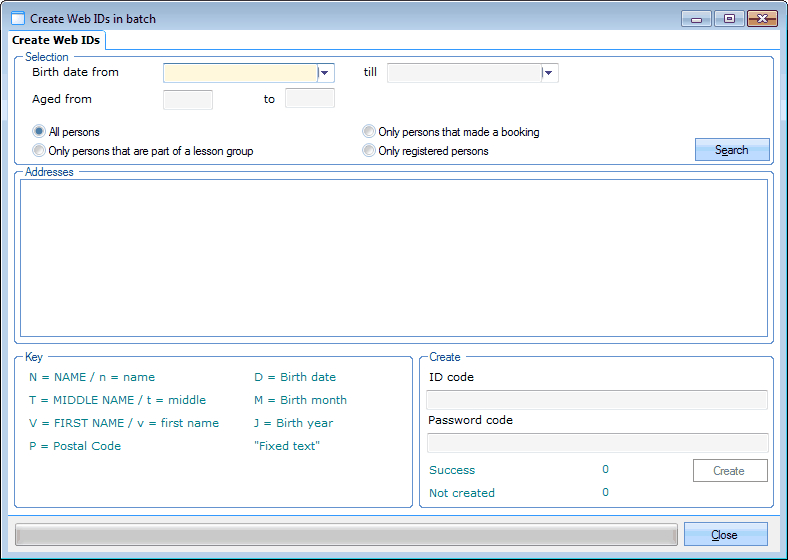 |
In the section Selection different selection criteria allow you to determine which customers you want to select. After clicking on the button Search you can effectively select all customers for which you want to create a web ID in the section Addresses.
In the section Create you can determine on the basis of the key how the web ID and password will be structured. If you click on Create, all web ID's and web passwords will be created for the selected customers.
If you choose for example to create a web ID according to the key NNDDMMJJJJ"web" you choose to take the first two letters of the name, followed by the first two digits of the birth day and the birth month, the first four digits of the birth year and to end with the word web.
If your customer's name is thus SYX and if he's born on 28/12/1944, his web ID will be SY28121944web.
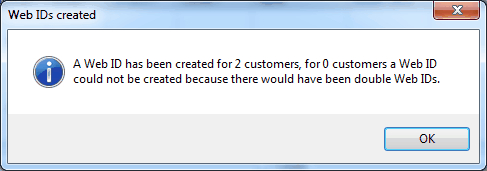
After generating the web ID's, the following message will appear:
 |
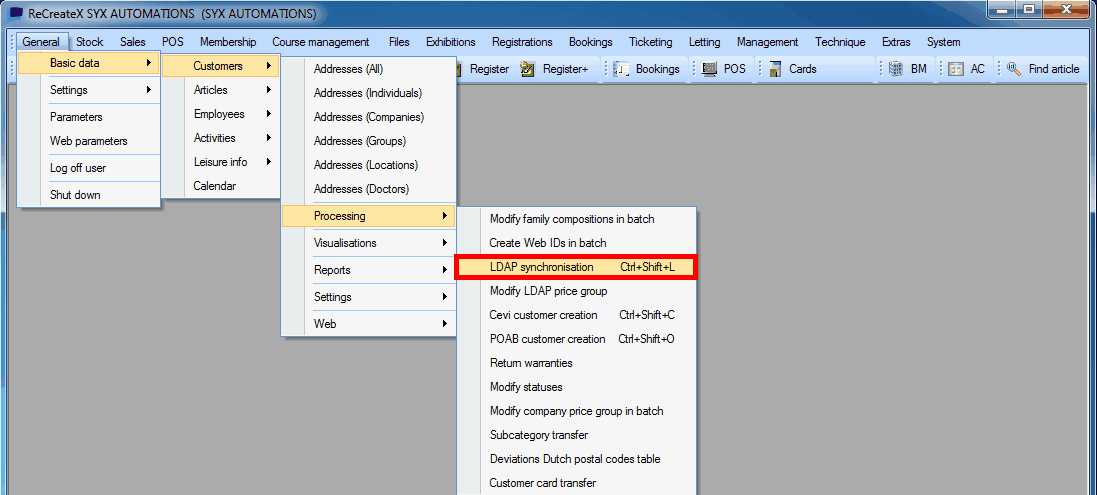
LDAP synchronisation
LDAP synchronisation allows you to synchronise the address list according to the LDAP protocol (Lightweight Directory Access Protocol). This function is only used for integration of the Rotterdampas. (module Rotterdampas required)
 |
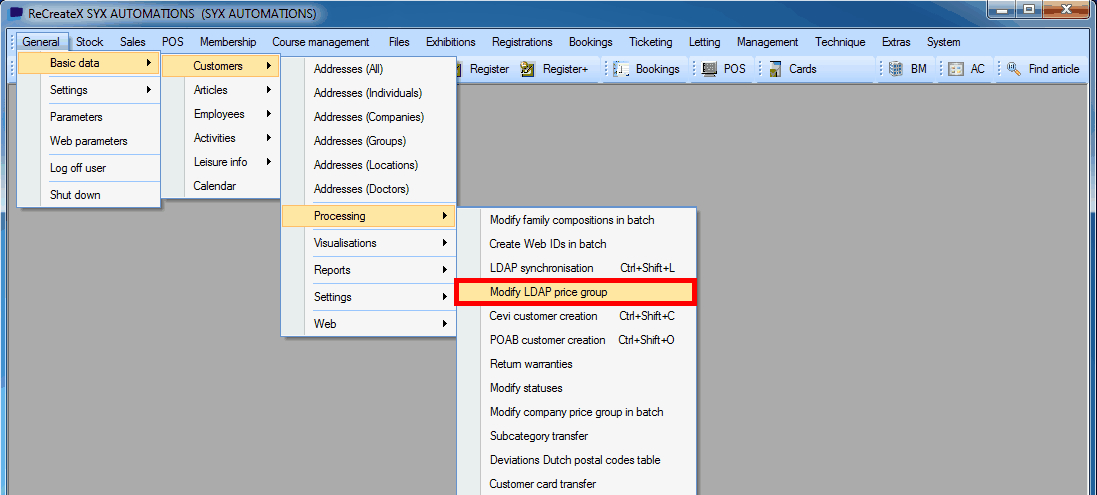
Modify LDAP price group
Modify LDAP price group allows you to modify the price groups according to the LDAP protocol (Lightweight Directory Access Protocol). This function is only used for integration of the Rotterdampas. (module Rotterdampas required)
 |
Cevi customer creation
The function Cevi customer creation is reserved for Recreatex users in the Belgian regions.
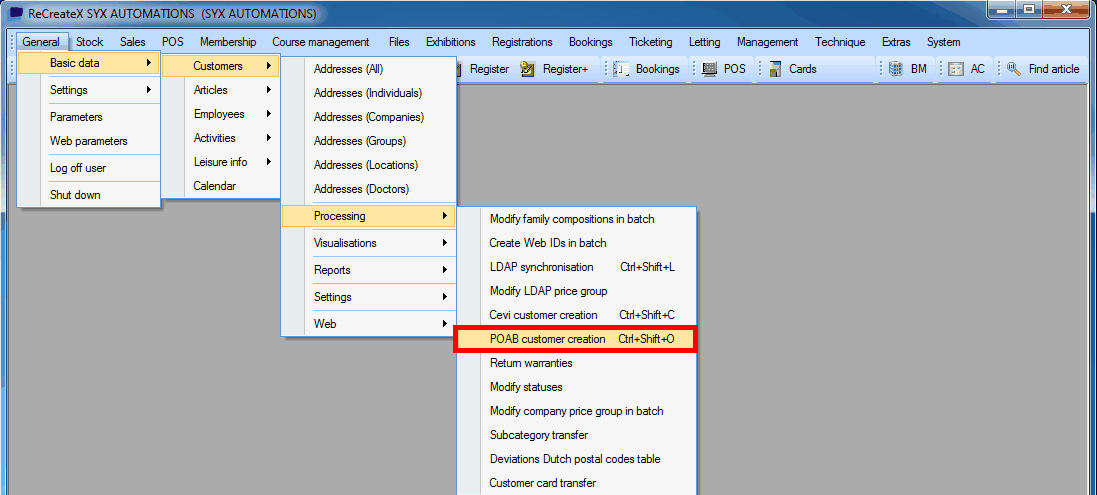
POAB customer creation
POAB customer creation allows you to create customers on the basis of the POAB (Publieke Ontsluiting Authentieke Basisgegevens) database. (license POAB integration required)
 |
Return warranties
Return warranties allows you to call up an overview of outstanding warranties and also allows you to register returns of warranties.
Go to General > Basic data > Customers > Processing > Return warranties.
The following window will appear:
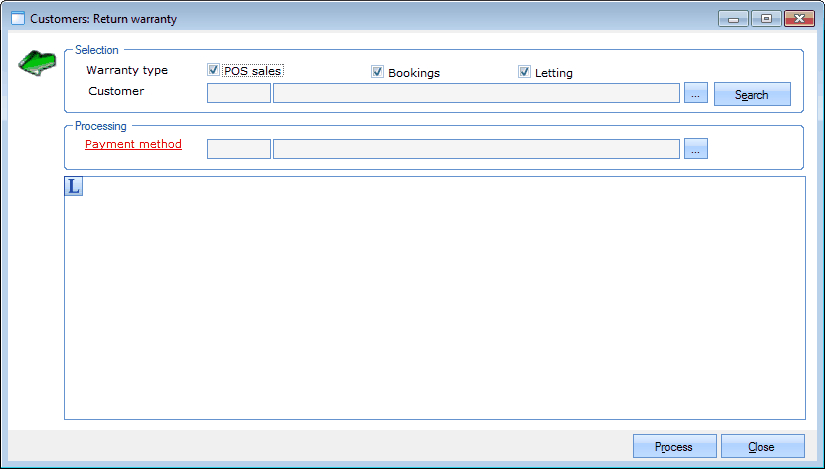 |
In the section Selection you can determine of which module you want to have an overview and, if you wish so, you can also select a certain customer. After clicking on the button Search an overview of all warranties that meet your search criteria will appear on the bottom of the window, for example:
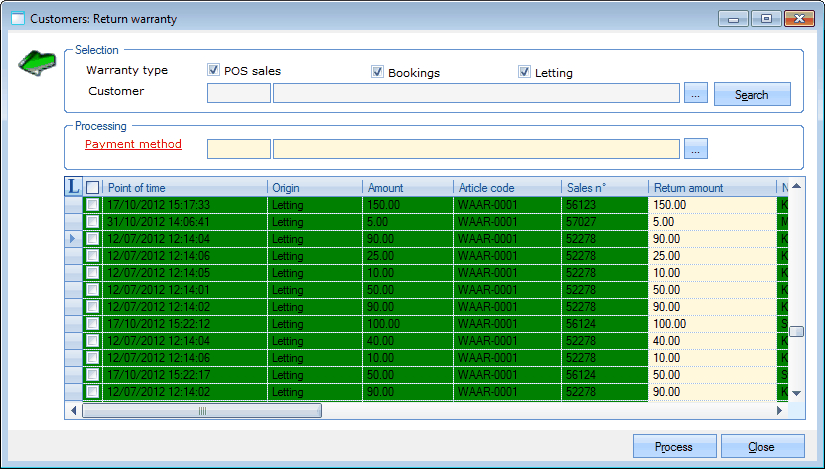 |
The warranty can be returned to the customer by clicking on the desired warranty line, filling in a (divergent) amount if required, choosing the payment method for the refund and by clicking on the button Process.
Anmerkung
Here, it is also possible to open the details of a warranty by double-clicking on the warranty line in question (or clicking on it, followed by <Enter> or <F3>). See also chapter 'The customer card', paragraph 'Warranties'Warranties.
The meaning of the colours of the warranty lines can be found in the key (
 ).
).
 |
Warranty lines without a colour (Undetermined) indicate a warranty that is no longer linked to the original sale. This can be the case for older warranties in the system.
Modify statuses
Customers may dispose of a status and in order to change the status of one or several customers in one action, you can use the functionality below. While changing the customers' status, you can also add a customer remark.
Go to General > Basic data > Customers > Processing > Modify statuses.
The following window will appear in which all customers are listed that already have a status.
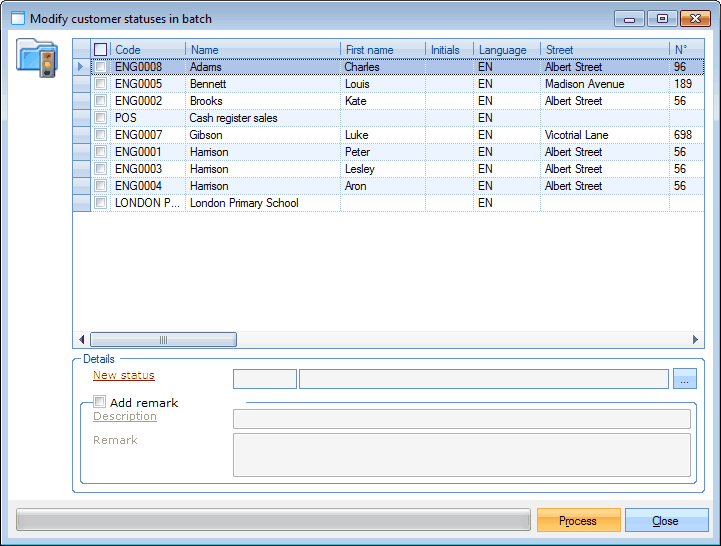 |
In the upper part of the window you can select all customers of which you want to modify the status, and in the section Details you can fill in the new status and, if you wish so, add a remark.
If you click on Process the status of all selected customers will be modified and the remark, if there is one, will be added.
Modify company price group in batch
The window Modify company price group in batch allows you to modify the price group of the staff of a specific company and also of their family members.
Go to General > Basic data > Customers > Processing > Modify company price group in batch.
The following window will appear:
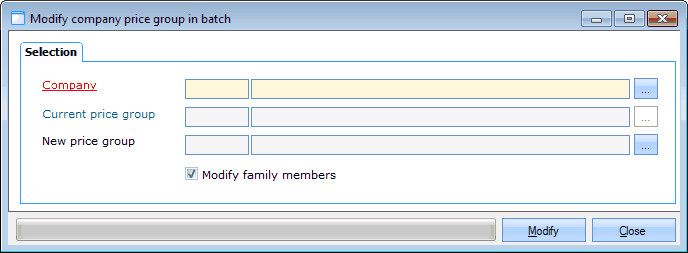 |
You have to select the company of which you want to modify the price group, as well as the new price group you want to link to the chosen company. By ticking off the option Modify family members you can assure that the price group of family members of the staff is also modified after clicking on Modify.
Subcategory transfer
If one or several customers have been linked incorrectly or not to subcategory X, it is possible to link one ore several customers to another subcategory via Subcategory transfer.
Go to General > Basic data > Customers > Processing > Subcategory transfer.
The following window will appear:
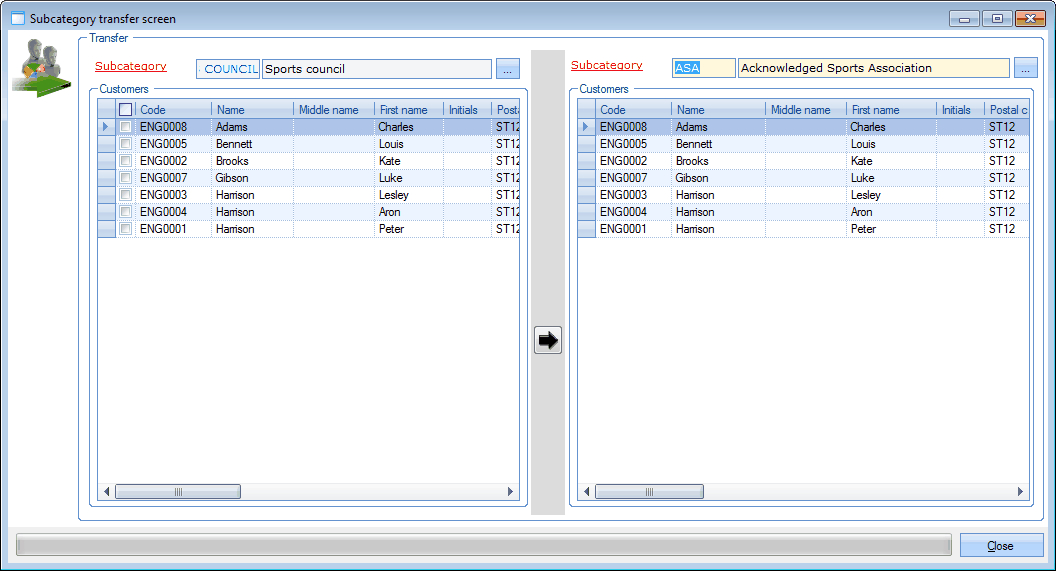 |
On top of the window, you can select the current subcategory on the left after which all customers belonging to this subcategory are visualised. The transfer of the customers is done by ticking off the desired customers in the left part of the window and by clicking on  . Next, you can see in the right part of the window all customers that are linked to the subcategory filled in above.
Deviations Dutch postal codes table
If the Dutch postal codes table has been imported, the correct street names can be determined on the basis of the postal codes and the house number. It is, however, also possible that there are differences between the street names already entered and those in the postal codes table. If required, these differences can be corrected using the functionality described below. (module Link with Dutch postal codes table required)
Go to General > Basic data > Customers > Processing > Deviations Dutch postal codes table.
The following window will appear:
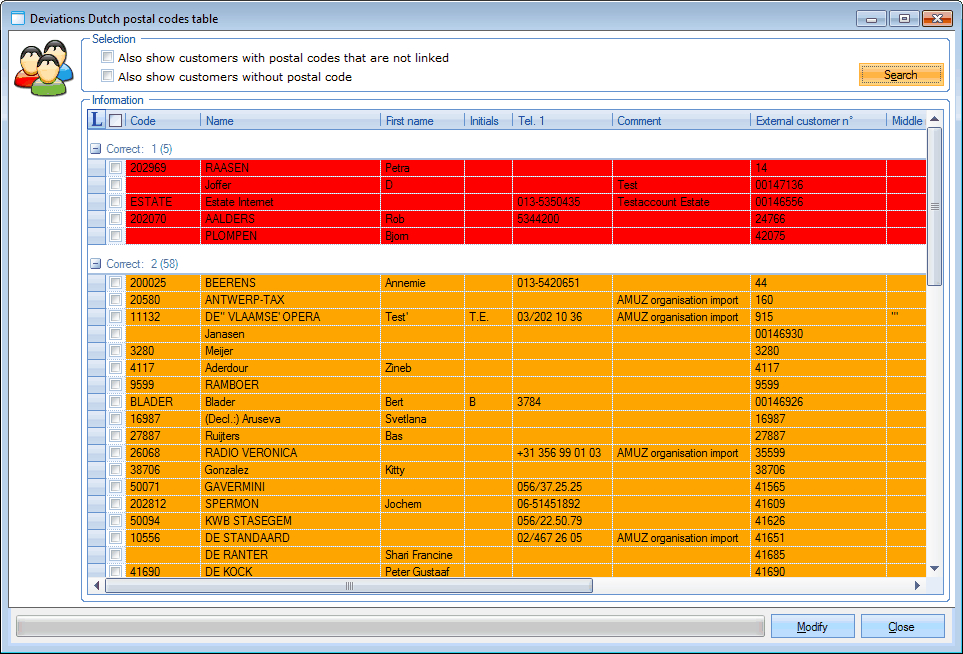 |
The differences in the address file shown in the overview are marked with a colour following the key below.
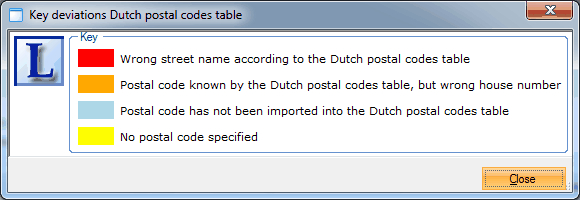 |
Finding deviations consists in searching the postal codes table for the street name that corresponds to the given postal code and the house number and in comparing that street name to the street name in Recreatex.
You can modify/correct differences by ticking off the desired deviations and by clicking on Modify after which the deviating street names in Recreatex will be overwritten by the street names of the postal codes table.
Customer card transfer
If cards have been sold incorrectly or not to customer X and if you still want to link these sold cards to another customer, you can link one or several cards of customer X to another customer via Customer card transfer.
Go to General > Basic data > Customers > Processing > Customer card transfer.
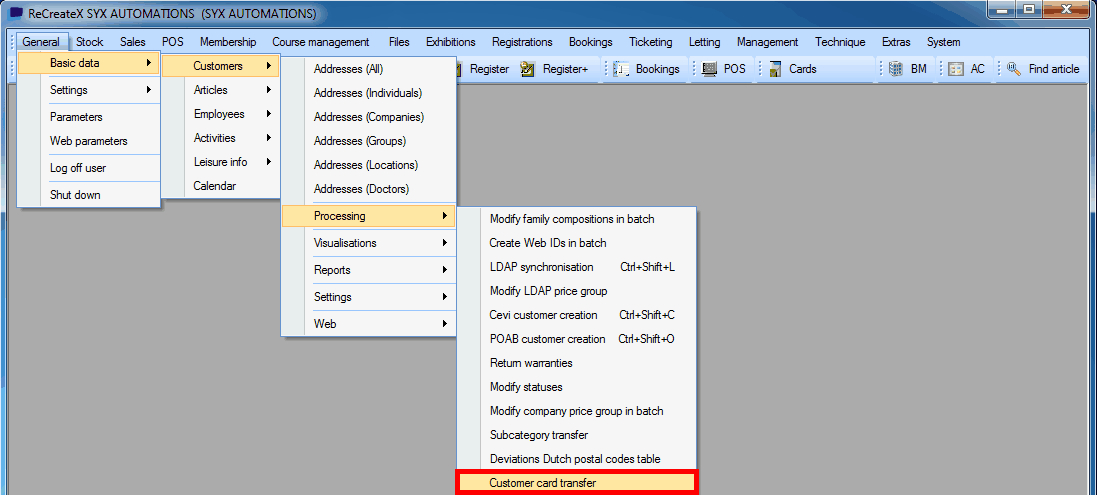 |
The following window will appear:
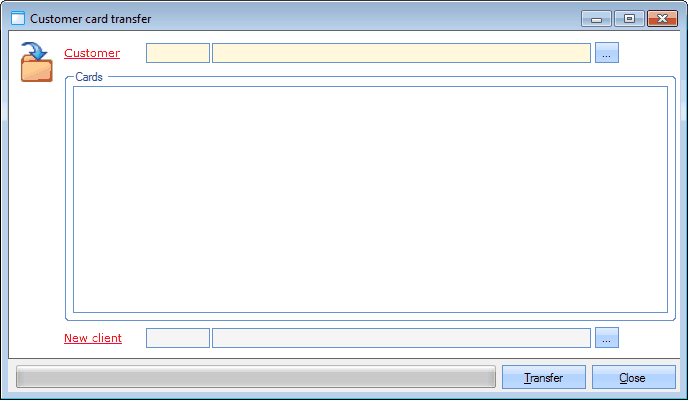 |
Next to Customer you have to select the current owner of the card and next, you can select the cards that you want to link to another customer in the section Cards.
Next to New client you have to select the customer to which you want to link the selected cards and if you click on Transfer and confirm the question below, the selected cards and linked membership will be linked to the new customer.
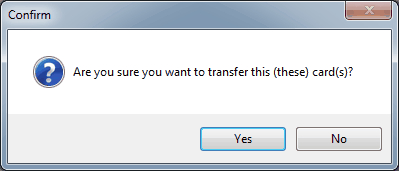 |
Warnung
If you transfer cards, the New customer will not only be the new card holder but also the new membership holder.