Create a form
On the Visitor info forms page, click Create form.

On the resulting page, enter the form name and add fields to create a form.
Form name
Enter the form name. It is possible to edit it after saving the form.

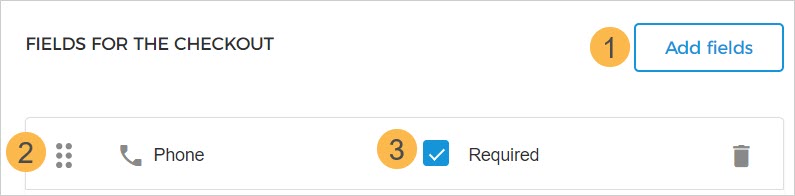
Fields for the checkout
The fields Email and County are the default fields. Using the (1) Add fields button, you can add form fields as required. (2) The dots corresponding to a field allow you to change the field sequence in the form. (3) You can also mark a field as Required and make it mandatory to be filled in.
Note
It is possible to create form fields and add translations for the fields.
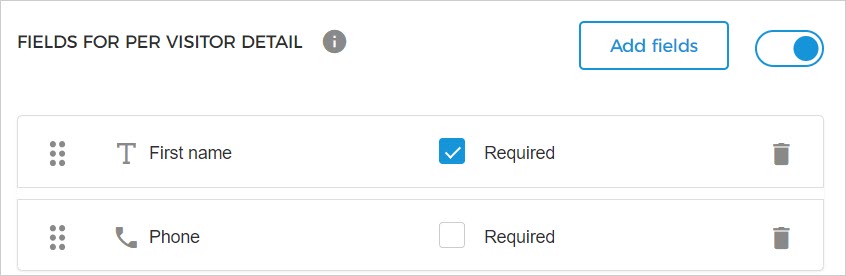
Fields for per visitor detail
If enabled, you will be able to configure fields that will be shown for each visitor after adding the tickets to the basket in the Enviso Ticketing widget and the venue's Offers shop.
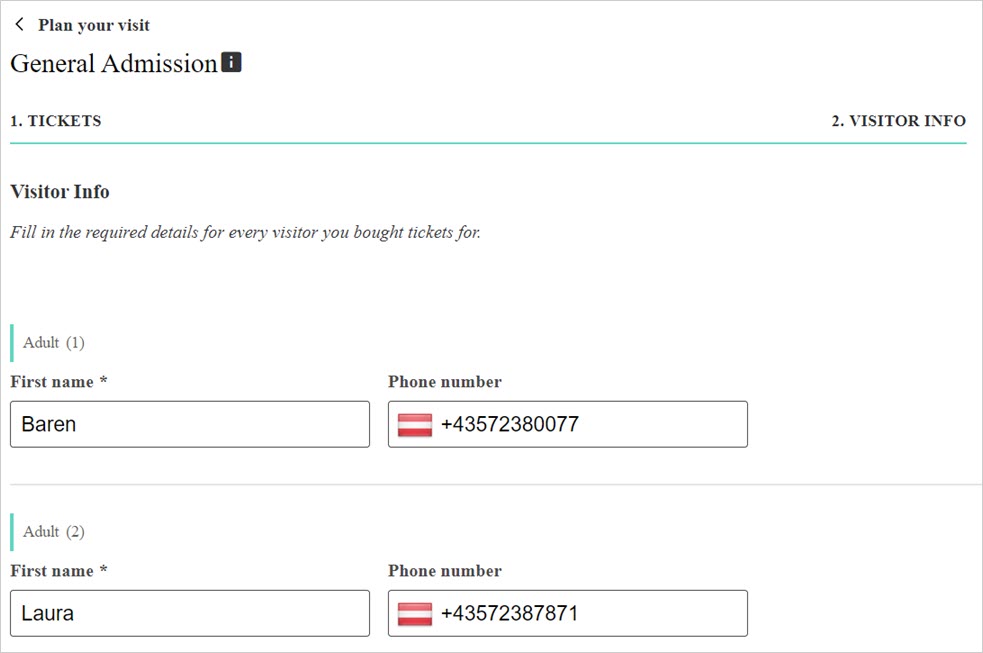
For example, the configured form is linked with the offer 'General admissions'. On the Ticketing widget, the visitor places an order for 2 Adult tickets of the same offer. Next, under the tab Visitor info, the configured fields will show twice, that is, for each visitor added to the order.
Note
For the users of Enviso's Ticketing widget, if the parameter 'Fields for per visitor detail' is enabled and the details have been filled-in at checkout, you can consult the visitor details from the exported order file.
Moreover, on the Checkout screen of the Ticketing widget > tab My info, the visitor will see the fields added for Fields for the checkout of the form linked to the offer.
Add fields
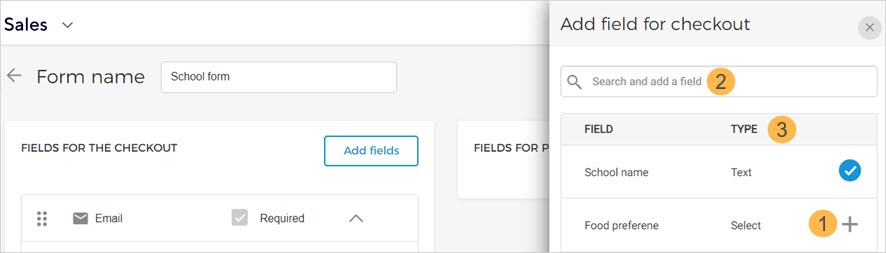
Click on the Add fields button (either for Fields for checkout or for Fields for per visitor detail). Note a right panel appears with the list fields.
(1) You can click the add button corresponding to a field to add it to the form. (2) The search bar in the right panel allows you to search for a field. (3) The column Type displays the characteristic of the field, that is, whether it is a text field, email field, date field, and so on.
Click Save to add the selected fields.
Change field sequence and remove field
Once the fields are added to the form, you can (1) change the sequence as well as (2) remove them.

Note
For the Fields for checkout section, the fields 'Email' and 'Country' cannot be removed because they are mandatory fields by default.
Mark a field as Required
When you mark a field as Required, it will be mandatory for the user to fill in the form.

Refer to Manage fields to create form fields.