Configure Enviso
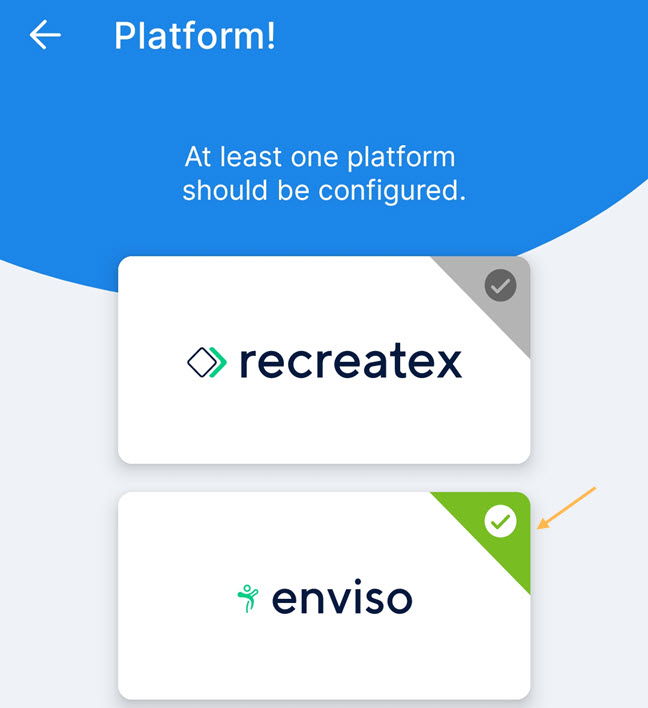
1. Select platform
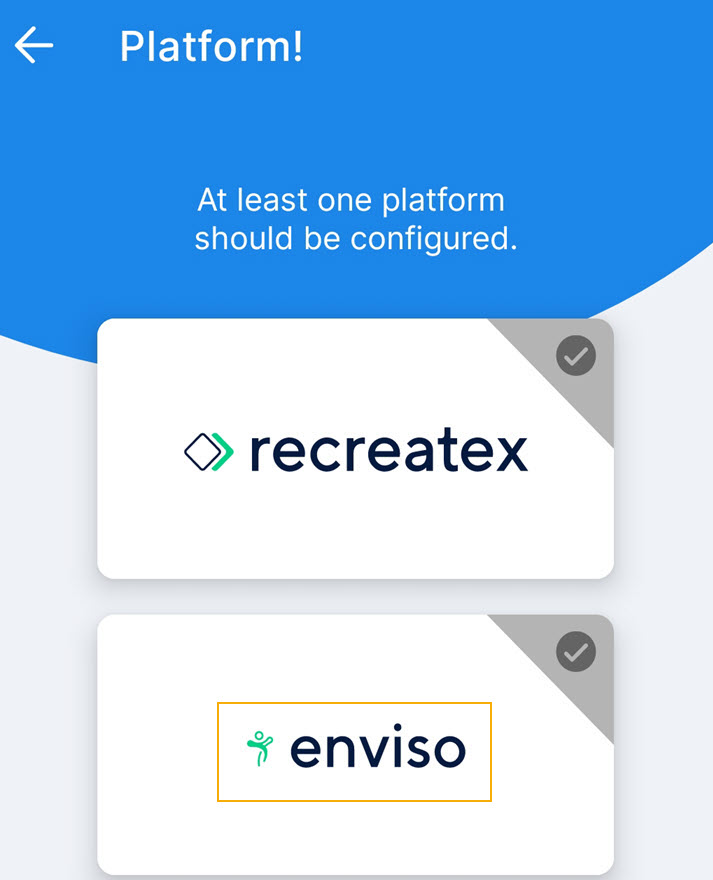
On the Platform screen, select Enviso.
 |
2. Scan configuration QR code
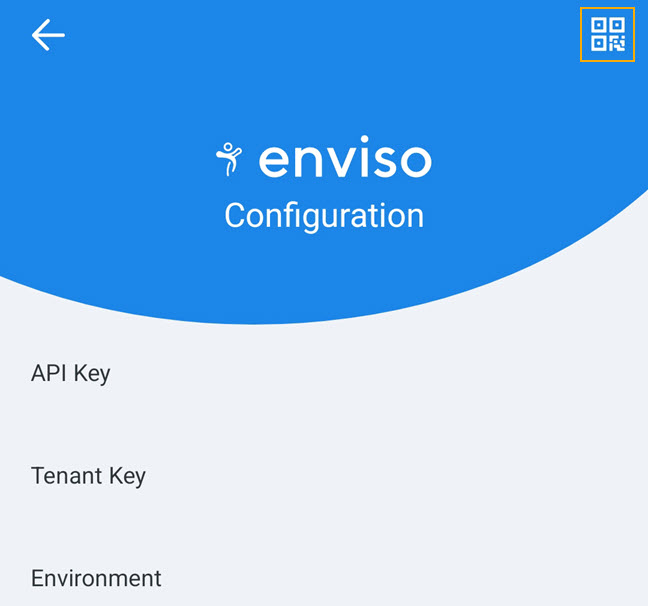
Next on the Enviso configuration screen, tap the Scan QR code icon  and scan the Enviso configuration QR code. The Enviso configuration QR code will be provided by Vintia support.
 |
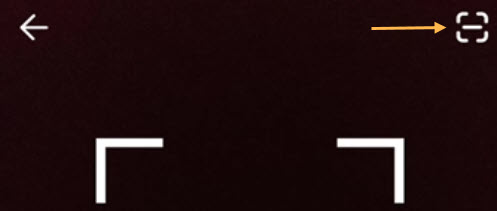
In case the device supports red light barcode scanning, you will have the option to scan the barcode using the scanner button in the top-right corner of the screen.
 |
Important to know:
On the configuration QR code scanning screen, please ensure to select the correct environment.
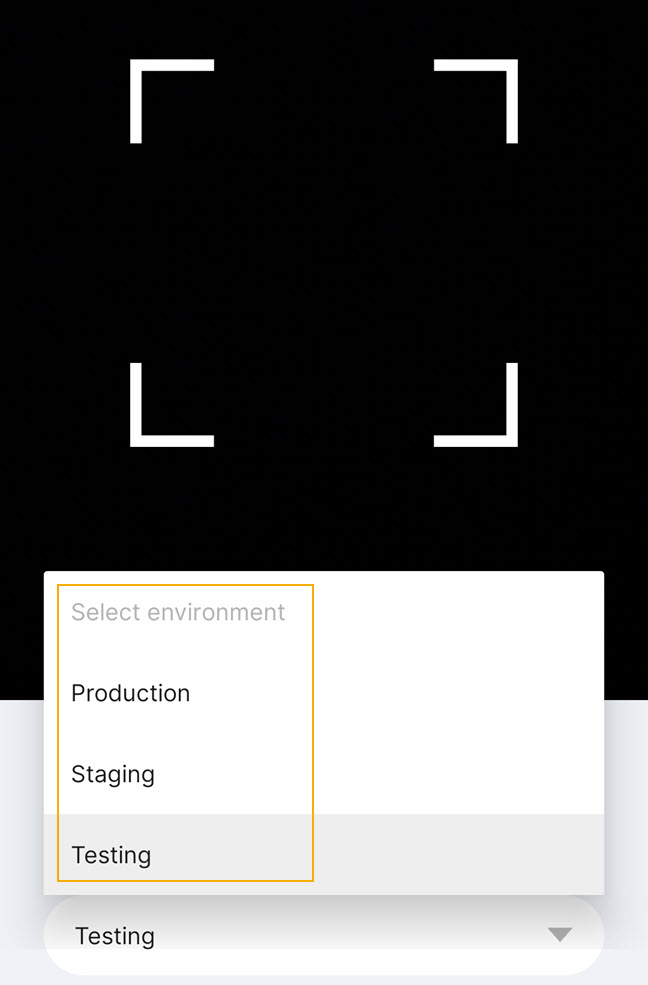 |
For example, if the configuration details are of the 'Production' environment, please select the environment as 'Production' on the scanning screen.
If the connection with Enviso is successful, you can view the scanned configuration details and the selected environment. Tap Next.
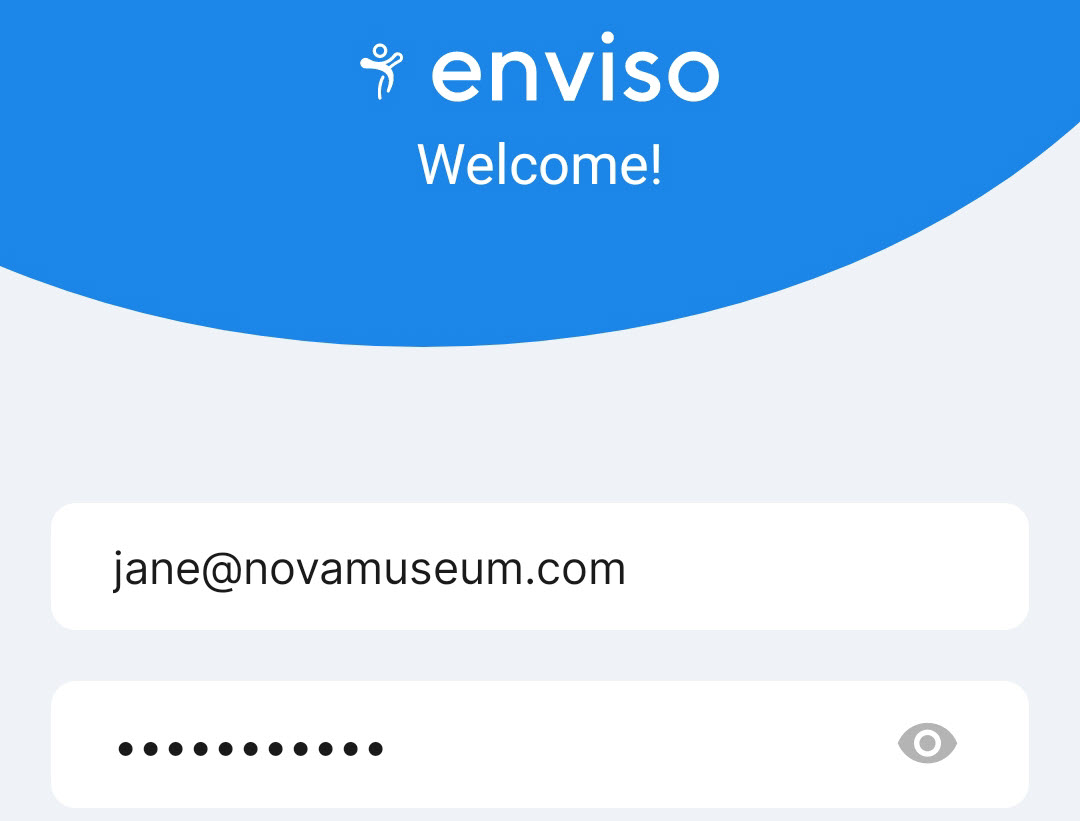
3. Enter employee credentials
You will be navigated to the Welcome screen to enter the login credentials. Enter the employee credentials as defined in the Enviso Admin app and tap Next.
 |
Note
For Admission 5.0, multi-tenant is not supported. Multi-tenant refers to the multiple venues added to an organisation.
4. Select Access Zone and Reader
After entering the employee credentials, select the Access Zone and Reader as defined in the Enviso Admin app. Tap Save.
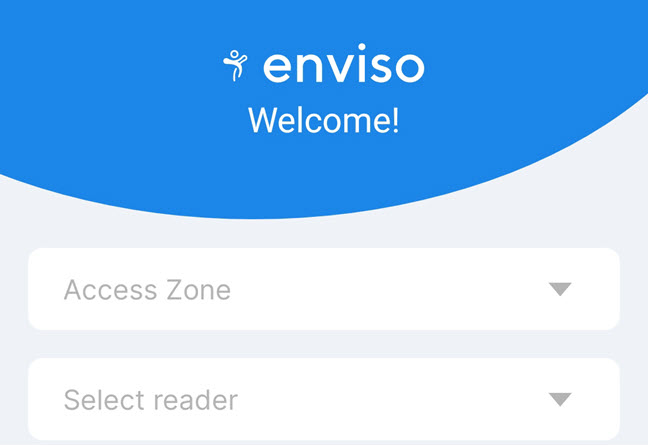 |
Note
Later if you wish to change the access zone and reader, you can do so by editing the profile.
This completes the process of configuring Enviso for using the Admission app. Click Save .
 |
Upon subsequent logins with the same profile, you will be required to enter only the employee password.