Select a transfer journal
From the list of journals on the Transfer journal screen, select the journal for which you want to record stock transfer.
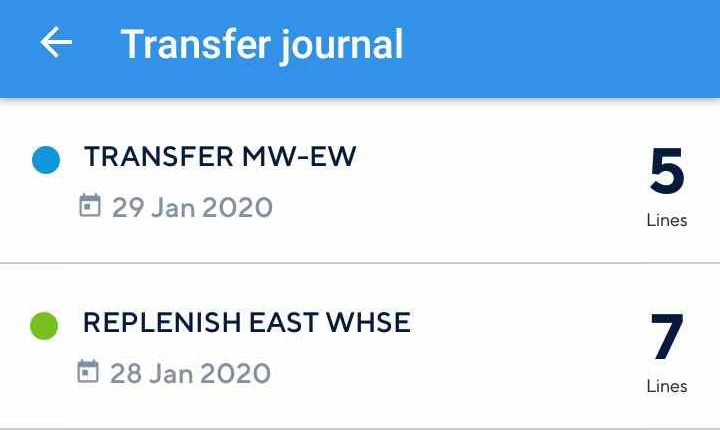 |
You can either select from the journals that are synced from Recreatex or create a new transfer journal.
Note
For a description of the journal screen, refer Journal components and Journal status.
Create a transfer journal
When you open the transfer journal for the first time, you will see journals that have been created in Recreatex. However, if you wish to create a new journal, you can do so from mStock. The created journals sync automatically with Recreatex.
Creating a transfer journal involves the following steps:
Warning
Once a journal is created, details such as the journal name, description and creation date cannot be edited from mStock. Moreover, it is not possible to delete a journal from mStock.
Enter journal details
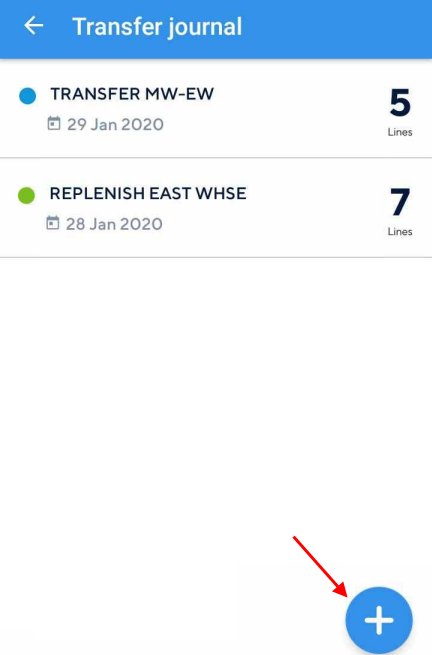
Select Transfer journaltype on the Home screen. Next, tap the add journal button  in the bottom right corner of the screen.
 |
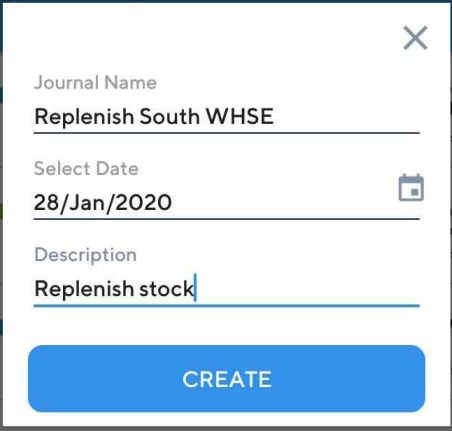
In the resulting pop-up, enter the details to create a journal. Thereafter, tap Create.
 |
Note
You will be able to consult the journal name and journal creation date in both, mStock and Recreatex. However, the description text will only be visualized in Recreatex.
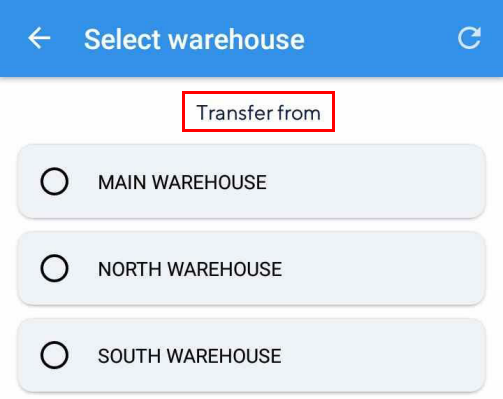
Define source and destination warehouse
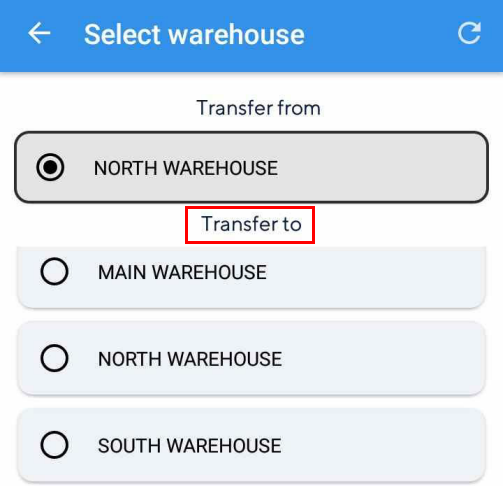
Select the warehouse from which you wish to source the stock.
 |
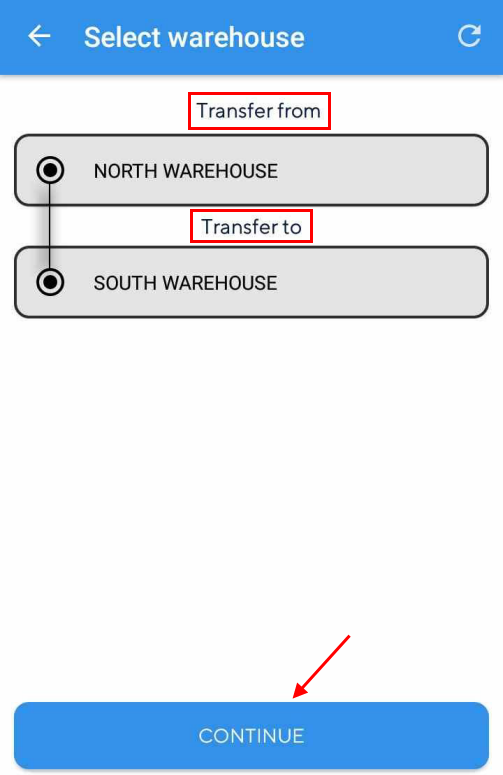
Next, select the warehouse to which you wish to transfer the stock.
 |
Thereafter, tap Continue at the bottom of the screen.
 |
Now, on the Transfer journal screen, you will see the created journal.
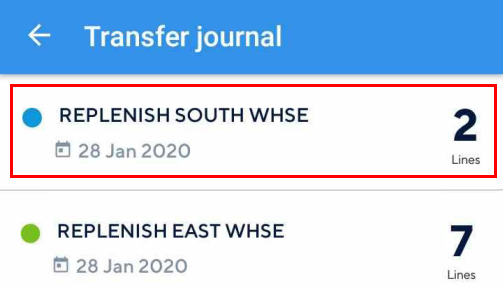 |
Important to know:
It is possible to create a transfer journal only between warehouses that have common stock items to transfer.
Once a transfer journal is created, it is not possible to change the source and/or destination warehouse.
It is not possible to delete a journal from mStock.