Purchase journal
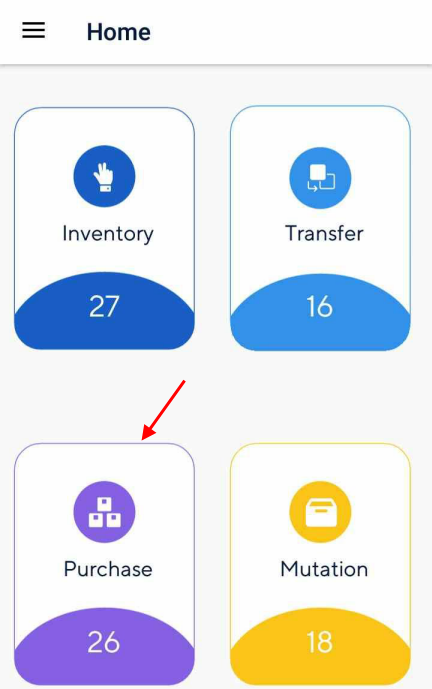 |
The purchase journal is used when you want to record updating and adding the purchased stock to a warehouse.
The procedure to add a record in a purchase journal is as follows:
Select a journal. Optionally, you can also create a purchase journal.
Update stock count. It is also possible to add an item to the journal
Select a journal
From the list of journals on the Purchase journal screen, select the journal for which you want to record stock purchase.
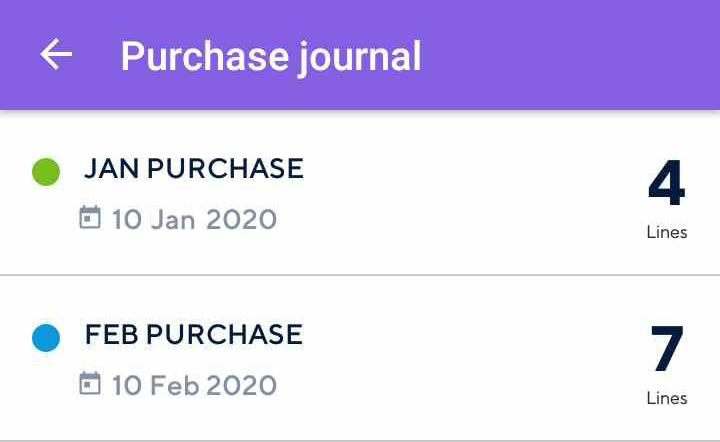 |
You can either select from the journals that are synced from Recreatex or create a new purchase journal.
Note
For a description of the journal screen, refer to Journal components and Journal status.
Create a purchase journal
When you open the purchase journal for the first time, you will see journals that have been created in Recreatex. However, if you wish to create a new journal, you can do so from mStock. The created journals sync automatically with Recreatex.
Creating a journal involves the following steps:
Warning
Once a journal is created, details such as the journal name, description and creation date cannot be edited from mStock. Moreover, it is not possible to delete a journal from mStock.
Enter journal details
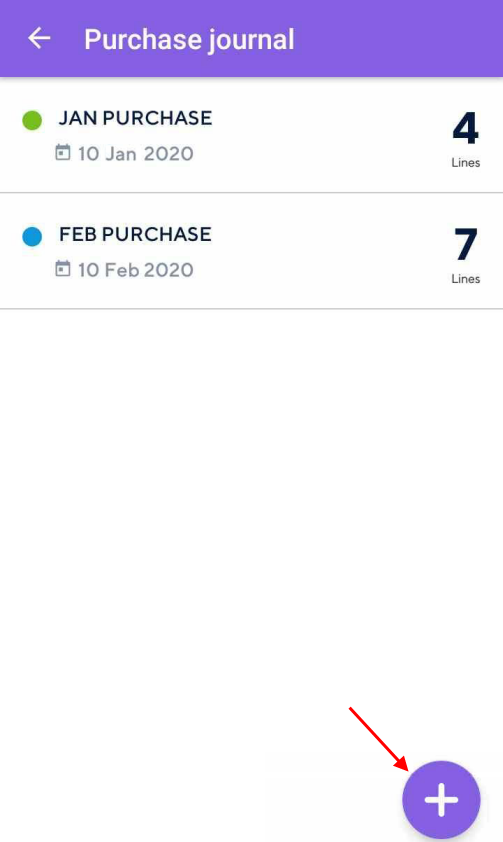
Select a journal type on the Home screen. Next, tap the add journal button  in the bottom right corner of the screen.
 |
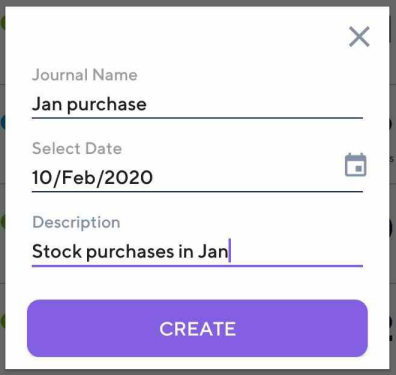
In the resulting pop-up, enter the details to create a journal. Thereafter, tap Create.
 |
Note
You will be able to consult the journal name and journal creation date in both, mStock and Recreatex. However, the description text will only be visualized in Recreatex.
Link warehouse with the journal
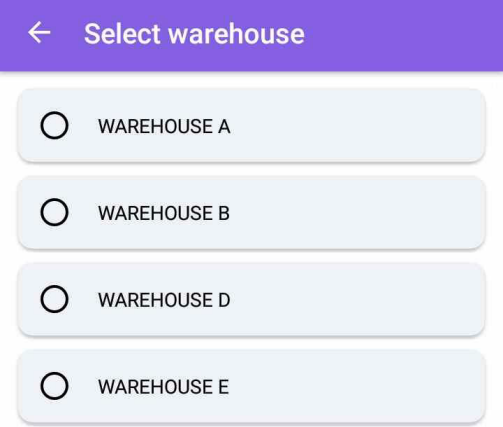
Select the warehouse which you wish to link with the journal.
 |
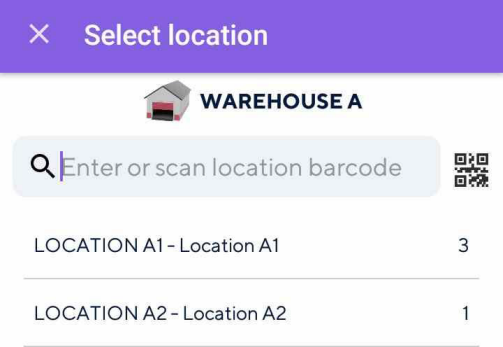
Thereafter, select a location in the warehouse.
 |
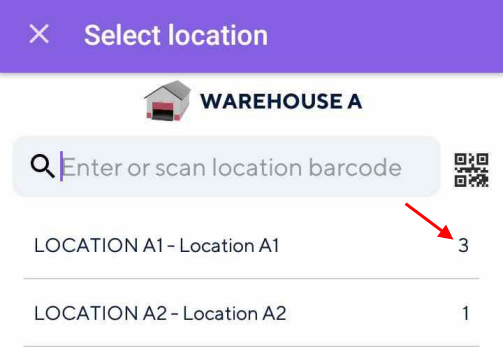
Note that the number corresponding to a location refers to the number of items in that location.
 |
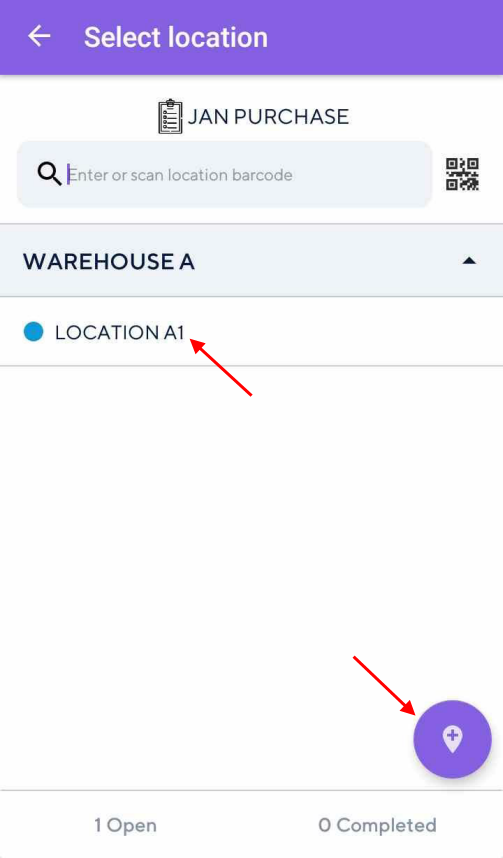
In the resulting screen, you will be able to consult the linked location. To add more locations, tap  in the bottom right corner of the Select location screen.
 |
Now, on the Purchase journal screen, you will see the created journal.
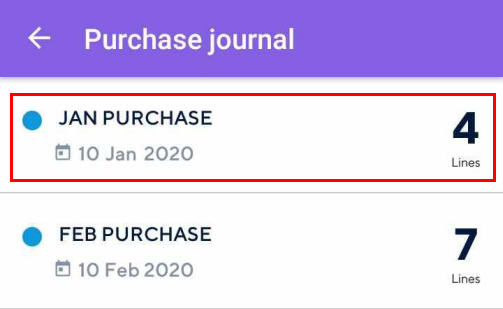 |
Important to know:
If a location has already been selected, you will not be able to deselect it.
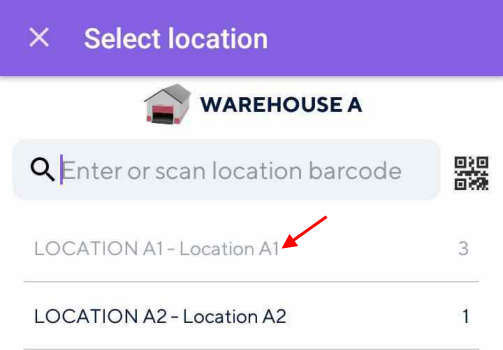
It is possible to add more warehouse to the journal even after the journal is created.
It is not possible to delete a journal from mStock.
Select location
Select a location from the list of locations.
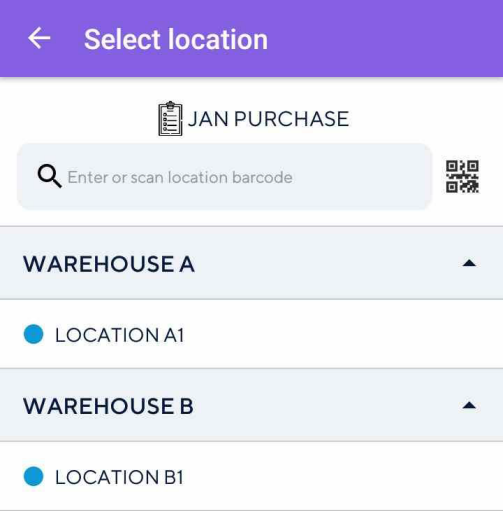 |
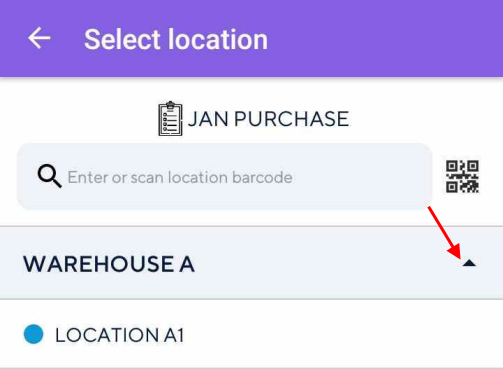
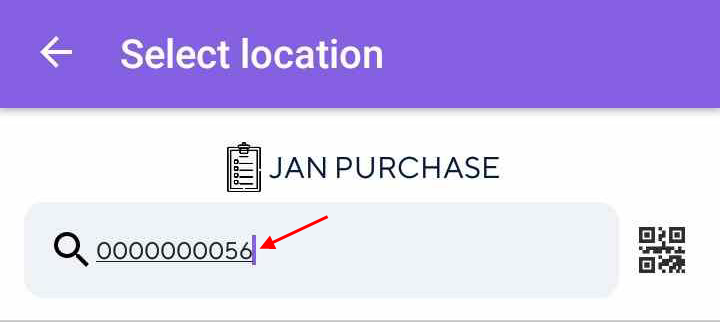
It is possible to select a location in any of the following ways:
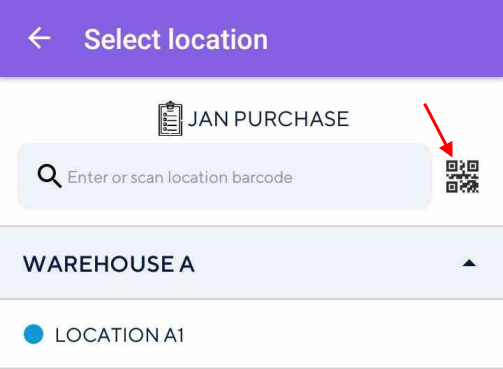
Scan the location barcode to select the location for which you want to count or recount stock. You can also use the device scanner.
Tap the desired location, which is nested in the corresponding warehouse
Enter the location barcode manually.
You can also add a location, if required. For a detailed description, refer Link warehouse with the journal.
Note
On the Select location screen, it is possible to filter locations for which stock count is either open (pending/in-progress) or completed. See further, Filter locations
Update stock count and add items
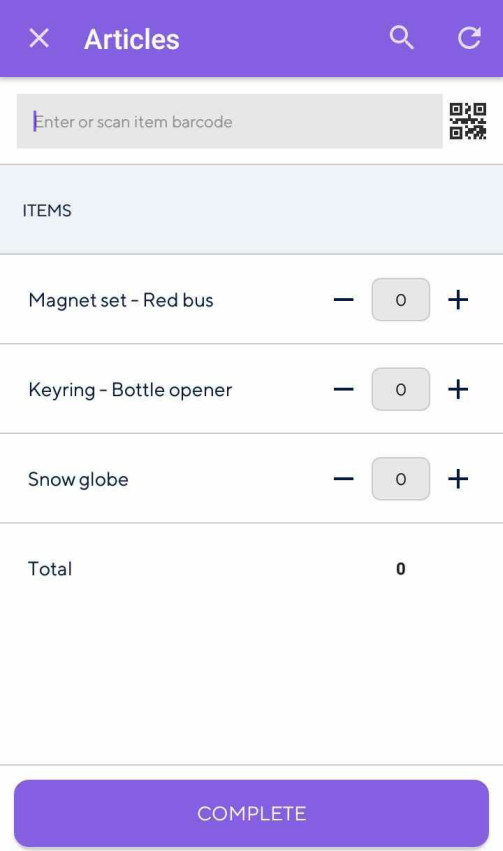
On the location screen, scan the item barcode to update the stock count in mStock.
 |
Note
Depending on the Recreatex parameter Propose quantity counted, the input box will be pre-filled with the system stock quantity. See further, Display of system stock
System stock quantity is the current quantity of an item in Recreatex.
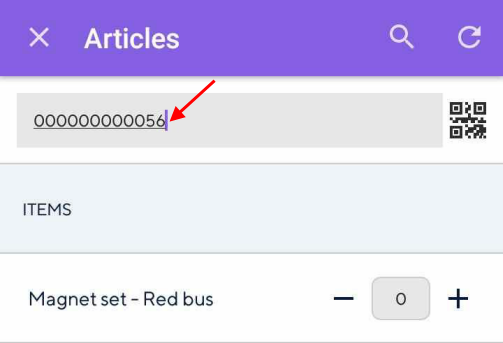
You can update item quantity in any one or combination of the following methods:
Manually enter the item barcode.
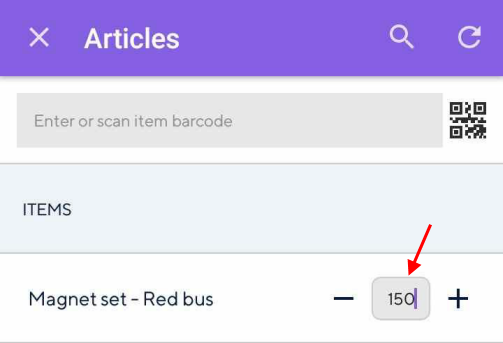
Manually enter the item quantity, by tapping on the input box and filling in the item quantity.
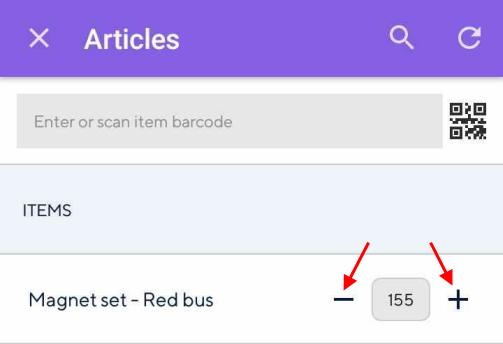
Adjust the item quantity using the + and - buttons on the sides of the input box.
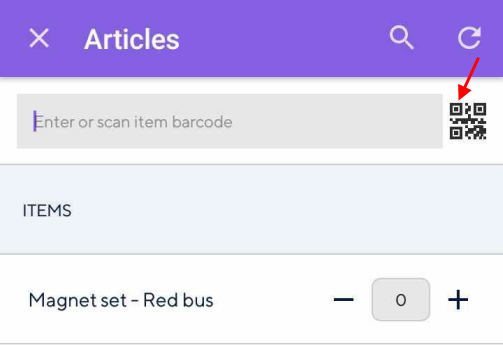
Scan the item QR code using the device camera. Tap
 in the top right corner of the screen. This will initiate QR code scanning. Now, point the device scanner at the QR code of the item.
You can use the device scanner to scan the item barcode.
Search item
Tap on the search icon in the top panel.
 |
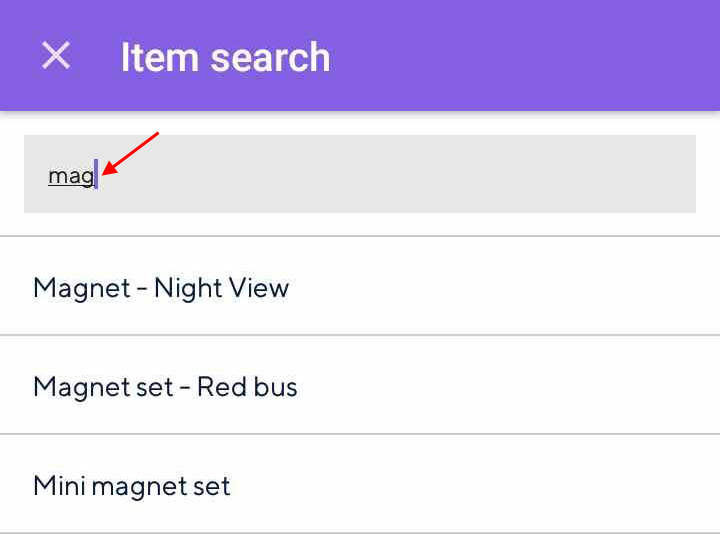
On the resulting screen, enter the item name in the search bar.
 |
Add stock items
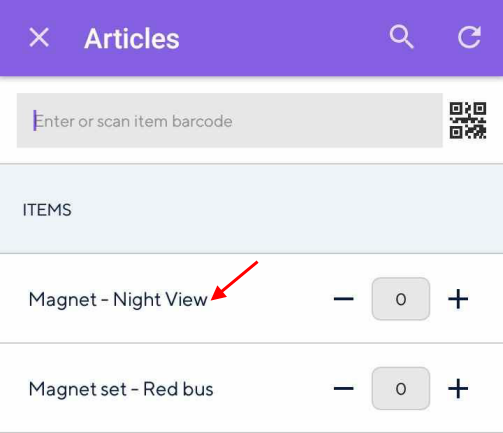
The search result will contain all the stock items which are in Recreatex. This way it is possible to add a new item that has been purchased and stocked for the location in question.
Note that the newly added item will show at the top of the articles list.
 |
Consult item details
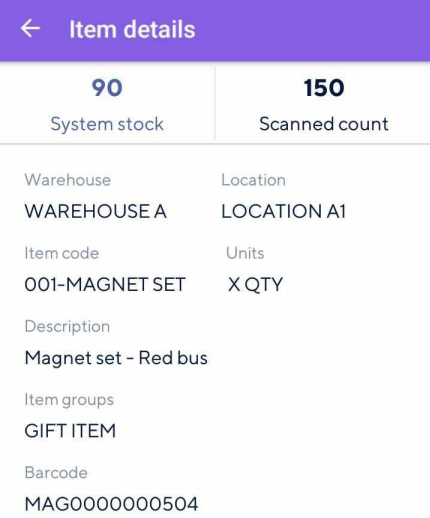
Tap an item to consult its details.
 |
Submit count
After you have completed scanning the items, tap Complete at the bottom of the Articles screen.
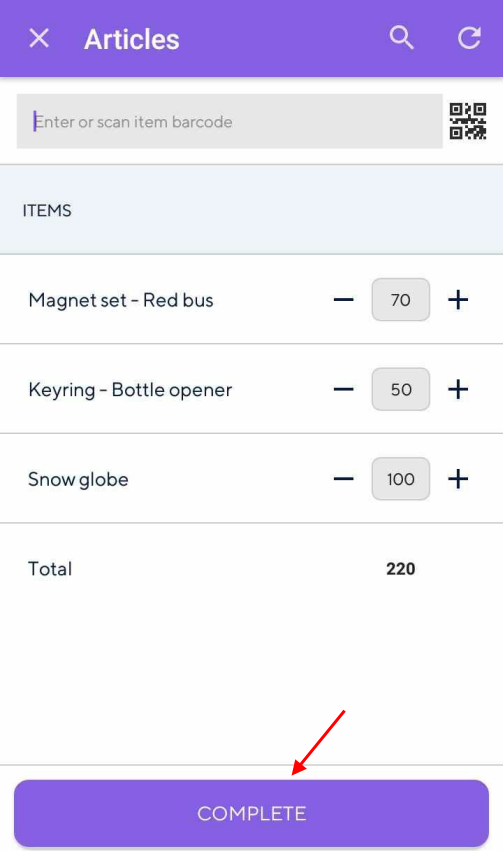 |
Alternatively, you can scan the location barcode, which will work the same as tapping the Complete button.
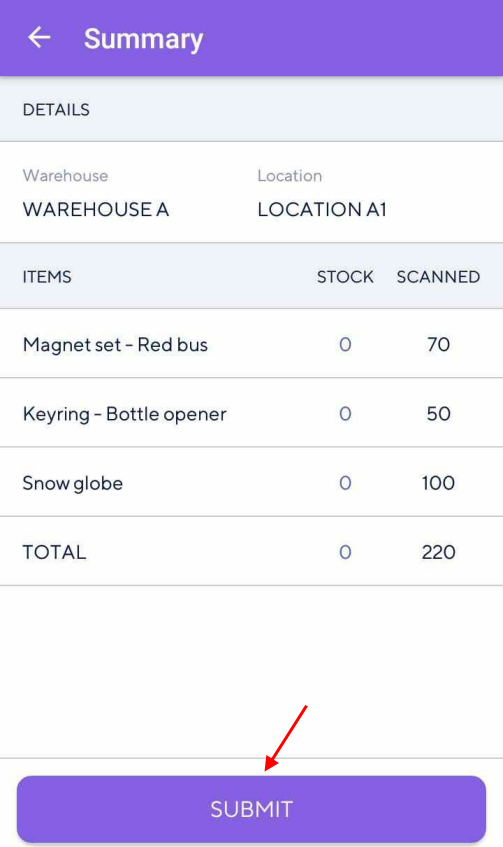
Next, the user will be navigated to the Summary screen, which contains an overview of the stock count performed for the current location.
To submit the stock count to Recreatex, tap Submit at the bottom of the Summary screen.
Alternatively, you can scan the location barcode, which will work the same as tapping Submit. However, to do so, your device should have an in-built scanner.
 |
Resultantly, the location will show as completed on the Select location screen.
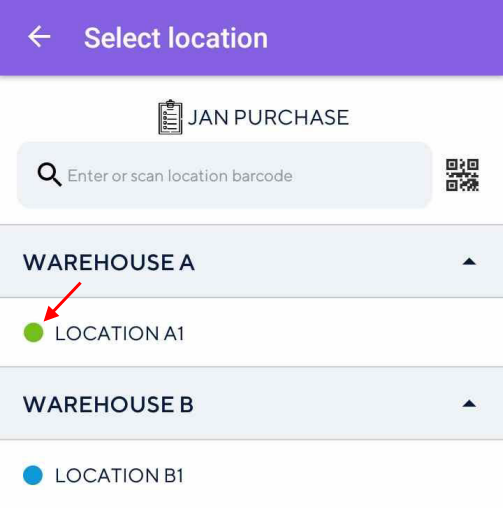 |
Close the journal
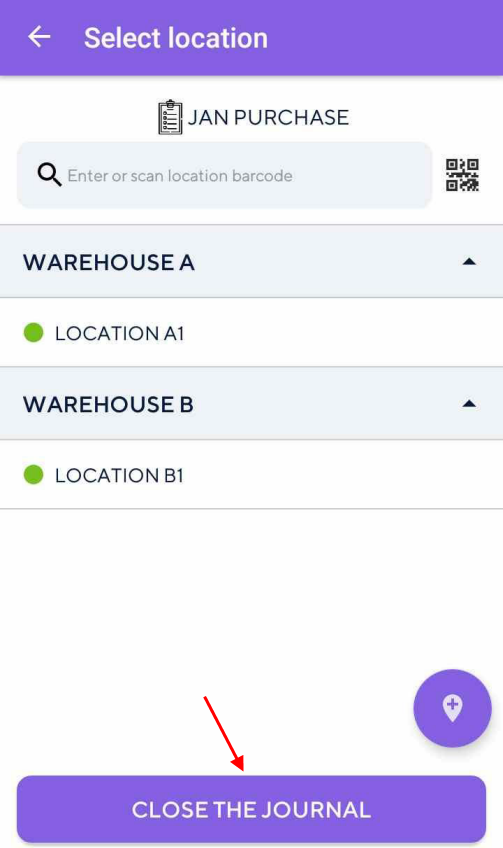
When all the locations in a journal are completed, the user will be able to close the journal and update the stock count in Recreatex.
 |