Styling
Style sheet
Styling can be applied to the components using multiple strategies.
Note
You can explore customised Ticketing widget on the demo site.
External Style sheet
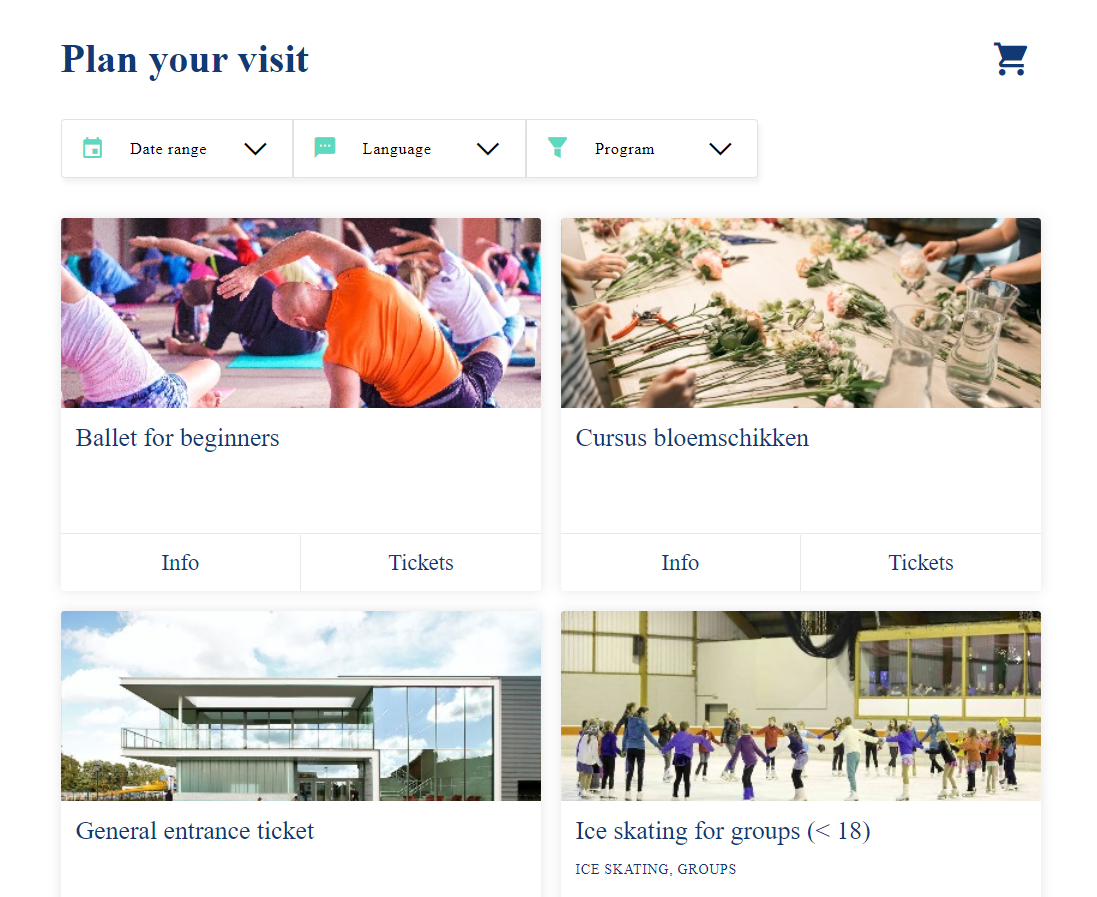
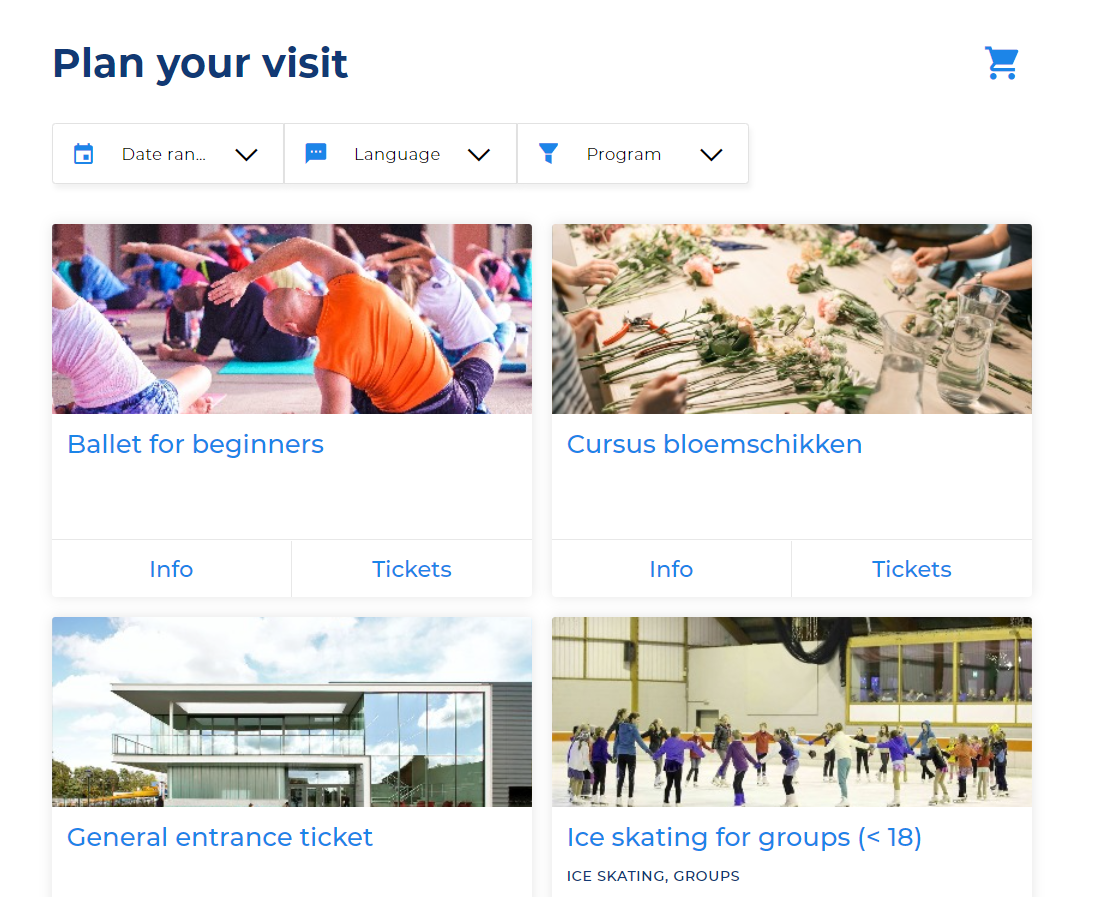
Using the normal <style>-tag or an external stylesheet, you can do styling on elements that are not part of a Shadow DOM. Using this method, you can apply styles to the Shadow Root of a component, but not to the items inside the Shadow DOM.
Example:
<head>
<link rel="preconnect" href="https://fonts.gstatic.com">
<link href="https://fonts.googleapis.com/css2?family=Montserrat&display=swap" rel="stylesheet">
<style>
       body {
                  font-family: 'Montserrat', sans-serif;
                 }
</style>
</head>
<body>
<enviso-style>
        :host {
            --enviso-primary-color: #004DC0;
            --enviso-secondary-color: #03002B;
        }
  </enviso-style>
</body>
Before:

After:

Enviso Style Tag
When using Web Components, all internal styling of a component is hidden in its Shadow DOM. This means that you cannot change the style of that component with a normal style element (except on browsers that use Shady DOM, like Internet Explorer). Because there is currently no valid, cross-browser way to do styling on an element that is part of a Shadow DOM, we created our own <enviso-style> tag.
Using the <enviso-style> tag, you can add style rules to the different elements inside the Shadow DOM of enviso-elements.
To use the <enviso-style> tag, you first need to load the below script in the document header section:
<script>enviso.load(['https://widget.staging-enviso.io/build-ts/components/common/enviso-style-element.js']);</script>
Applying styles to all elements can be done by just using the style tag:
<enviso-style hidden>
    /* This markup is applied to all enviso-elements */
    :host
    {
        color: red;
    }
</enviso-style>
Applying styles to specific elements:
<enviso-style for="enviso-calendar" hidden>
    /* This markup is applied to the enviso-calendar element */
    :host
    {
        font-weight:bold;
    }

    .enviso-calendars
    {
        background: green;
    }
</enviso-style>
<enviso-style for="enviso-checkbox" hidden>
    /* This markup is applied to the enviso-checkbox element */
</enviso-style>
It's good practice to always add the hidden attribute, so search indexes don't index this CSS text.
What's the :host-selector?
You can use the :host selector to target the shadow root of the element:
:host
{
    background:red;
}
Customisation possibilities
Components for which styling can be customised:
enviso-calendar
enviso-ticket-item
enviso-basket-item
enviso-calendar-month
for more components, refer Widget components
CSS Variables
We support the use of CSS variables for our components. Because CSS variables are not yet supported properly by all browsers, it's advised to use CSS variables inside an <enviso-style> component instead of a normal stylesheet.
Common CSS Variables
We currently have these common variables for all enviso-components:
Primary color:
--enviso-primary-color(for active buttons)Secondary color:
--enviso-secondary-color(for selected elements and highlights)
Example usage:
:host
{
    --enviso-primary-color:red;
    --enviso-secondary-color:#362b92;
}
Code element
<!-- Setting CSS Variables (for all elements)-->
<enviso-style>
  :host { --enviso-primary-color: red; --enviso-secondary-color: #362b92; }
</enviso-style>
<enviso-ticket-widget>
</enviso-ticket-widget>
<!-- Overwrite default style (for a specific element) -->
<enviso-style for="enviso-calendar">
  :host { background: #bba1f5; }
</enviso-style>
<enviso-style for="enviso-calendar-month">
  .enviso-day.enviso-currentmonth { background: #d3c9f1; } .enviso-day.enviso-currentmonth.enviso-disabled { background: #333; color: #808080; }
</enviso-style>
<!-- Default CSS (only for elements that are outside the Shadow DOM) -->
<style>
  enviso-time-selection-step { background: #dcdcd7; padding: 20px; }
</style>
Custom fonts
Copy the font URL into the
<head>of your HTMLLink example:
<link rel="preconnect" href="https://fonts.gstatic.com">
<link href="https://fonts.googleapis.com/css2?family=Roboto:wght@300&display=swap" rel="stylesheet">
Import example:
<style>
@import url('https://fonts.googleapis.com/css2?family=Roboto:wght@300&display=swap');
</style>
For font styling, add CSS rules to specify families in your CSS file.
font-family: 'Roboto', sans-serif;
Icon
For a list of available icons, refer Icons.