FAQs
How to change the sequence of the tickets displayed on the ticketing widget?
It is possible to change the sequence of the tickets displayed for an offer from the Enviso Sales app. See further Change ticket sequence
Important to know:
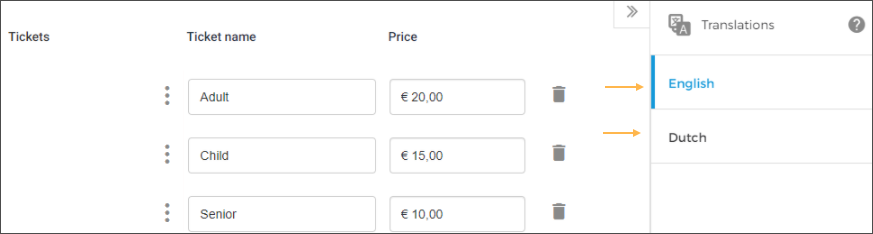
If you use translations for your tickets, you will need to adjust the ticket sequence for each language separately.
There is a cache of 15 minutes before you can see the changes.
You can use the widget component Basket discount to allow customers to add a discount code.
This situation is possible if another visitor has the same order reserved in his/her cart, but has not placed the order. If that visitor does not confirm the order within a certain amount of time, it will be released back and will be available again.
Due to performance reasons, ticket quantity is limited to 25 per order. If you wish otherwise, we recommend you create a feature request on Vintia support.
Check the capacity of the synced time slots in Enviso. If it is 0, change it to the desired capacity. Still, if the issue persists, contact Vintia support.
Go to Enviso Sales > Visitor info forms
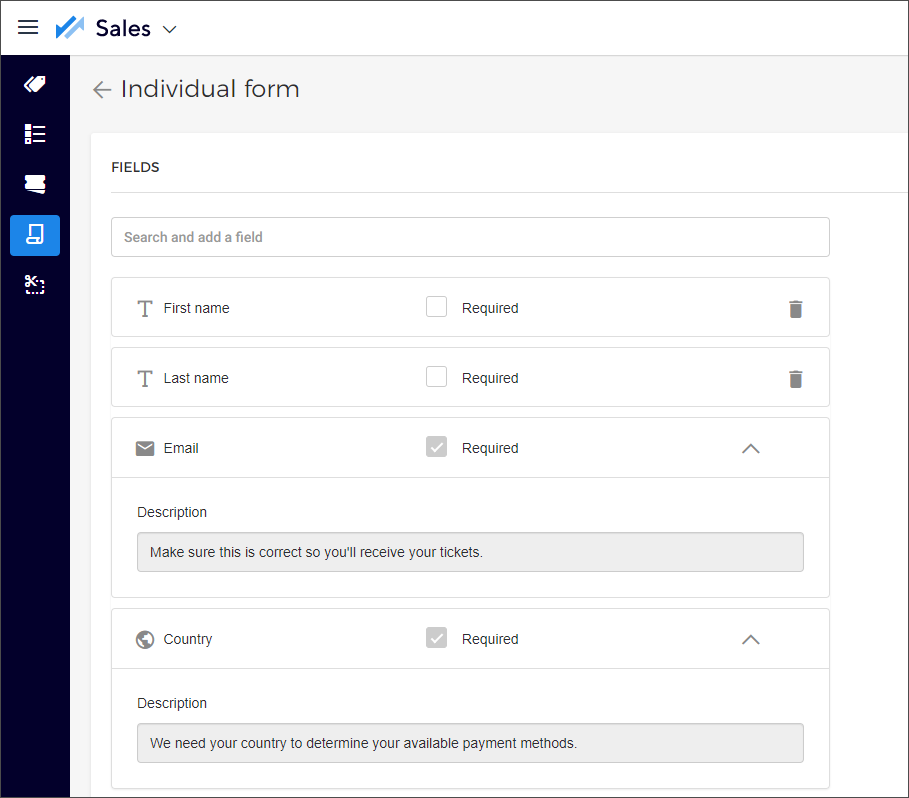
On the Visitor info forms page, you can see several templates. Choose the form you want to change.
Next, you will see the current fields for the selected form.
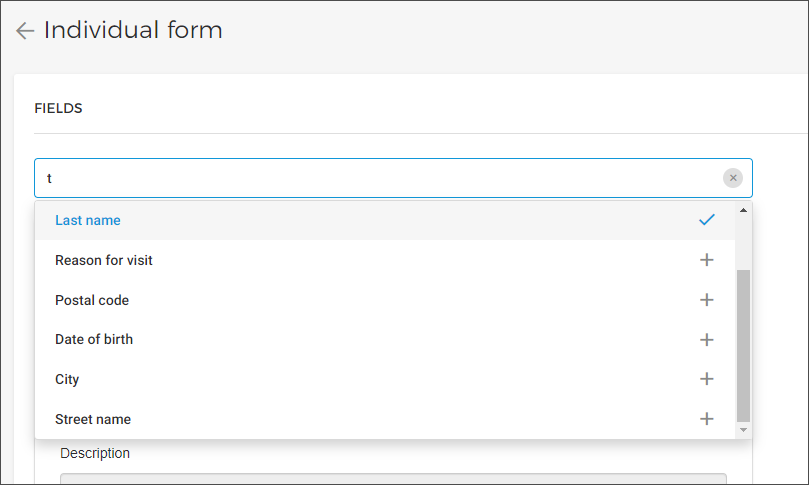
You can then add additional fields by searching for a field. Start typing to get a list of matching fields from the available field options.
Note
It is possible to add field translation as well. For a detailed description refer Add field translation.
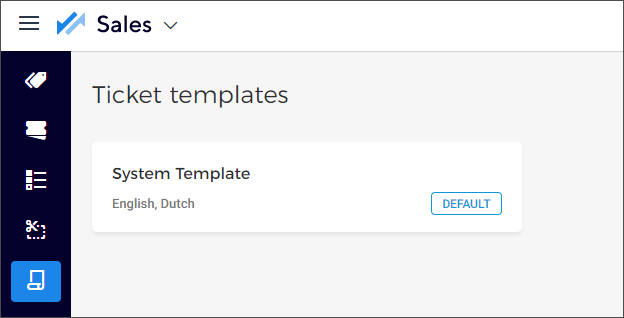
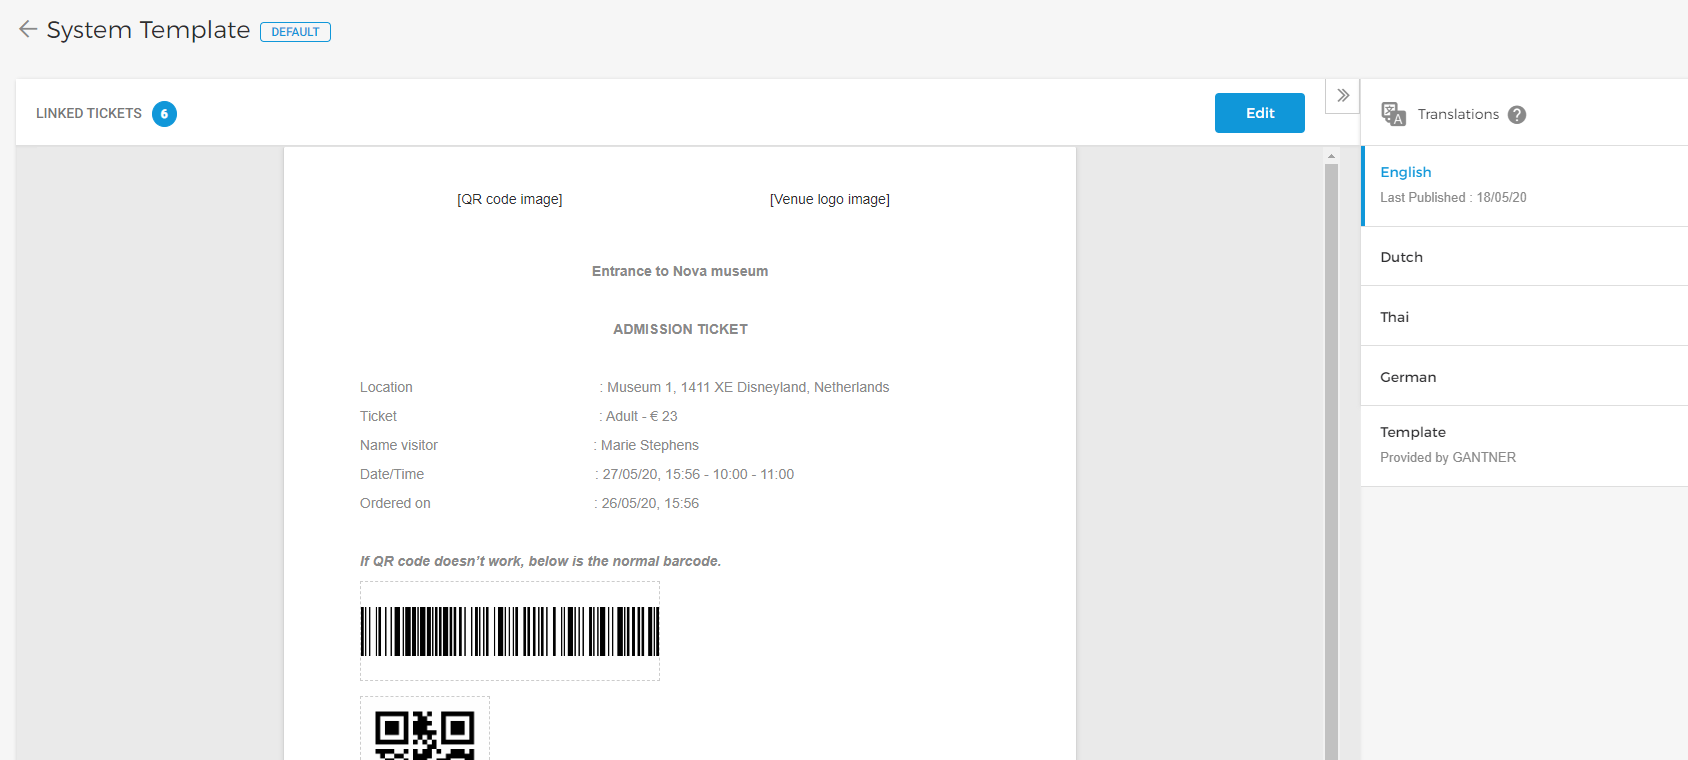
Go to Enviso Admin > Templates. Click either Email or Ticket.
Then you'll see an overview of email or ticket templates. Here is an example of the Ticket templates.
When selecting one of the templates, an editor will open and you can edit the template.
Note
You will need to link a new email template with an offer and ticket template with a ticket. For a detailed description to link a template with offer/ticket, refer Templates in the Enviso Admin manual.
To hide a particular offer product (tickets) we can make use of the <enviso-style> tag. For a detailed description on the <enviso-style> tag, refer Styling.
To use the
<enviso-style>tag, add the enviso-style-element script to the <head> of your HTML page.<script>define(['/build-ts/components/common/enviso-style-element.js']);</script>
Use of the
<enviso-style>tag to hide offer products as follows:<enviso-style for="enviso-ticket-selection" hidden> enviso-ticket-item[ticketid="3980"], enviso-ticket-item[ticketid="3981"] { display:none; } </enviso-style>In this example, the offer product (ticket) with ID 3980 and 3981 will be hidden from the Ticketing widget.
Before:
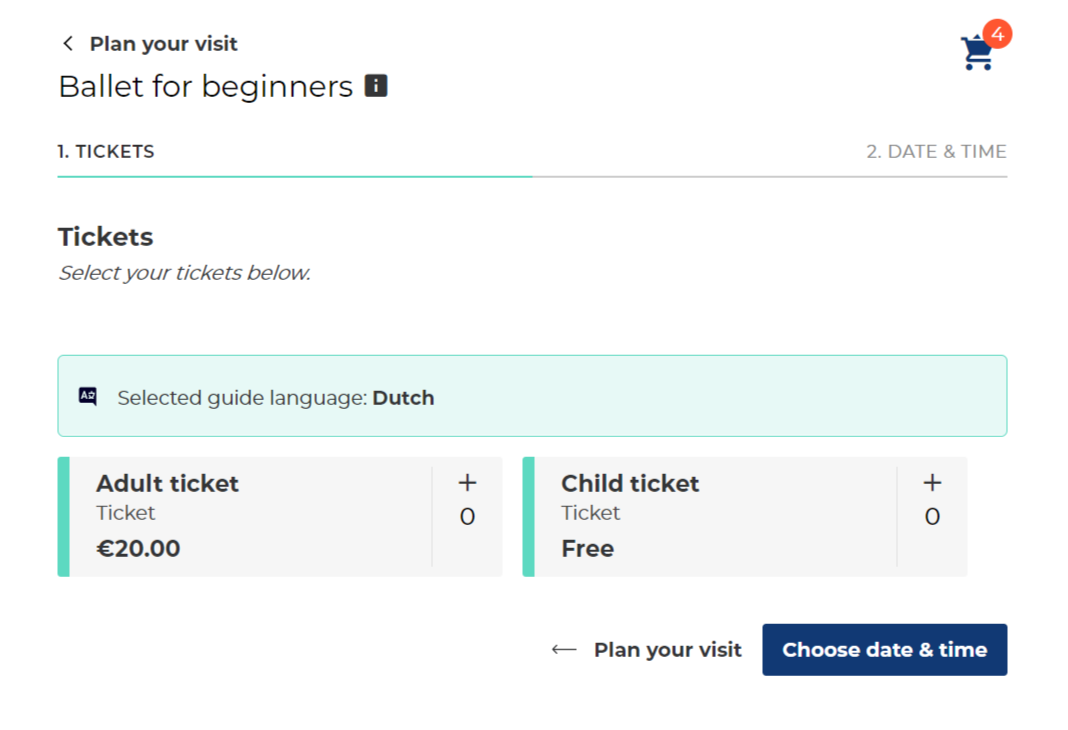 |
After:
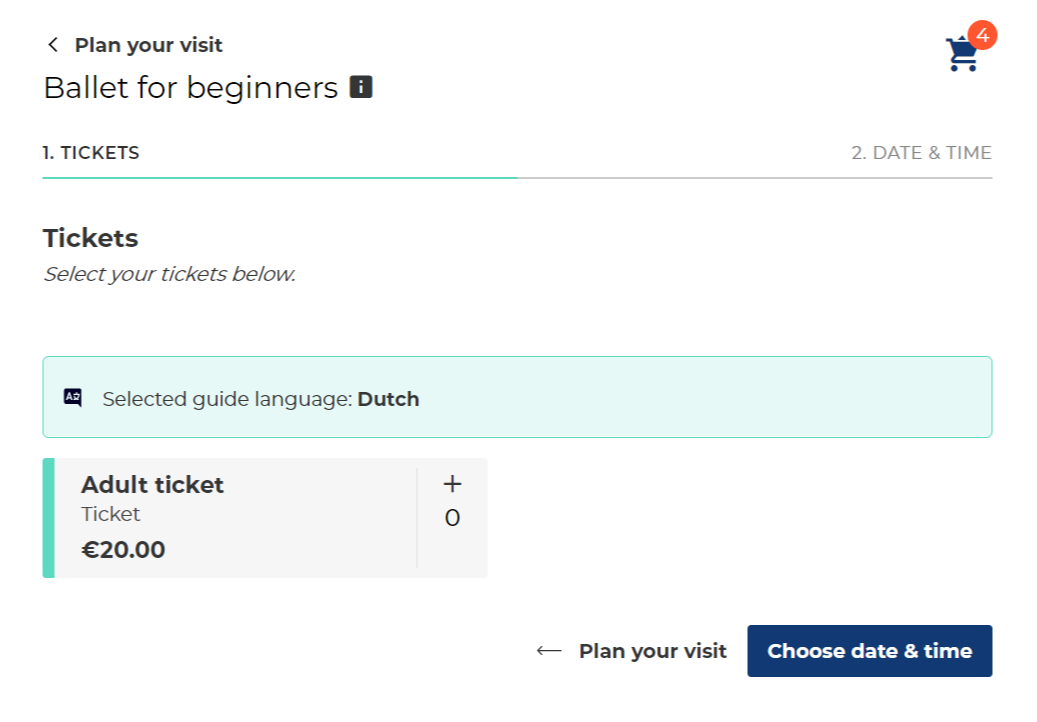 |
Note
It is possible to hide specific offers as well. For a detailed description, refer 'Link offers to the Ticketing widget' on Getting started
At the moment there is no possibility to let the visitor decide about the amount he wants to donate. What we propose in case of a donation is to configure this as selling an article with a fixed price, called 'Donation'.
How to set up upselling for an article can be found on Upsell - dialog and Upsell - notice.
Note
It is possible to create an article in Recreatex and synchronise it to Enviso to sell as an upsell article. The upselling article could also be a timeslot article.
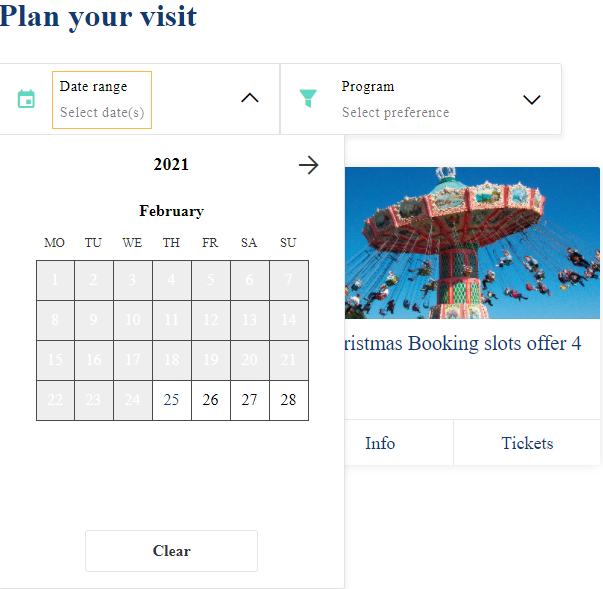
The filter only verifies the start date and the end date of the offer. It does not verify whether the offers have available timeslots on the selected period.
So if you select the date range from x to y, then all offers with start date before y and end date after x will be shown, independent if they have available timeslots between x and y.
To select a single date, just click on it. To select multiple dates, click on the start and the end date of the period you would like to select. The filter is then applied automatically and you can click outside the window to continue the sales flow.
Problem
The events on the Enviso components (e.g. buyticketsclick) are not working.
Cause
This can have several causes:
The eventhandlers were defined on the component itself, for example
<enviso-offer-overview onbuyticketsclick="BuyTickets()"></enviso-offer-overview>
The Enviso components use LitElement, which does not support on-eventhandlers.
The event handlers use JavaScript, as example below, but your JavaScript defining the eventlisteners is contained in the head-tag. The JavaScript will be executed before the Enviso component is rendered, causing it to return null.
document.querySelector('enviso-offer-overview').addEventListener('buyticketsclick', function(event)
{
    console.log('clicked', event.detail);
});
Solution
Both of the above causes can be solved by using one of these methods:
using querySelector and defining the JavaScript just before the closing tag of the body.
Example:
<body>
<!--Body definition goes here -->

<script>
    document.querySelector('enviso-offer-overview').addEventListener('buyticketsclick', function(event) {
        console.log(event.detail);
    });
</script>
</body>
Executing your JavaScript once the Enviso scripts have been loaded.
Example:
document.addEventListener('enviso-scripts-loaded', function(){
    console.log(event.detail);
}