Create a webhook
On the Webhooks page, click Create in the top-right corner.

Thereafter, on the Create webhook page you can configure the webhook.
Details

General
Webhook name | Enter the name of the Webhook, that will show on the Webhooks page. |
Description | Enter a description of what the webhook is created for. |
Webhook URL | Enter the URL to which an HTTPS request will be sent when the selected events occur. The events can be selected from the tab Events. NoteThe webhook URL must be unique. It is not possible to create webhooks with the same URL. |
Security
HMAC key | Click Generate to generate the HMAC key for secure communication. 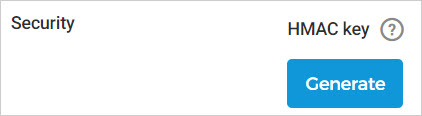 For the generated key, you will have the option to copy it.  The generated key is shown until the webhook is saved. After that if you wish to edit the webhook, it will not be possible to retrieve the HMAC key. Instead, you will need to regenerate the key.  |
Events

Track events
Click Select events to select the events that the webhook should track.

Next, you will be redirected to the page where you can select one or more events that the webhook should track.
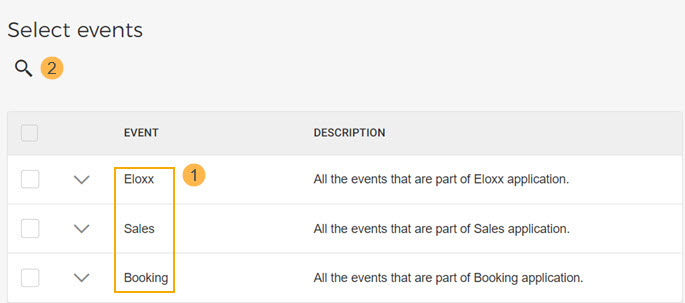
(1) The events are categorised as per Enviso apps - eLoxx, Sales, and Booking. (2) You can also search for a specific event. Once selected, click Done.
Note
Event: Order_Rebook_Cancelled
The rebooking order will be confirmed once the payment for the additional cost is completed. However, it will be cancelled if the payment fails.
The rebooking order will be automatically confirmed if there is no additional cost for rebooking.
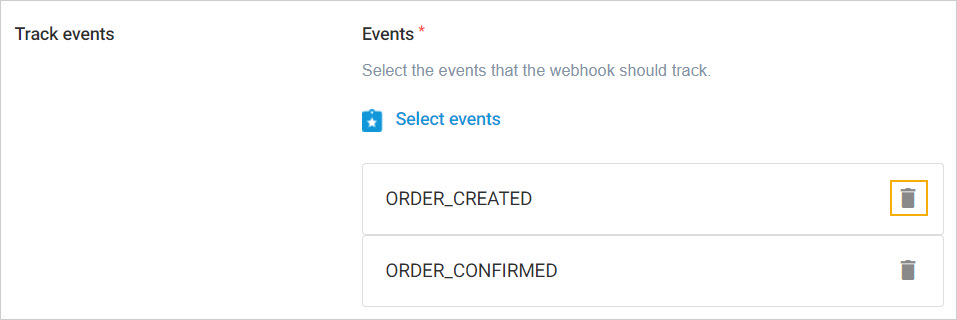
Thereafter, you will be able to consult the selected events. To remove a selected event, click the delete icon.
The created webhook can be Saved as draft.

Next, you will need to test the webhook configuration. If successful, you will be able to activate the webhook.
Note
It is possible to create a maximum of 10 webhooks.