Menu options
The side menu allows to navigate to different functions of the mPOS application. Tap  in the upper-left corner of the Home screen to access the menu options.
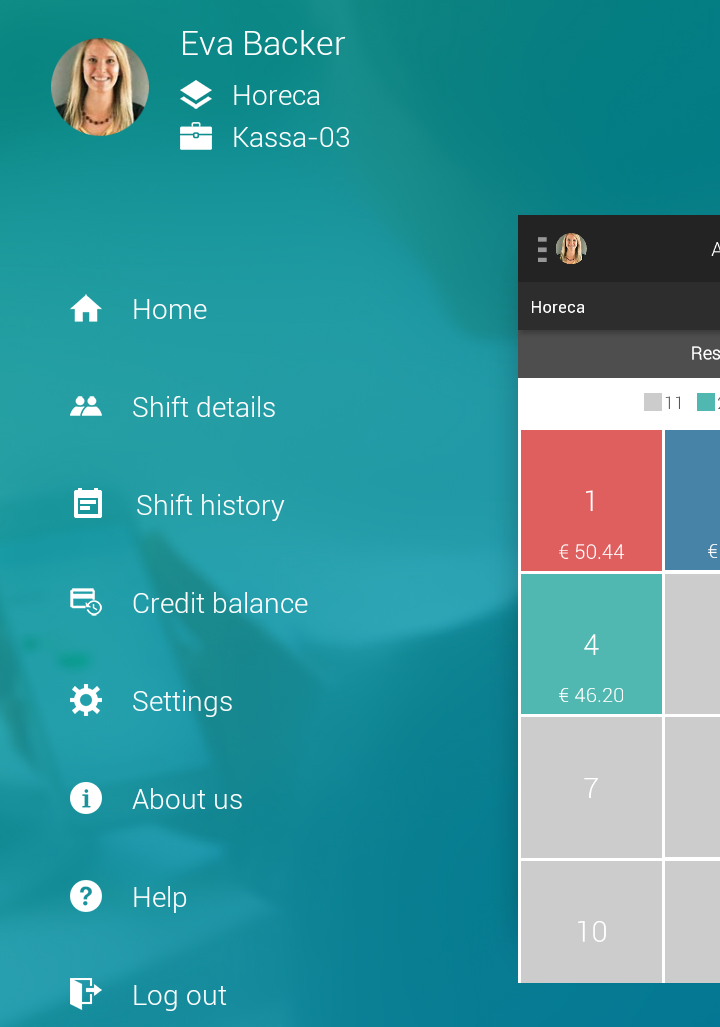 |
Home | Tapping on Home transfers the user to the home screen. |
Shift details | The user can consult his or her shift details by tapping on Shift details. For a more detailed description, see Shift details. |
Shift history | Allows to consult the orders taken by the logged in user and re-print them. NoteDependent on the permissions defined at employee level in Recreatex desktop application for the parameter Max. sales in history defined from the tab Cashier data > Authorisation > POS the employee will be able to consult the defined number of order records for the current shift. |
Credit balance | Allows consulting the credit order history of a customer by entering his or her Recreatex membership card number though barcode/NFC scan or manual entry. |
Settings | The settings section contains various options to customise the functionalities of the mPOS app. A valid PIN is required to access the settings section. For a description on the available settings options, see Settings. |
Reports | Allows to print day reports if the point of sale in use is configured with GKS. |
About us | This option allows you to consult the mPOS application’s version and Vintia contact information. |
Help | The Help section offers a quick overview of how to use the mPOS application. |
Log out | This option allows the user to log out of the mPOS application. |
Shift details
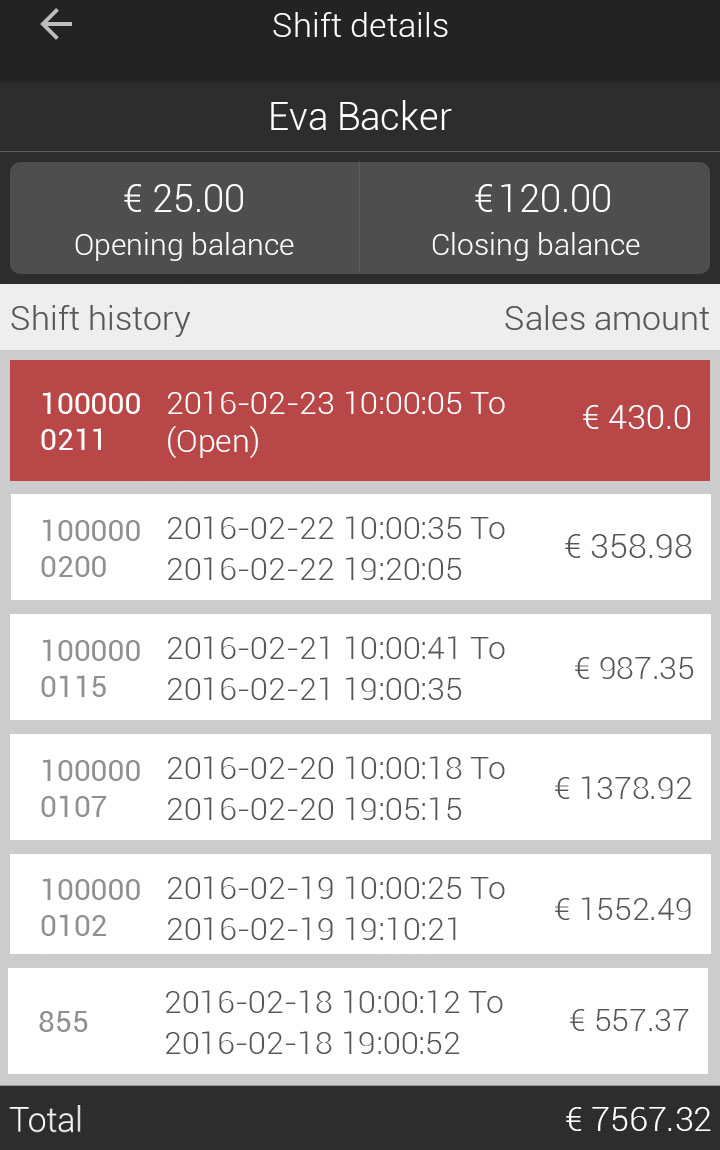
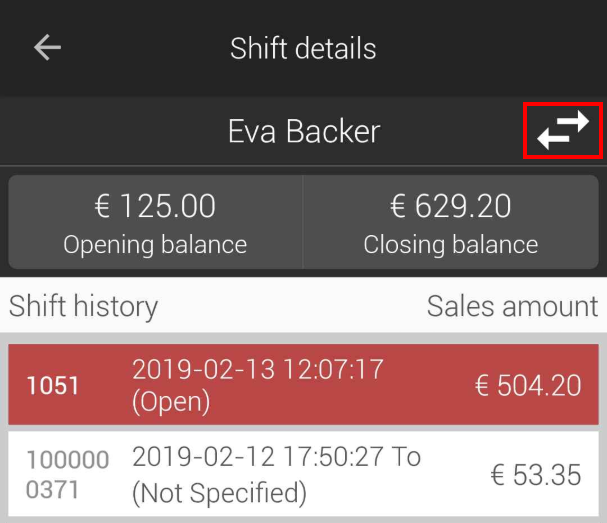
The screen Shift details allow to consult a quick summary of the orders of the logged in user.
 |
Note
The display of the option to view shift details depends on the employee rights setting in the Recreatex desktop application for the parameter, May view shift information.
 |
Dependent on the Recreatex settings at POS level, it is possible to switch shift between employees from the Shift details screen.
Opening balance | The cash amount entered by the logged in user at the time of starting the current shift. | |
Closing balance | The sum of the opening balance and the transactions carried out in cash during the current shift. NoteThe display of the calculated closing balance amount depends on the employee rights setting in the Recreatex desktop application, Show calculated amount at the end of the shift.
|
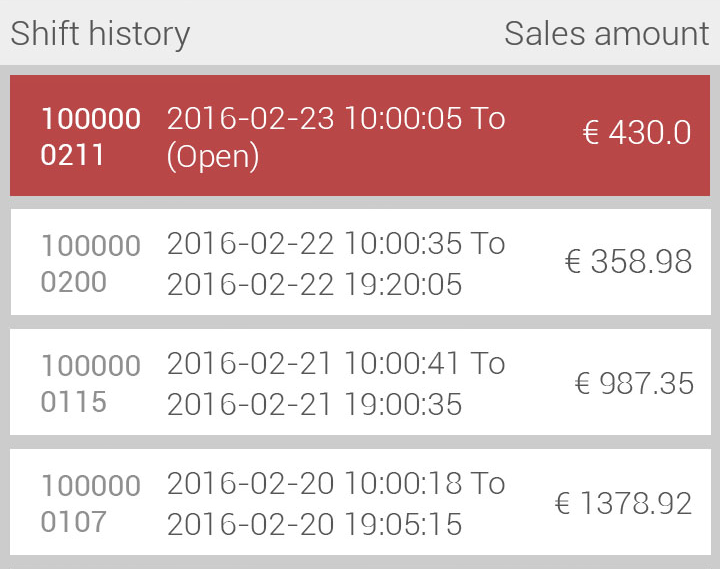
Shift history | Scroll to consult the shift history of the logged-in user. The ongoing or open shift will be highlighted.
| |
Total | The total at the bottom of the screen refers to the total amount of sales registered by the logged-in employee across various shifts. |
Switch shift
On the Shift details screen, tap  in the upper-right corner.
 |
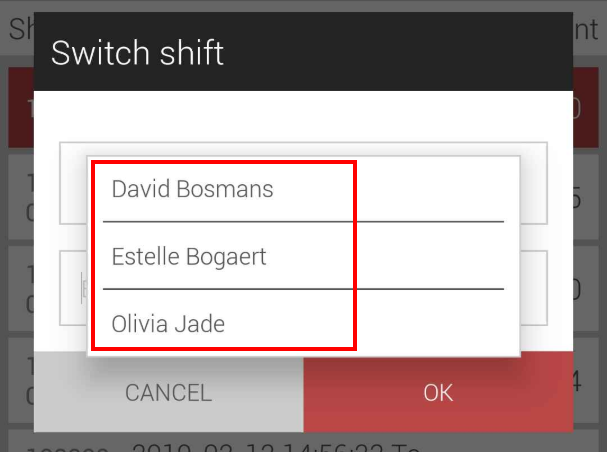
In the resulting pop-up, you will be able to select from the cashiers defined in Recreatex for the POS in use.
 |
Note
For the purpose of switching shift, certain POS level settings must be activated in the Recreatex application.
 |
Shift history
The screen Shift history allows consulting a quick summary of the orders taken during the current shift by the logged in user.
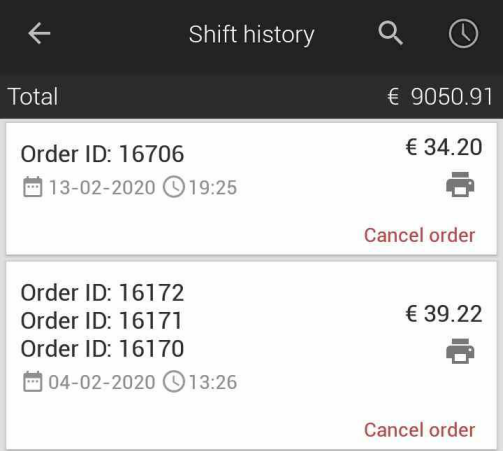 |
Tap on an order line to expand and view the items in the order.
It is possible to re-print an order by tapping on  corresponding to the order to be re-printed. The printer assigned for Checkout will be used for re-printing the order. For a more detailed description on printer settings, refer Printer.
The user can also cancel order. For a complete description, refer Cancel order.
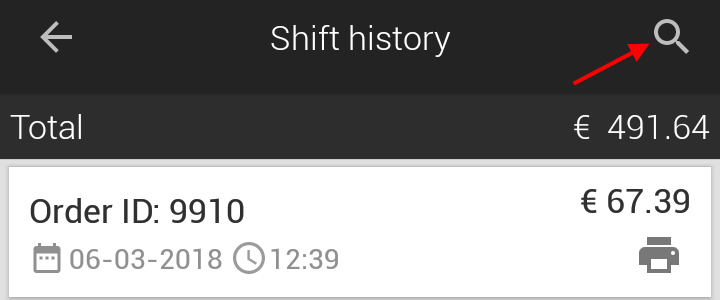
The search icon  in the upper-right corner of the screen allows to search an order using order ID.
 |
In case when the Payment setting Enable payment terminal is active,  icon will also be shown in the upper-right corner of the Shift history screen.
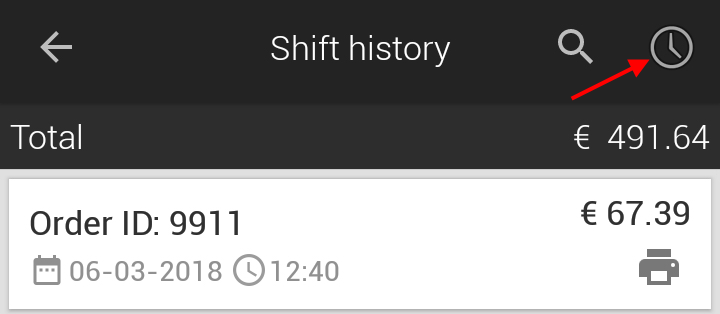 |
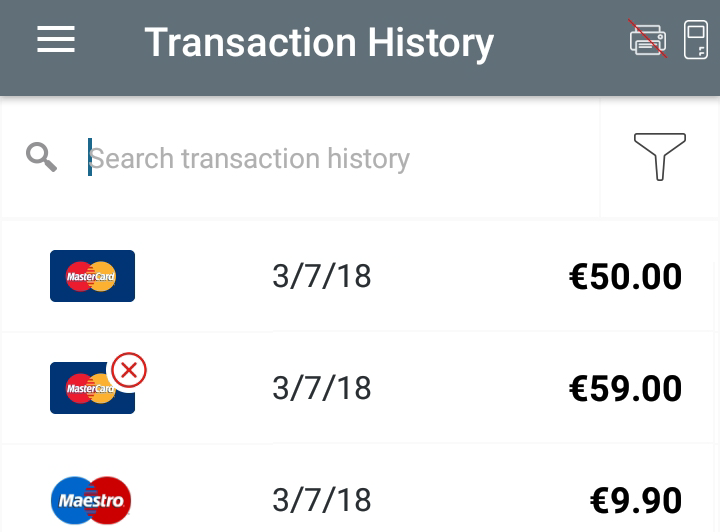
Tapping on  will transfer the user to the MyPaydesk app. Log into the MyPaydesk app. From the app menu, go to History for consulting the list of orders for which payment was made using card.
 |
Cancel order
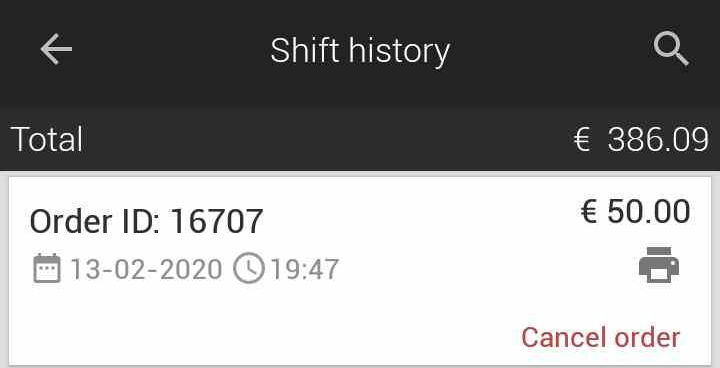
To cancel an order, tap Cancel order corresponding to the order that needs to be cancelled.
 |
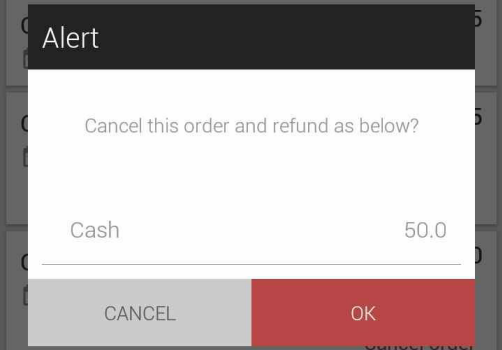
The user will be prompted to cancel the order.
 |
Note
The method of refund will be the same method that was used for paying the order.
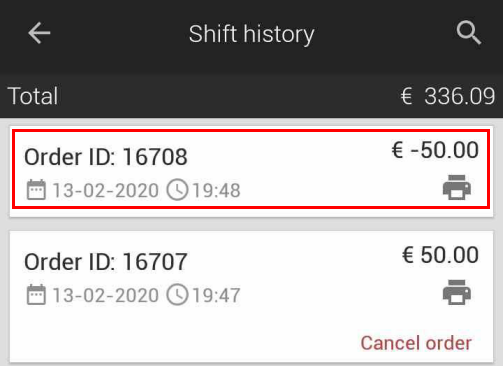
Tap OK. Note a negative record of the cancelled order.
 |
Credit balance
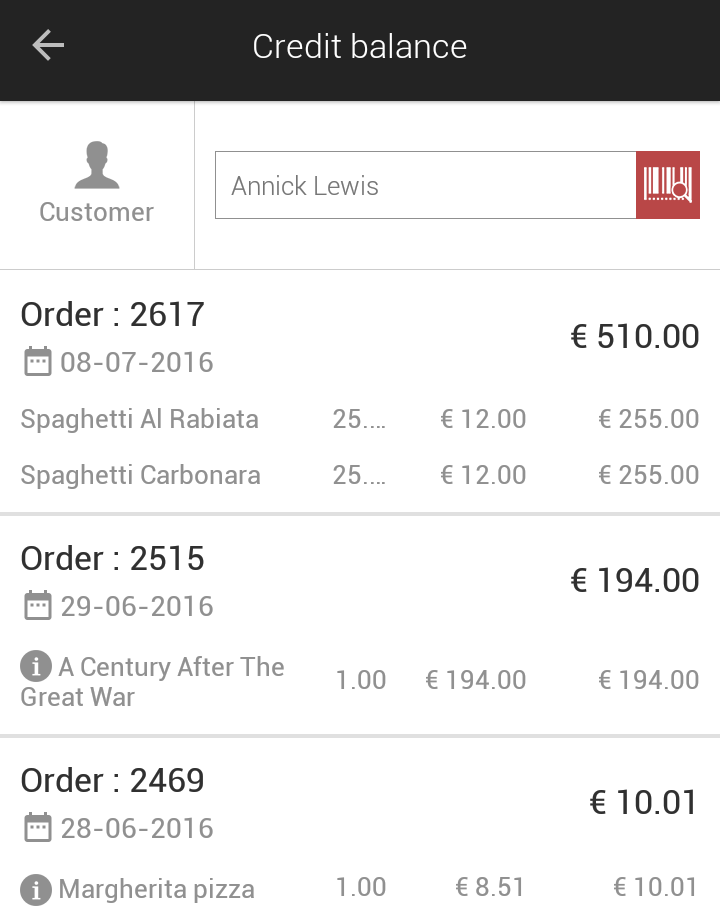
It is possible to consult the credit order history of a customer by entering the customer's membership card number through barcode/NFC scan or manual entry.
Note
When using manual entry, it is possible to search a customer using up to the last six digits of the card number.
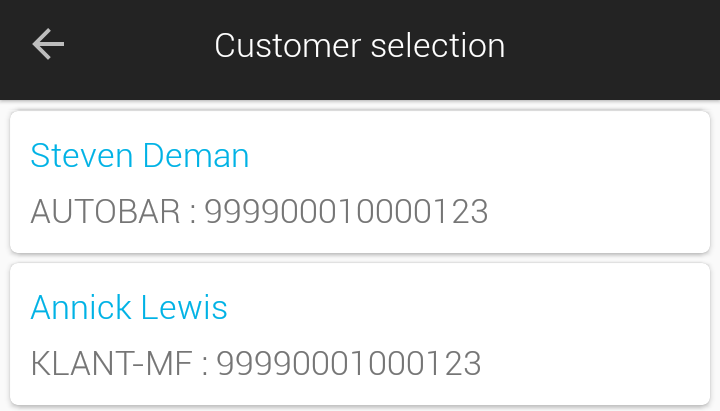
For example, type 123 and tap OK. A list of card numbers having the last six digits as 000123 will be shown. Select the desired customer from the list.
 |
Searching this way can result in a slightly longer loading time of the customer list.
 |
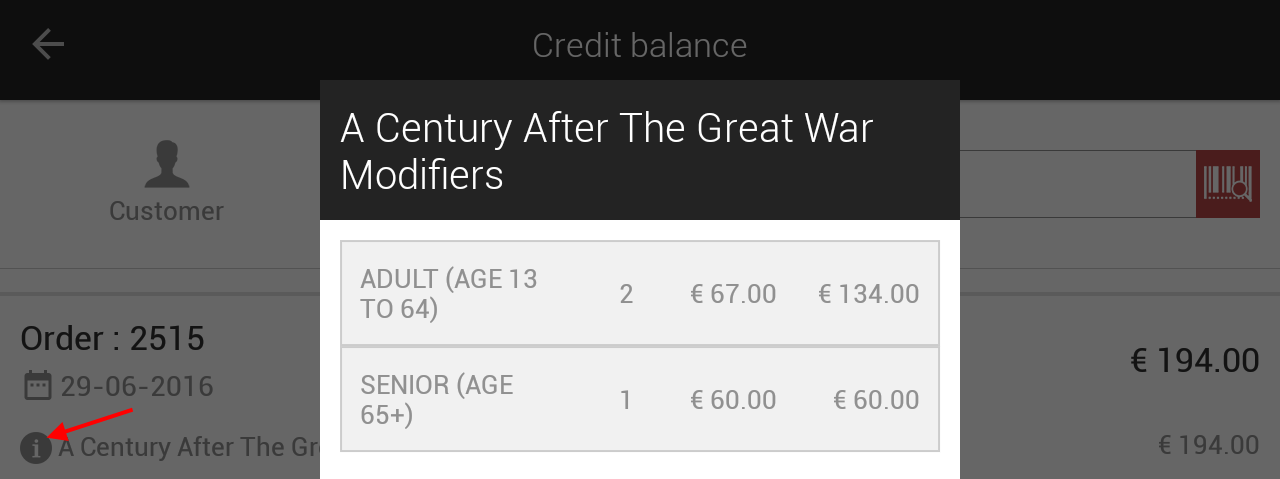
Tapping on  shows an info window containing additional information such as the selected modifiers (for Horeca items) and the details entered while registering for an exhibition visit.
 |
Reports
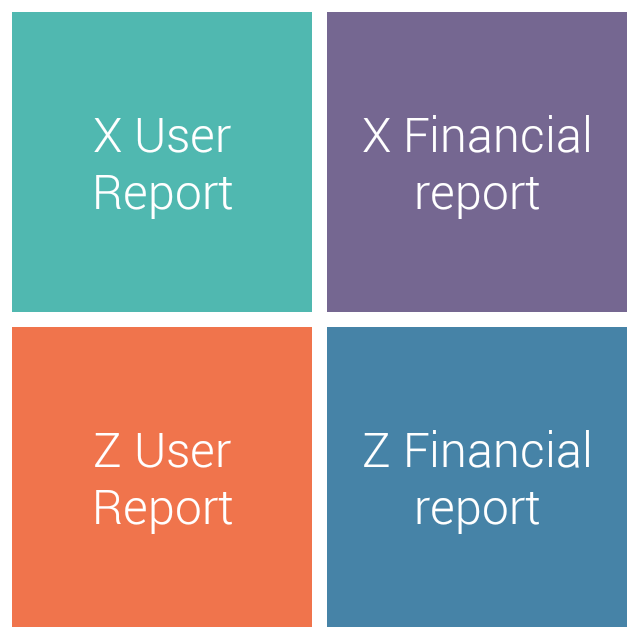
The option Reports is visualised for a GKS configured point of sale only.
 |
Note
The ability to print day reports depends on the employee rights setting in the Recreatex desktop application for the parameter May print day reports.
Generating X reports | X reports can be generated at any point in time by simply tapping on the desired X report. | |
Generating Z reports | Z reports can be generated only when the shifts of all the employees linked to the POS in question are closed. Procedure:
|
Note
The printing method defined for Checkout in Settings > Printer > Printing instance will be used for printing the reports. See Printer.

