App administration
This part of the information, such as app installation and configuration and settings describes the initial, one-time procedures required for the application's functioning and the possible flow changes based on the available setting options.
App installation and configuration
The app installation and certain initial settings have to be configured for the correct functioning of the mPOS application.
Installing the app
Go to the app center.
Download the mPOS application on your device.
Tap on the downloaded application .apk file on your device.
You will see a pop-up message for installing the app.
Tap Install to begin the installation process.
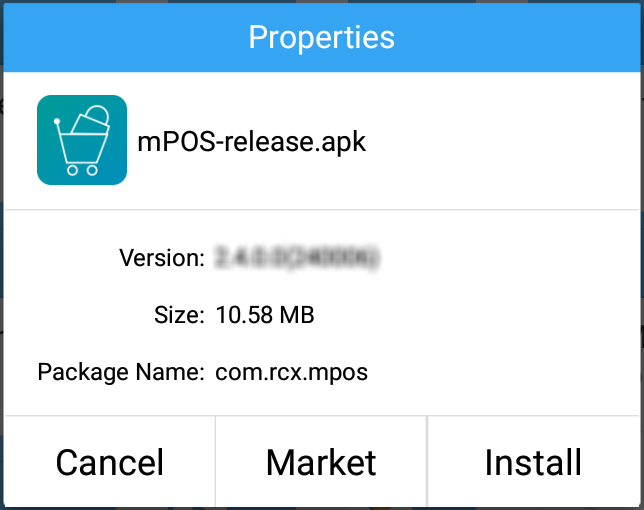
On the subsequent screen, tap Install to install the app as well as to provide the necessary permissions for its functioning.
After the application has been successfully installed, tap Open to launch the application.

Configuring the app
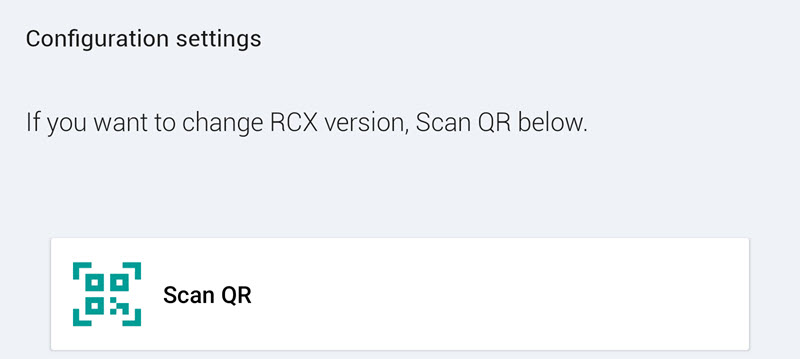
When launching the application for the first time, you will need to setup the configuration settings. If required, you can also change the Recreatex configuration from the Configuration settings screen.
On the Configuration Settings screen, tap Scan QR and scan the app configuration QR code to configure the mPOS application.
 |
Warning
Contact your administrator if you do not have the app configuration QR code. They will contact Vintia support to obtain it.
Configuring printing
Tap
 in the upper-left corner of the home screen to access the app menu.
Tap Settings in the app menu. Enter the PIN to access the Settings section.
Go to the tab Printer > Printing configuration.
Define a printing method for each of the five printing instances (visualised as tabs).
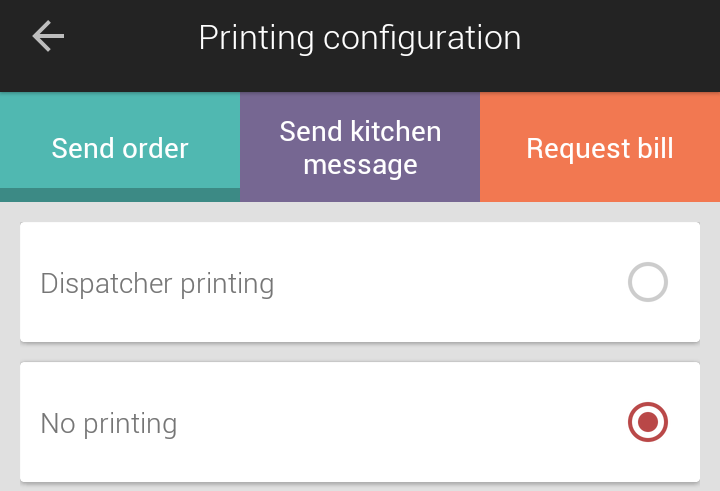
For configuring the printing instances, see the description of the Printing configuration in the section Printer.
Tap OK to save the changes made.
Settings
The Settings screen contains various options for configuration and settings that allow for certain flow changes on the mPOS application.
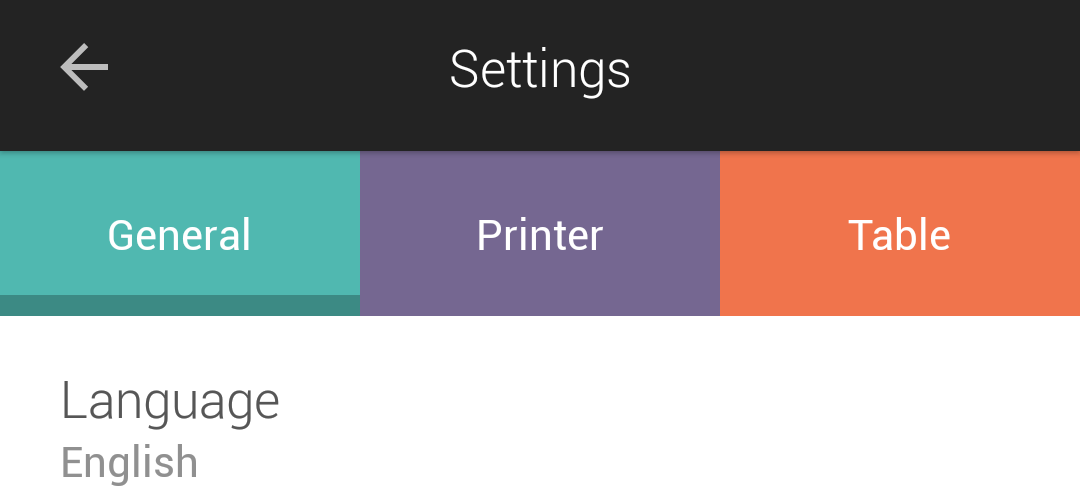 |
The setting options are categorised under multiple tabs. Swipe on the screen to view more tabs.
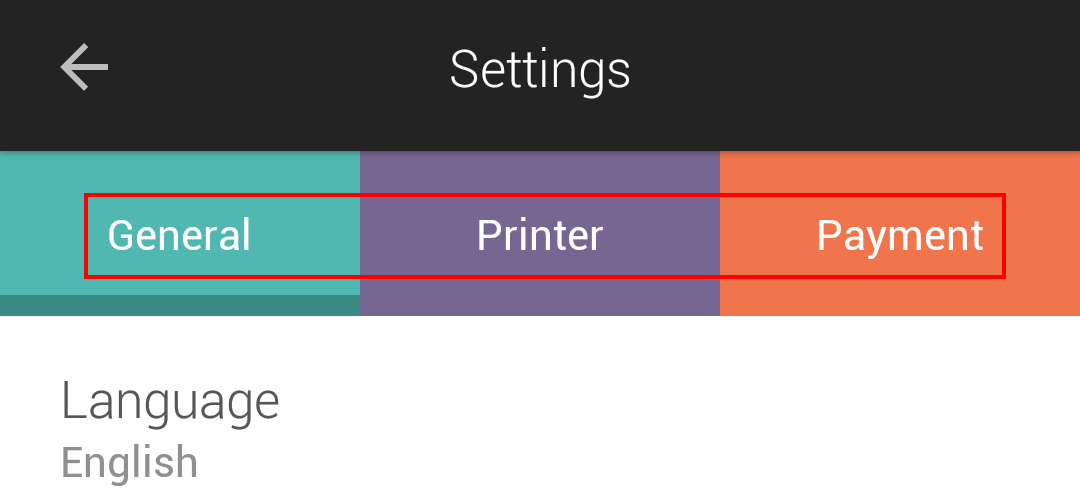
At the time of logging into the mPOS app, if the selected sales zone is Other, the Settings screen will have the tabs General, Printer and Payment.
 |
Note
A valid PIN is required to access the Settings section.
General
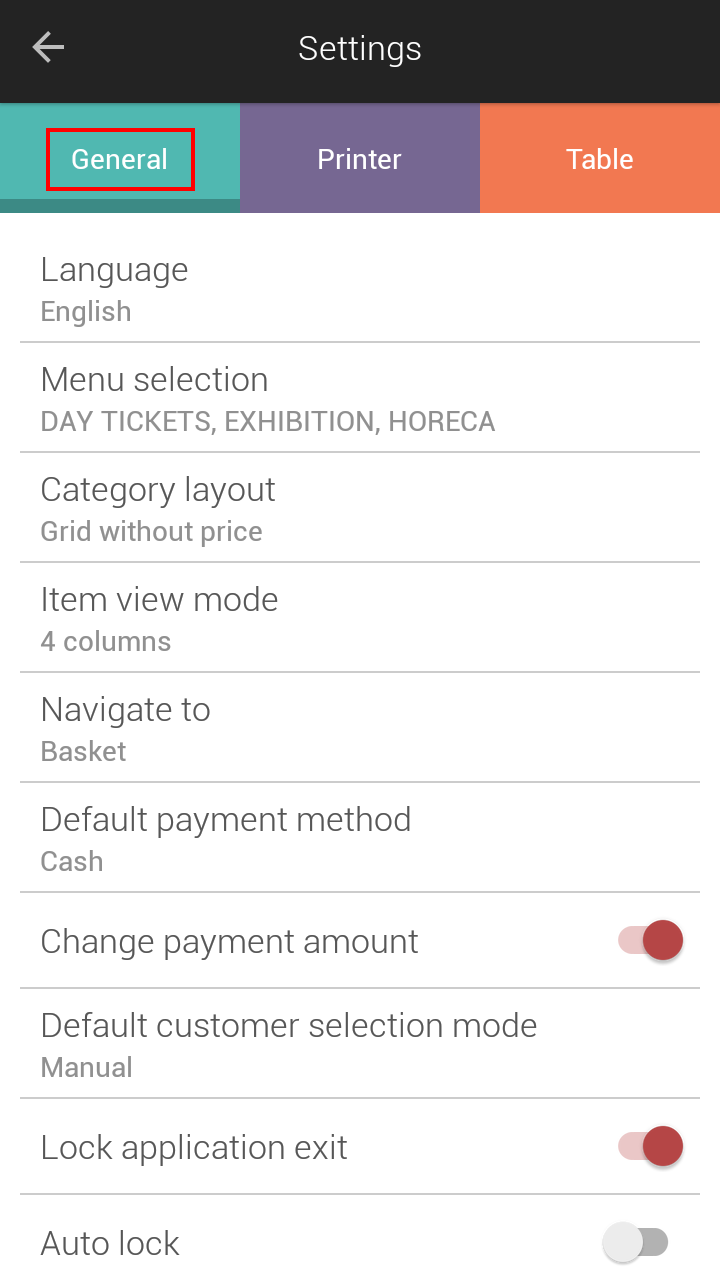 |
Language | It is possible to define the language of the app as English, Dutch or French. The default language is English. | ||||
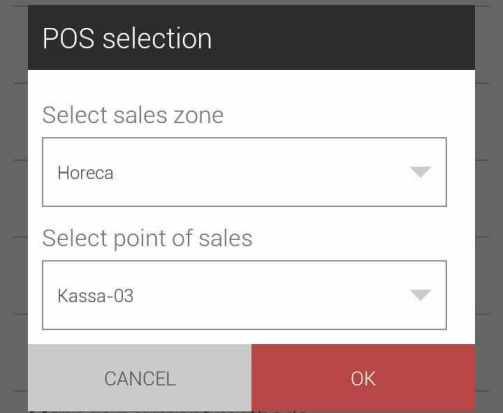
POS selection | This option allows you to change the sales zone and point of sales that were entered at the time of initial log in. Upon changing the selection, the user will be redirected to the login screen, while the current shift remains open. Next, the user will be able to log into mPOS for a different sales zone and/or point of sales.
| ||||
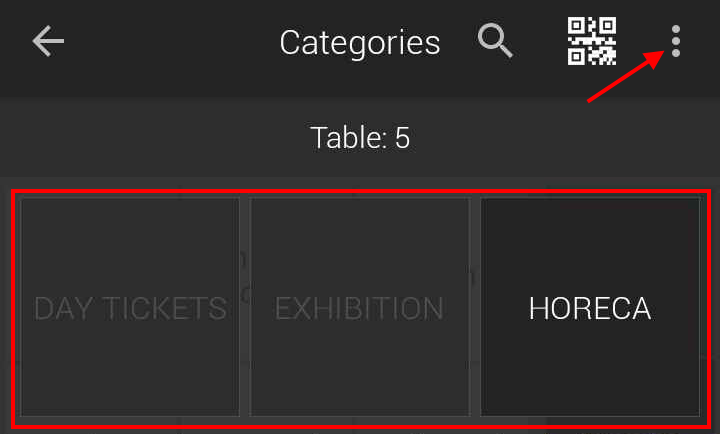
Menu selection | This option allows to define the POS menus which will be available under the option Change POS menu on the Categories screen.
| ||||
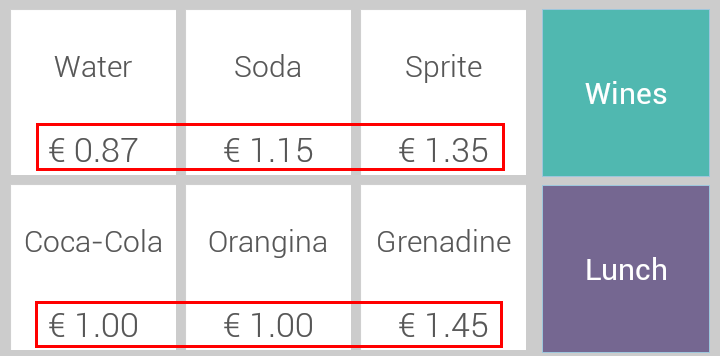
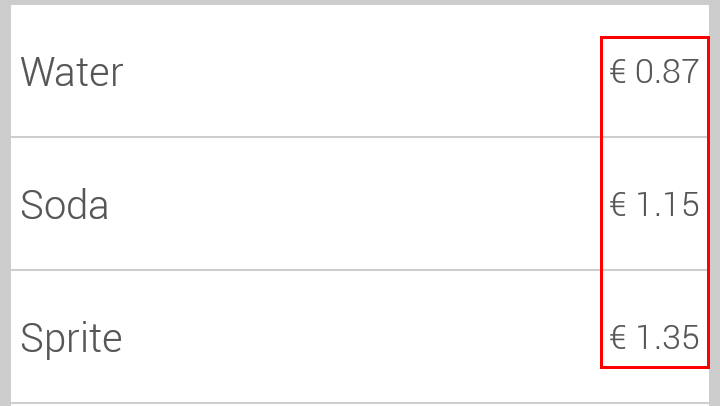
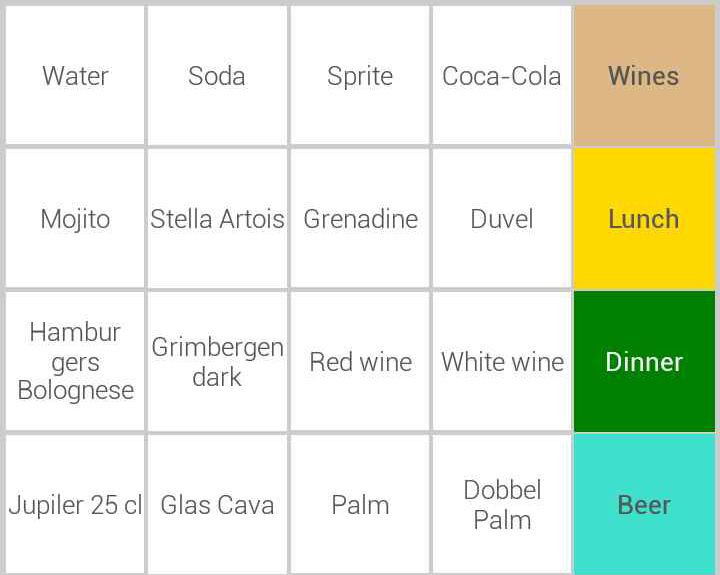
Category layout | This option allows to define the layout of the categories screen. Grid with price: The Categories screen will be shown in grid view with price.
NoteThis setting applies to Horeca items and items for direct ticket sales. Exhibitions will be listed without price even if this parameter is active. Grid without price: The Categories screen will be shown in grid view without price.
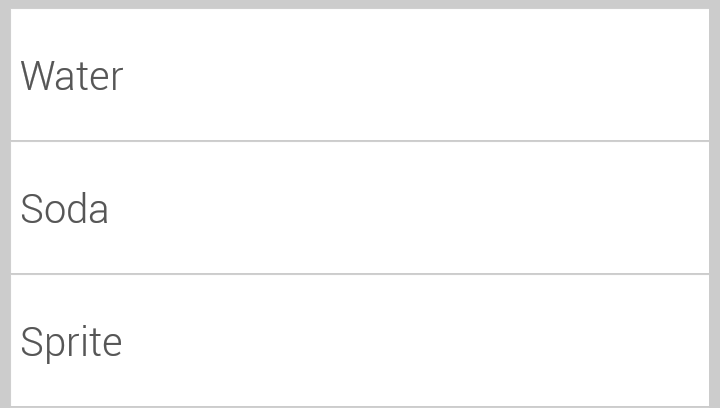
List with price: The Categories screen will be shown in list view with price.
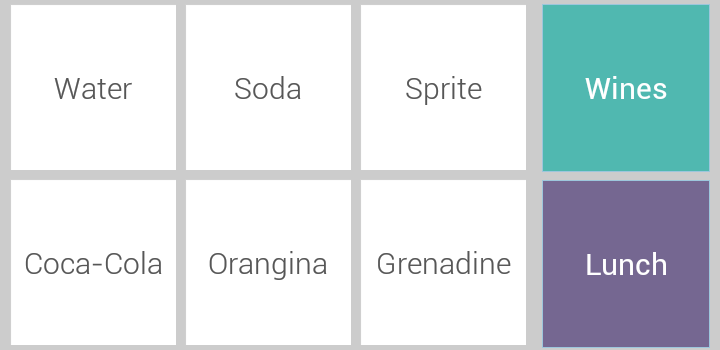
NoteThis setting applies to Horeca items and items for direct ticket sales. Exhibitions will be listed without price even if this parameter is active. List without price: The Categories screen will be shown in list view without price.
| ||||
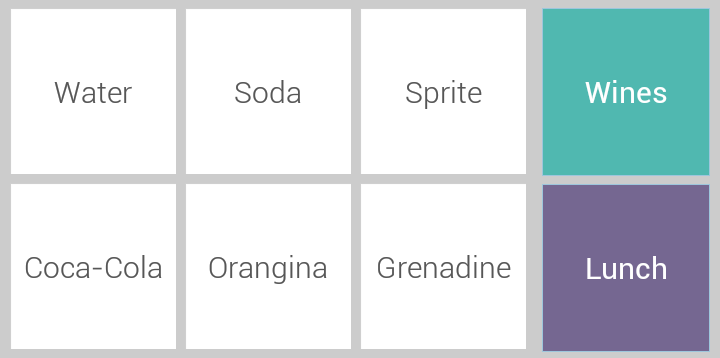
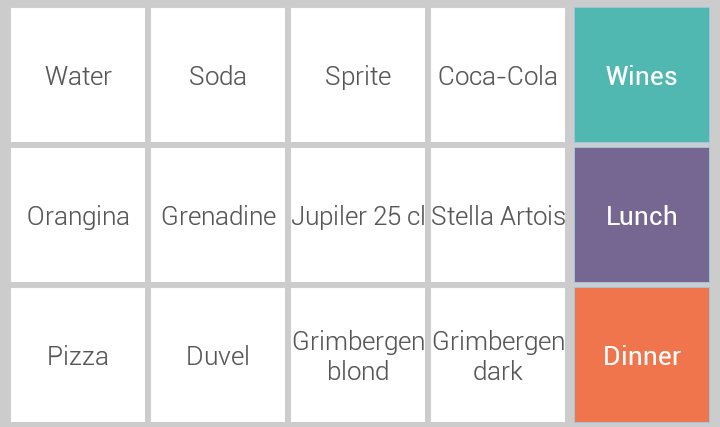
Item view mode | This option allows to define the layout of the Categories screen in 4 or 5 columns or match with the POS of Recreatex. 4 columns: The items and their categories will be displayed in 4 columns.
5 columns: The items and their categories will be displayed in 5 columns.
Match with RCX POS: The items and their categories will be displayed similarly to the POS of the Recreatex desktop application.
| ||||
Navigate to | This setting allows to define to which screen the mPOS user will navigate after placing an order on the categories screen. | ||||
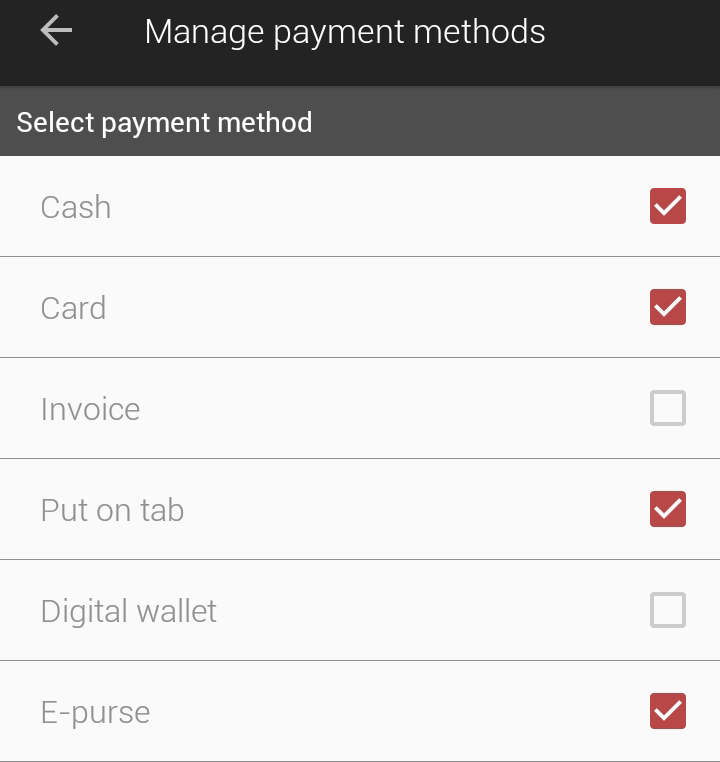
Manage payment methods | Select payment method: This option allows you to select the payment methods which will be used on mPOS.
Important to know:
Default payment method: It is possible to define which payment method will be selected by default on the Checkout screen. The mPOS user can, of course, always select the desired option when proceeding with checkout.
| ||||
Dim display after | It is possible to define how long the app screen is idle before the brightness level of the device's display reduces automatically. This can be useful to extend the device's battery life. Tap on the device screen to resume the current brightness level. NoteThis setting is not supported when mPOS is used on the Adyen S1F2 all-in-one payment terminal. | ||||
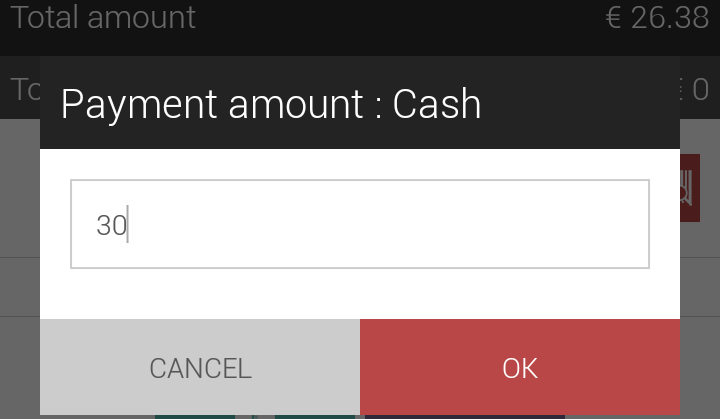
Change payment amount | If activated, the mPOS user will be prompted to enter the payment amount after selecting a payment method.
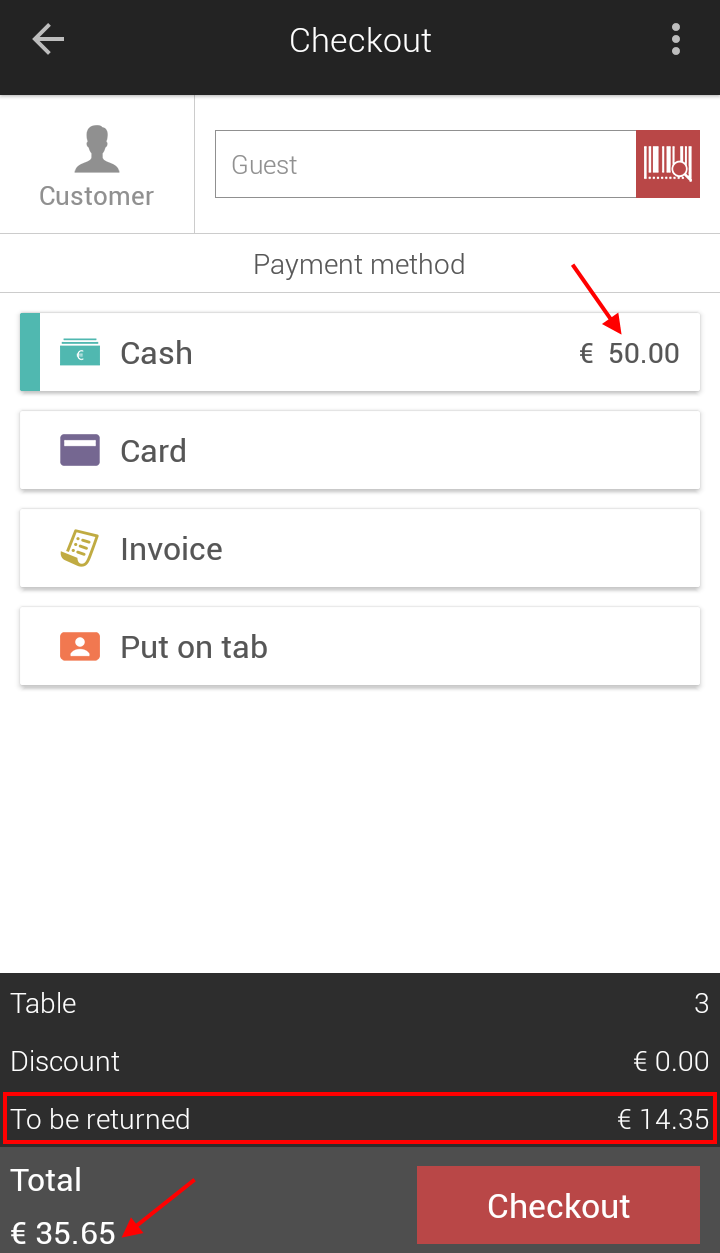
However, the payment amount cannot be changed if Put on tab is selected as the payment method. In this case, the amount received from the customer will be shown along with the selected payment method, and the amount to be returned to the customer will also be shown.
| ||||
Default customer selection mode | It is possible to define which of the options, NFC, scan code or manual will be opened by default when selecting a customer. The mPOS user can, of course, always select the desired option when selecting a customer. | ||||
Lock application exit | By default this option is deactivated, thereby allowing an mPOS user to exit the application by entering a valid exit PIN. If activated, it will be obligatory for the mPOS user to log out in order to exit the application. | ||||
Auto lock | If activated, the mPOS application will automatically lock if idle for a certain amount of time as defined in the configuration file of mPOS. The user will have to enter the login PIN or tap his/her NFC card to unlock the application. | ||||
App tracing | If activated, the app generates a log file of all the operations carried out on the mPOS app by the logged in user. The app log file is stored on the file system of the device. Once this setting is activated, it is possible to consult the location where the app log file is stored on the device.
WarningActivating app tracing can reduce the overall app performance. It is recommended to deactivate this setting when you are done with app logging. To stop app logging, deactivate this setting. | ||||
Sync data | Syncs the mPOS application with the most recent modifications made in the Recreatex desktop application. NoteBy default, the mPOS application syncs data with the Recreatex desktop application at the time of log-in. | ||||
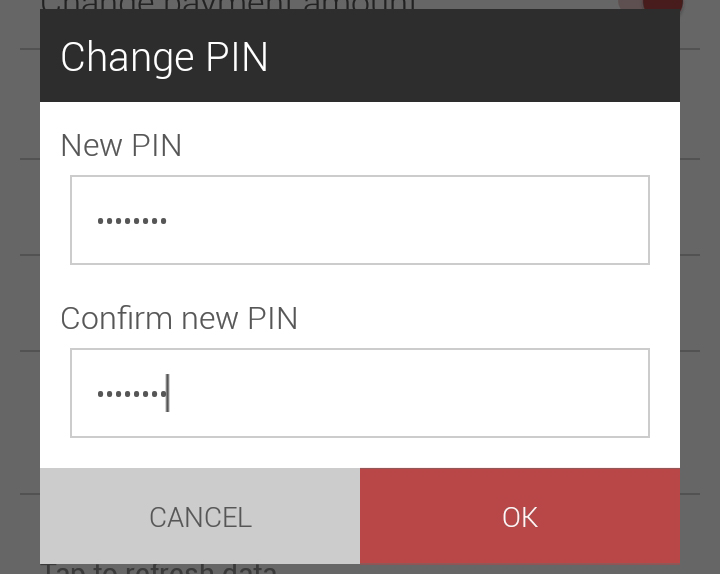
Change PIN | This option allows you to change the PIN required to access the Settings section. Tap Change PIN. In the resulting pop-up, enter the new PIN and re-enter the same PIN in Confirm new PIN.
Tap OK to apply the new PIN. | ||||
Webservice URL and Webshop ID | It is possible to view or change the Webservice URL, Webservice password and Webshop ID of the mPOS application (see further Configuring the app). |
Printer
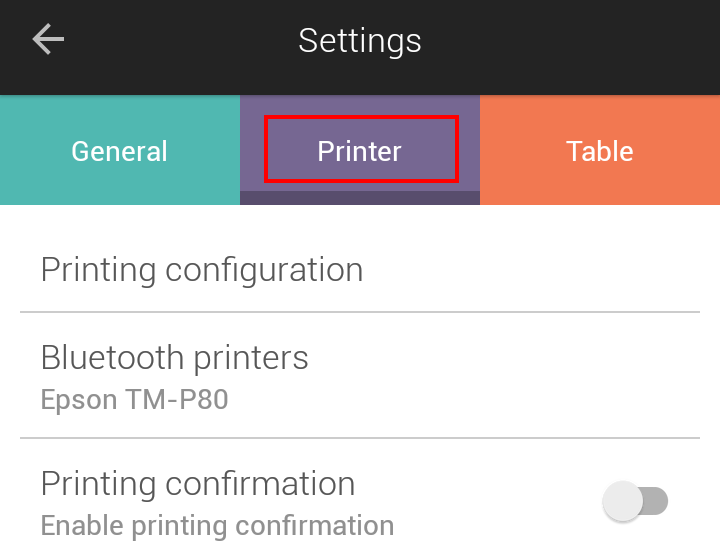 |
Printing configuration | This parameter allows to define the printing method for instances that generally require generating a printout. It is obligatory to define the printing method for each of the printing instances. If you do not need to print a particular ticket type, select No Printing. Send order: When the user confirms an order, a print of the order ticket will be generated from the printer selected for send order. Generally this printer is in the kitchen. The kitchen staff receives the order printouts and prepares items accordingly. Send kitchen message: Whenever the user sends a message from pre-defined kitchen messages, a print of that message will be generated using the printing method defined for this instance. Request bill: When the user requests an intermediate bill, a print will be generated using the defined printing method. It can be generated multiple times for an order until checkout. Checkout: When the user completes the checkout procedure, a print will be generated using the printing method selected for this instance. NoteIn case of direct sales, a print will be generated only for the Checkout instance. Access ticket: When an exhibition visit or membership is sold, a print will be generated of the access ticket after completing checkout.
| ||
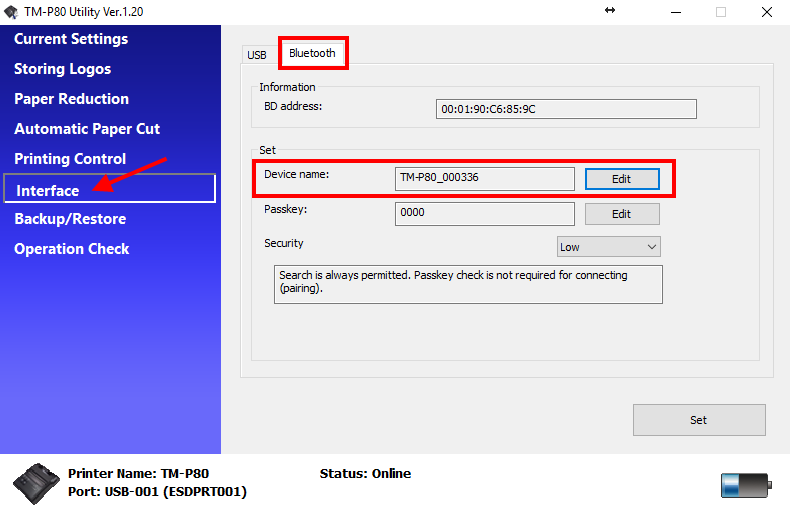
Bluetooth printers | This parameter allows to define the type of Bluetooth printer that will be used for the printing instances for which the option Direct Printing is used (see above). NoteThe first time in each session, the user needs to select the bluetooth printer after the first print request. Afterwards, the printer connection will remain (no selection at print request) during the session. After log-out or restart, then user always needs to make the selection at the very first print request. Important to know about renaming an Epson bluetooth printer Renaming an Epson bluetooth printer is recommended when there are multiple printers in the vicinity of the app, thereby making it easier to recognise the correct printer in the detected Bluetooth devices list (during first print request). Procedure:
| ||
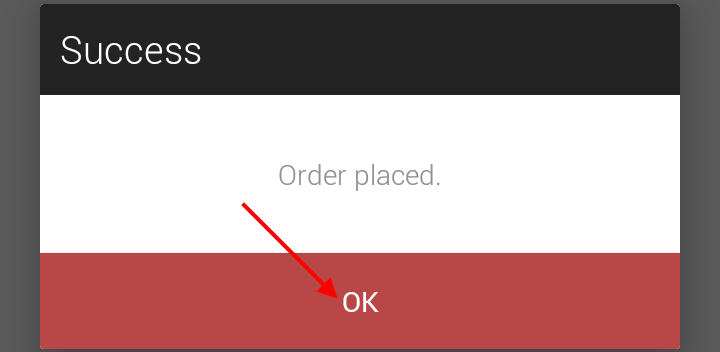
Printing confirmation | This setting determines the behaviour of the message that is visualised as a response to the action of send order, send kitchen message, request bill and checkout. If this option is active, such messages will have to be confirmed (by tapping on the OK button), as in the example below for the instance Send order:
If deactivated, such messages will show up and disappear automatically after a few seconds and do not have be to confirmed by an additional action.
|
Table
The tab Table contains various options for the table dashboard.
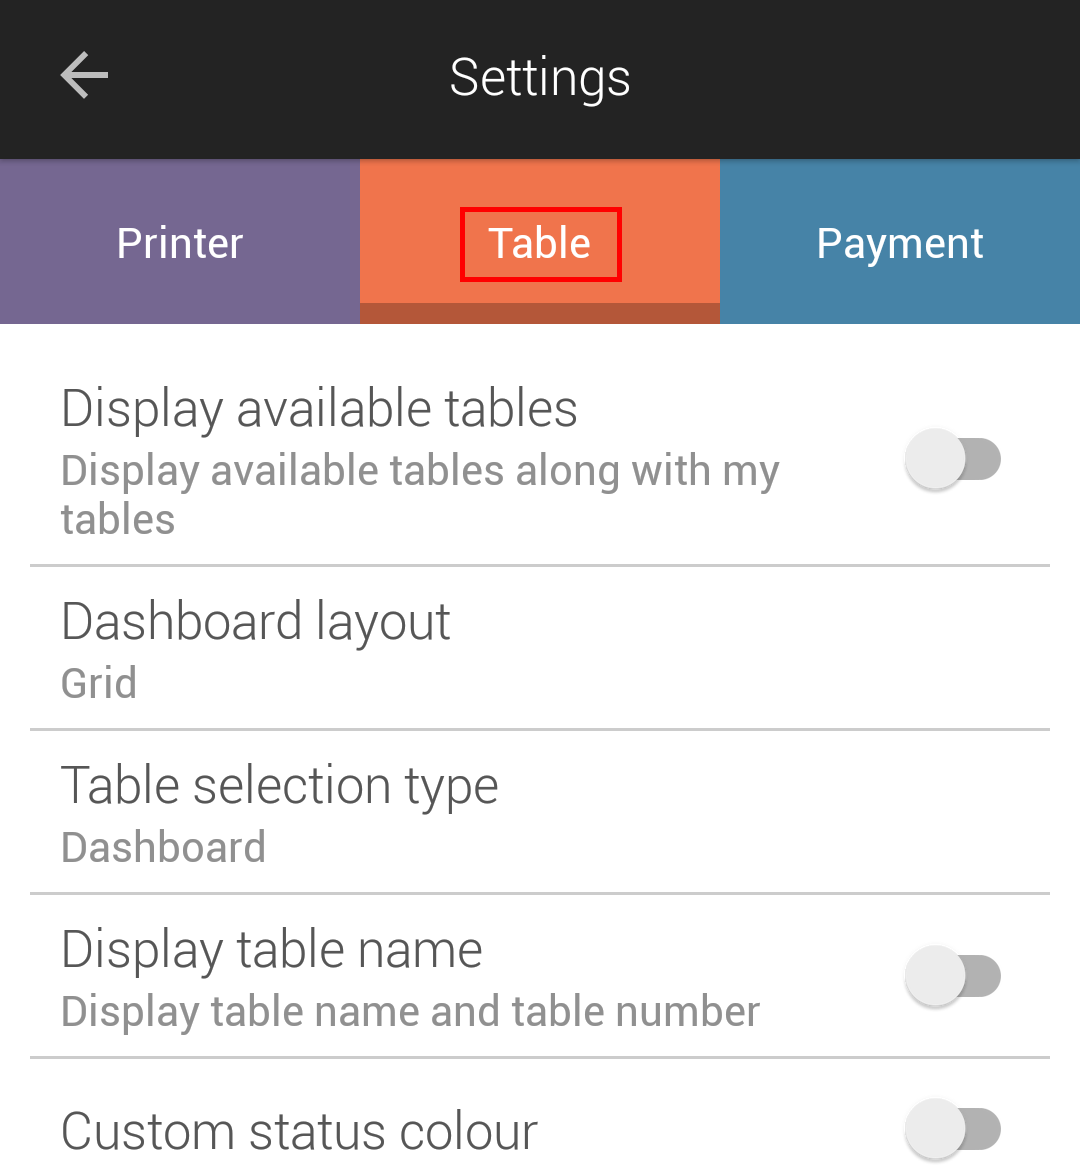 |
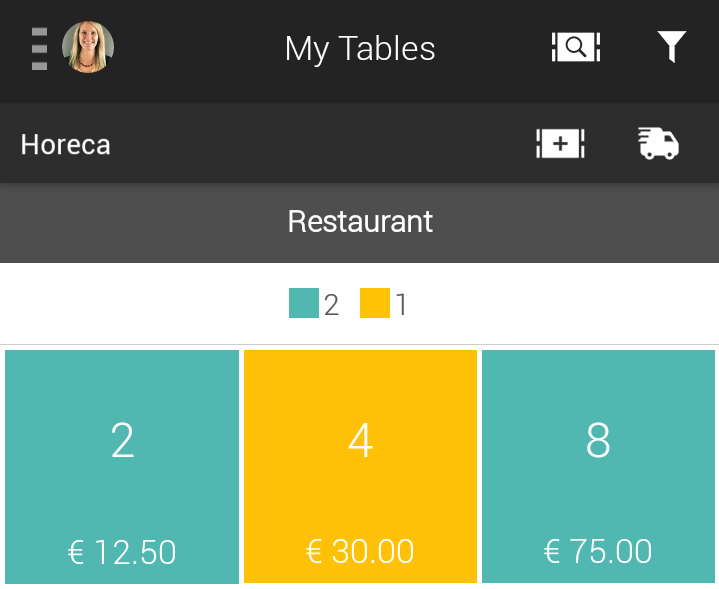
Display available tables | With this option it is possible to define the visualisation of available tables when the filter My tables is applied to the table dashboard. If this option is active, the user will be able to see the available tables along with the tables assigned to him/her. If deactivated, the user will be able to see only those tables assigned to him/her.
| ||||
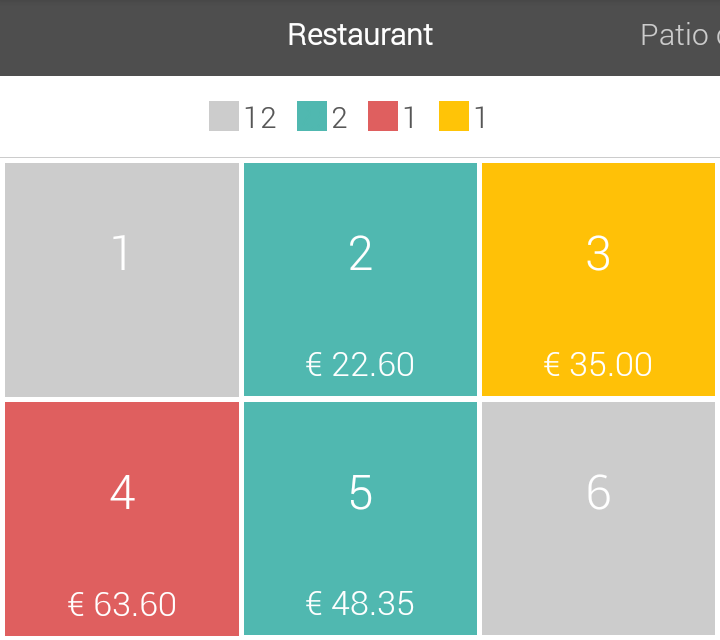
Dashboard layout | This parameter allows to define the layout of the with-table dashboard. Grid: The table dashboard will be shown in grid view.
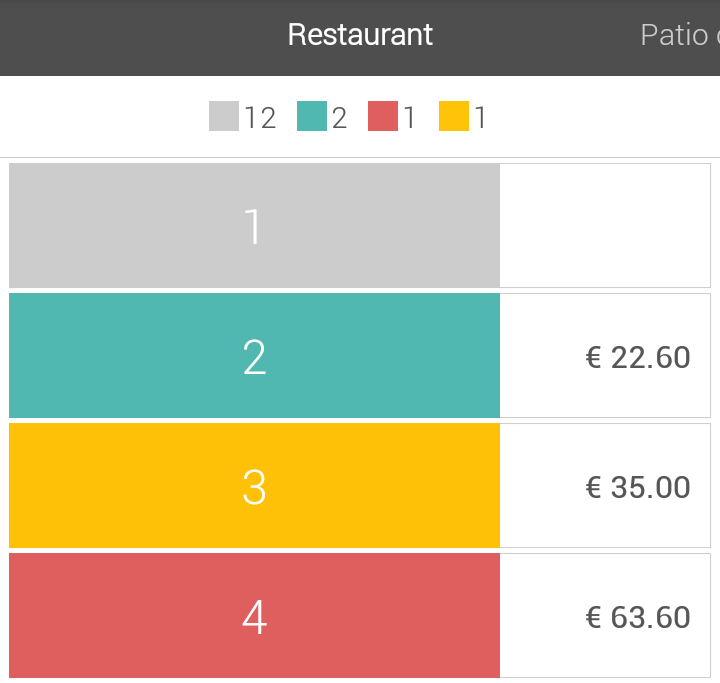
List: The table dashboard will be shown in list view.
| ||||
Table selection type | This parameter allows to define the default way of table selection. Dashboard: The user will be required to tap on the desired table to select it for placing an order. Jump to table: On the table dashboard, the user will be prompted to enter table number or name. | ||||
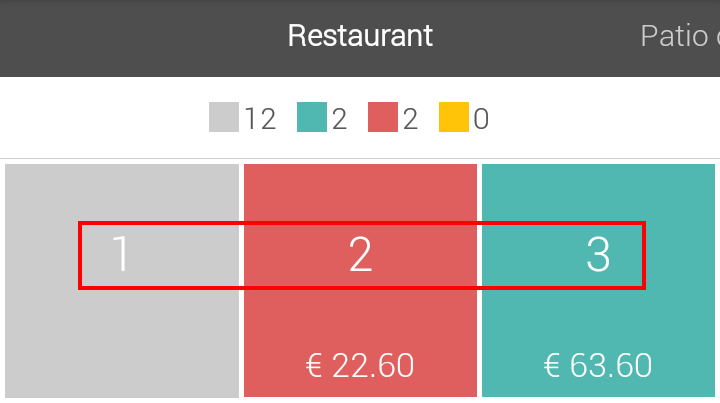
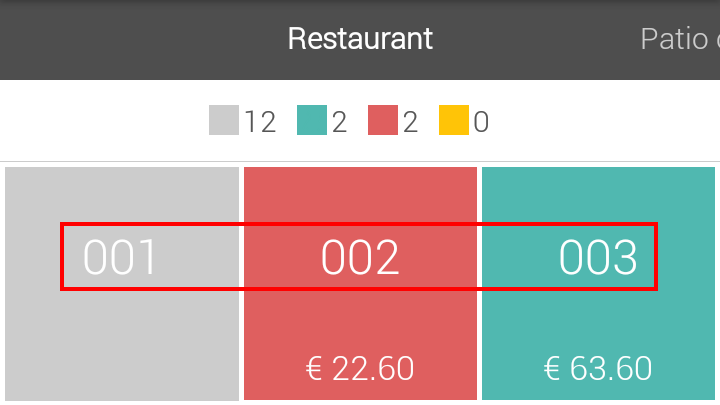
Display table name | If this parameter is deactived, tables will be displayed by their number.
If this parameter is active, the table name (as defined in the Recreatex desktop application) will be shown.
In case of split tables and virtual tables, the table will be named the same as the description entered at the time of splitting or creating the table.
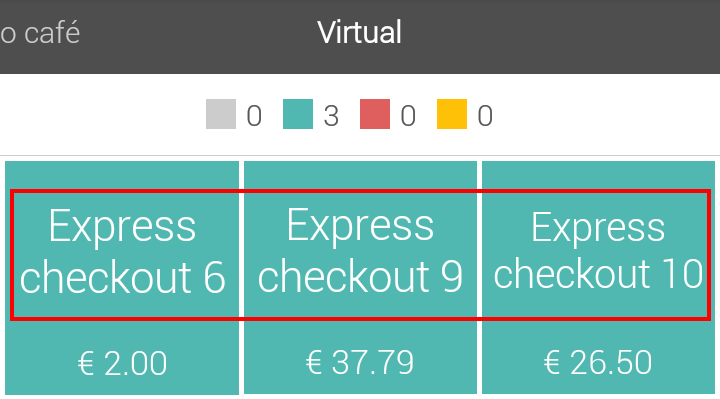
Moreover, for orders placed using express checkout, the table will show as Express checkout # under the tab Virtual on the table dashboard.
| ||||
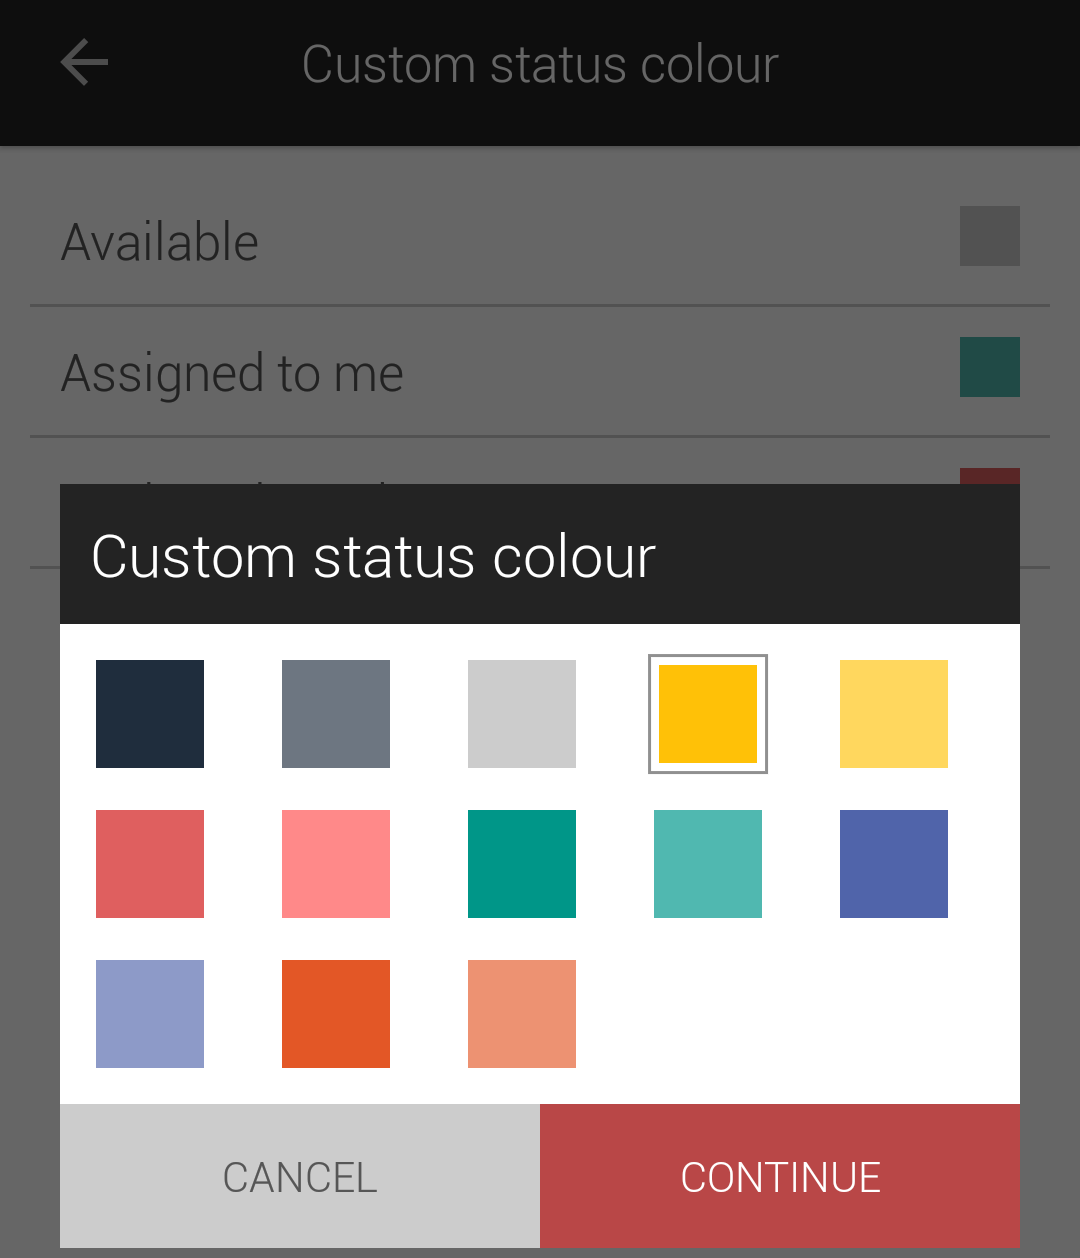
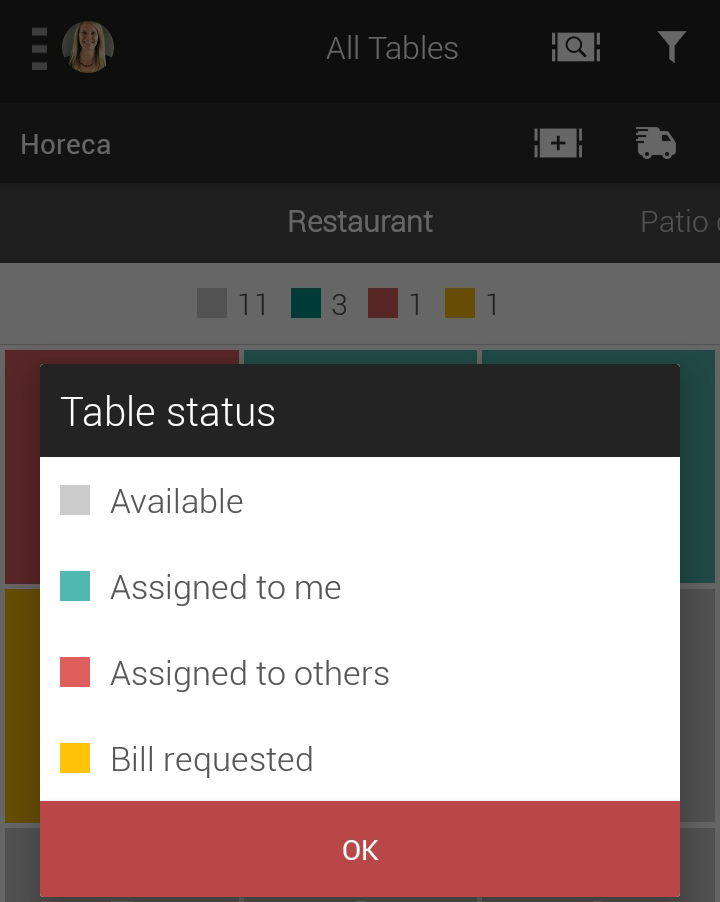
Custom status colour | This parameter allows to modify colours that indicate table status.
Deactivating this parameter will result in display of the default table status colours.
|
Payment
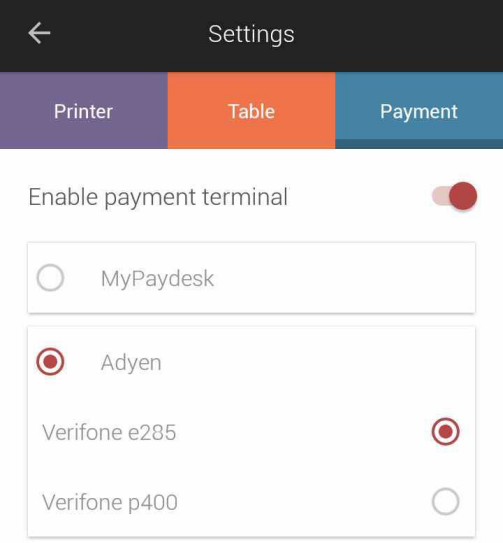
The tab Payment contain options for configuring card payment.
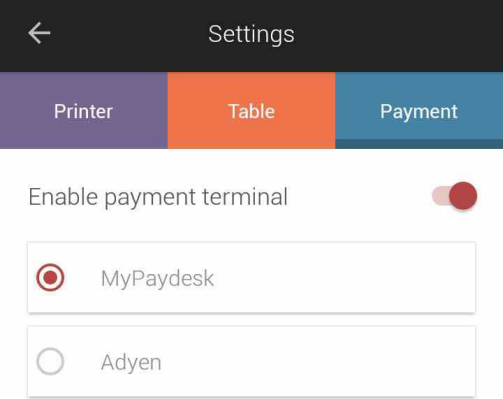 |
MyPaydesk | This setting must be activated to accept card payment using the external payment terminal, MyPaydesk (by Ingenico Payment services). For a detailed description on registering sales using MyPaydesk, refer Check out using MyPaydesk. If deactivated, card payment can be made without using an external payment terminal. NoteFor a detailed description on configuring MyPaydesk app to register card sales on mPOS, refer to the documentation, mPOS setup guide. | ||
Adyen | Activate this option if card payments are supported by Adyen. On activating this option, the user will be able to select the devices that will support Adyen payment.
The selected device will appear when is used as a payment method on the checkout screen. From the 2.10 version, mPOS supports Adyen S1F2 all-in-one terminal for card payments.
The Adyen payment devices are configured in the mPOS configuration file. For a detailed description on configuring the Adyen payment devices, refer mPOS setup guide. |
