Add a venue
After integrating the plugin Enviso ticket, the option 'Enviso Venues' appears in the left panel.
Go to Enviso Venues > New Venue
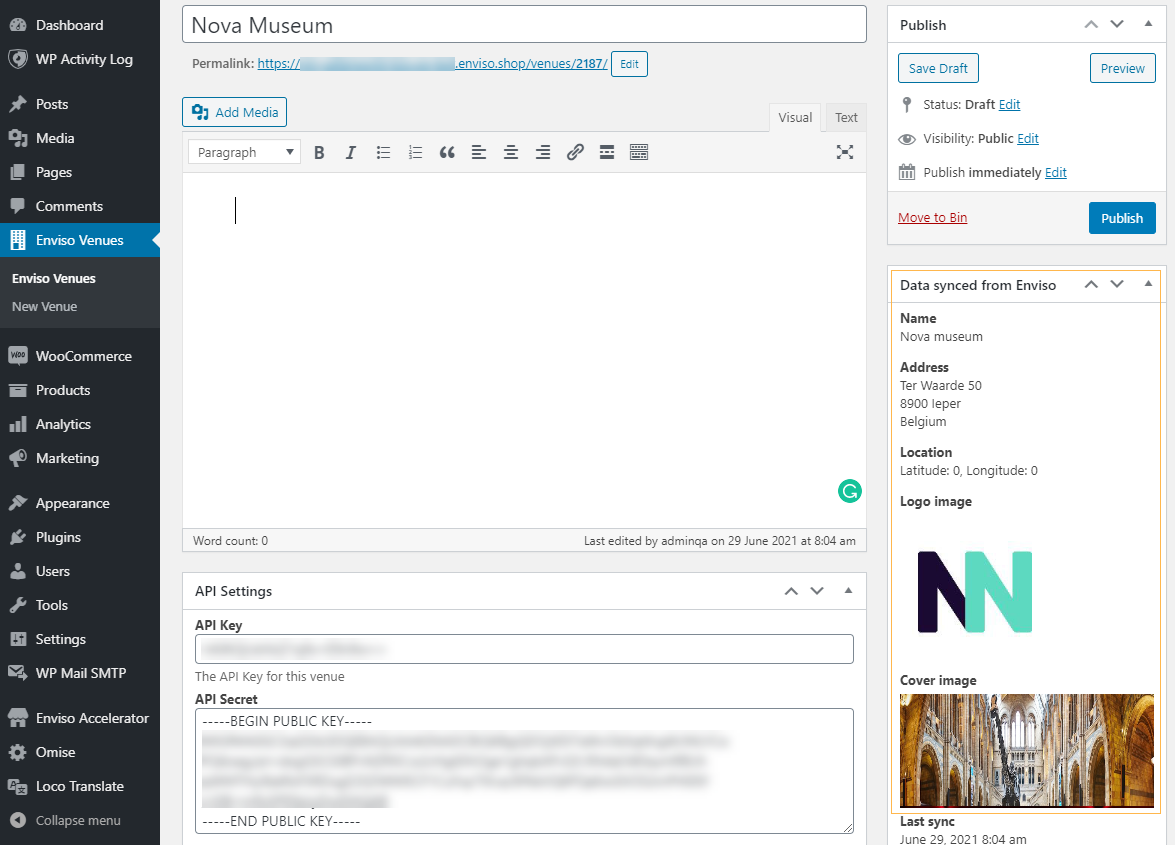
Enter Venue name.
Note
It is recommended to enter the venue name so that you can easily recognise it on the Enviso Venues page. However, the entered venue name will not show on your live WordPress site. Your live site will show data as per the synced details from Enviso (refer to step 5 below).
In the section API Settings, enter the API key, API secret and Tenant secret key for the venue.
Note
To get your venue's API key, API secret key and Tenant secret key, contact VInita support. Depending on the environment you are using (staging/production), request keys for that environment.
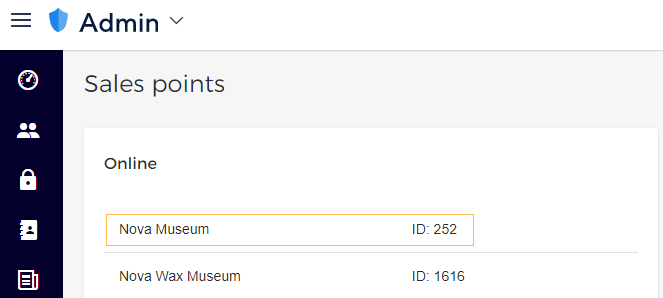
Enter the Salespoint ID for the online shop that you are creating.
Note
You will need to create an online Sales point from Enviso Admin > Sales Points. Once created you will have the automatically generated sales point ID.
In the Publish section on the right side of the page, click Save Draft. Click Publish when you are ready to go live.
If the entered details are correct, you will be able to see a preview of the venue details synced from Enviso.
If you have multiple venues in Enviso, repeat this process to sync them to your WordPress site.
Note
Once you have added multiple venues, the offers and tickets of all the venues sync under the section 'Products'. The synced offers and tickets of all the venues will show as a cumulative list. It is not possible to differentiate whether a certain offer or ticket is of Venue 1, Venue 2, ...
After adding the venue, you will need to sync products (offers and tickets). See further Sync products & data