App installation and configuration
App installation and certain initial settings are required to be configured for the correct functioning of the Infoplay mobile application.
Installing the app
Go to the App download page.
Download Infoplay APK and place it on the device using a USB stick.
Alternatively, you can install TeamViewer Host on the device. This will enable you to do the file transfer through TeamViewer.
Use a USB mouse to control the screen if touch is difficult to reach.
Note
Currently, it is not possible to remotely control the ELO screen. Only file transfer is possible with Teamviewer Host.
Also refer Setting up Infoplay using Android box.
Configuring the app
When launching the Infoplay app for the first time, you will need to enter configuration settings.
It is possible to configure the app in either of the two ways:
In-app configuration
Configuring web service
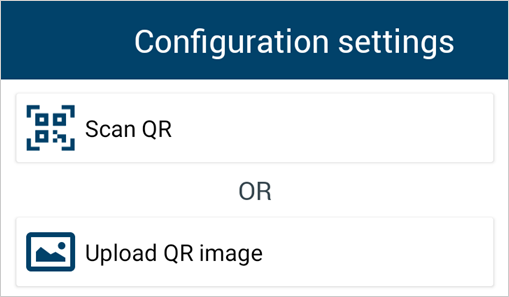
On the Configuration Settings screen, tap Scan QR and scan the app configuration QR code to configure the Infoplay application.
Configuring Infoplay service
Configuring the Infoplay service is required in case you are using the Visitor Info display.
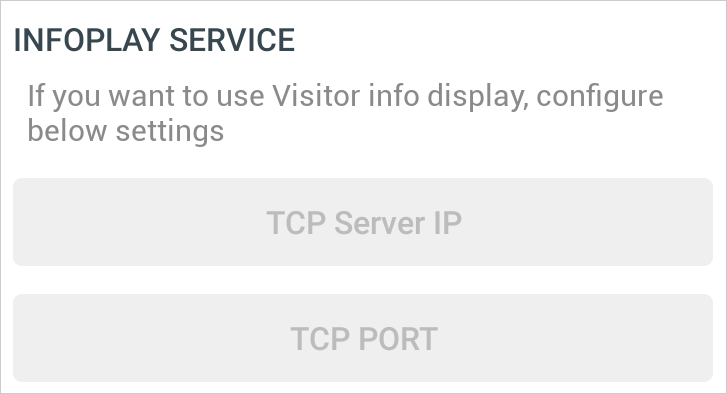
To configure the Infoplay service, manually enter the TCP server IP and TCP port number.
Press OK to save the details.
Remote configuration
In certain cases, it may not be possible to reach the display device at a height and change the app settings. For such situations, you can configure the Infoplay app remotely.
Procedure: in Settings > Connection > Remote server

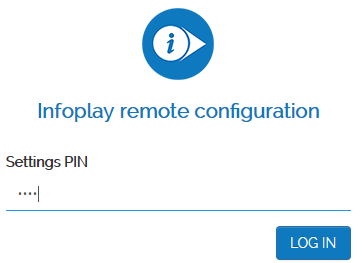
In the web browser, enter the remote configuration URL. You will be redirected to the Infoplay remote configuration screen.
Important to know:
The remote configuration URL is accessible only in the local network.
When connected to the LAN network, go to the Ethernet settings in the device and use that IP address for the remote configuration. This is because by default the server IP is shown, which will not work when a LAN connection is used.
Enter the Settings PIN to log into the remote configuration portal.
When accessing the Infoplay application for the first time, you will be navigated to the Configuration Settings page. For a detailed explanation of configuration settings, refer In-app configuration.
In order to verify the entered configuration details are correct, click Test.
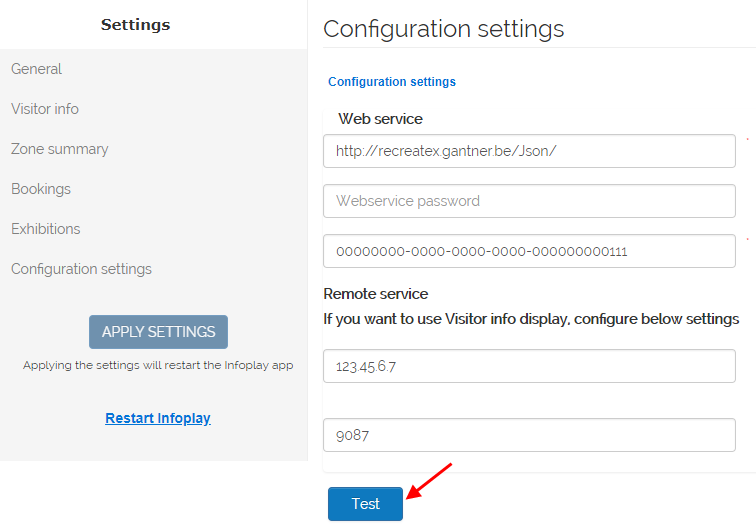
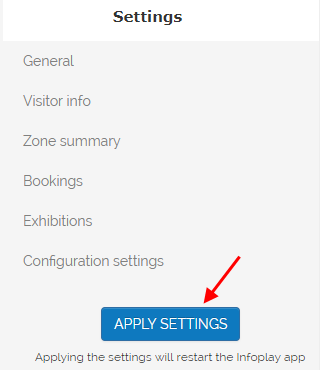
If the entered details are correct, theApply settings button will be activated. Click Apply settings. This will result in restarting the Infoplay app on the display device.
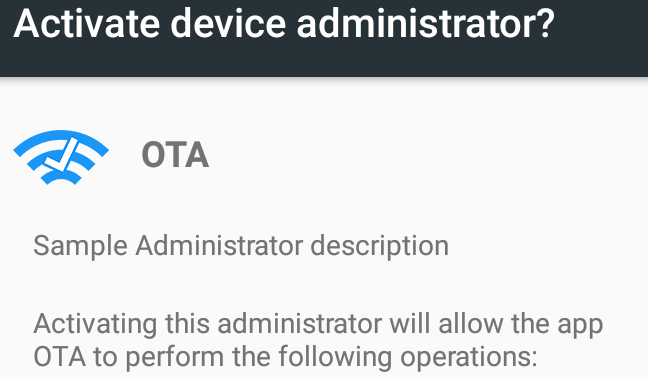
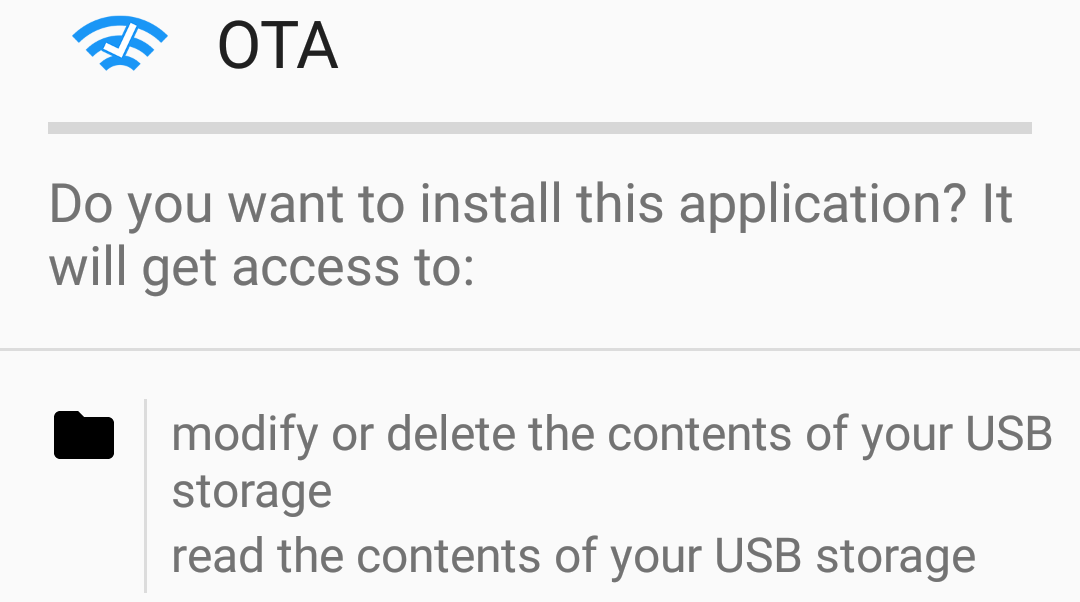
Installing the OTA app
After configuring the Infoplay mobile app, you will receive a pop-up message to install the OTA app.
Installing the OTA app is a one-time procedure that ensures that your device automatically receives the subsequent Infoplay mobile app updates when they are available.
Press OK on the pop-up to install the OTA app.
Press Install to install the app as well as to provide the necessary permissions for its functioning.
Press Done.

Press Activate to enable activation of the OTA application