Setting up Edge solutions
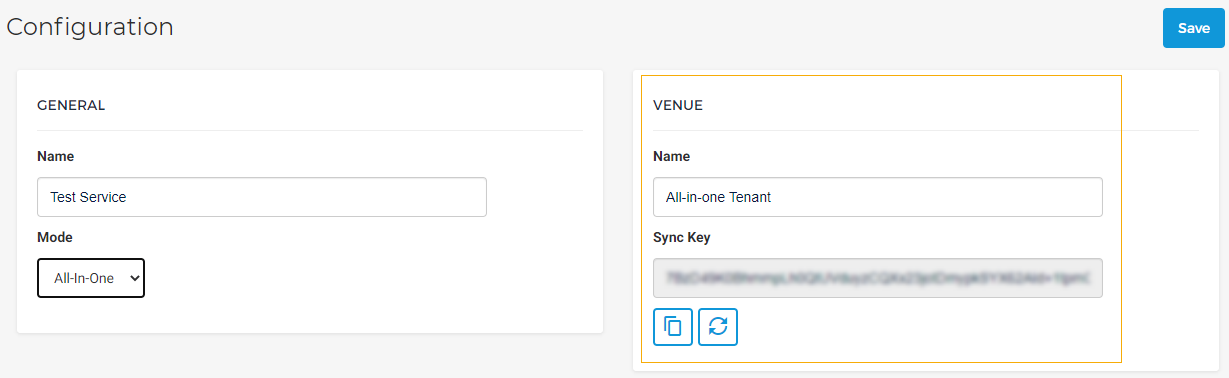
On the Configuration page, enter a name for the Edge Service and select a mode.

Click Save.
If the mode All-in-one is selected and saved, you will be required to enter the Edge Venue name. The auto-generated sync key will be required at the time of adding new Edge Venues.
Modes for Edge Service
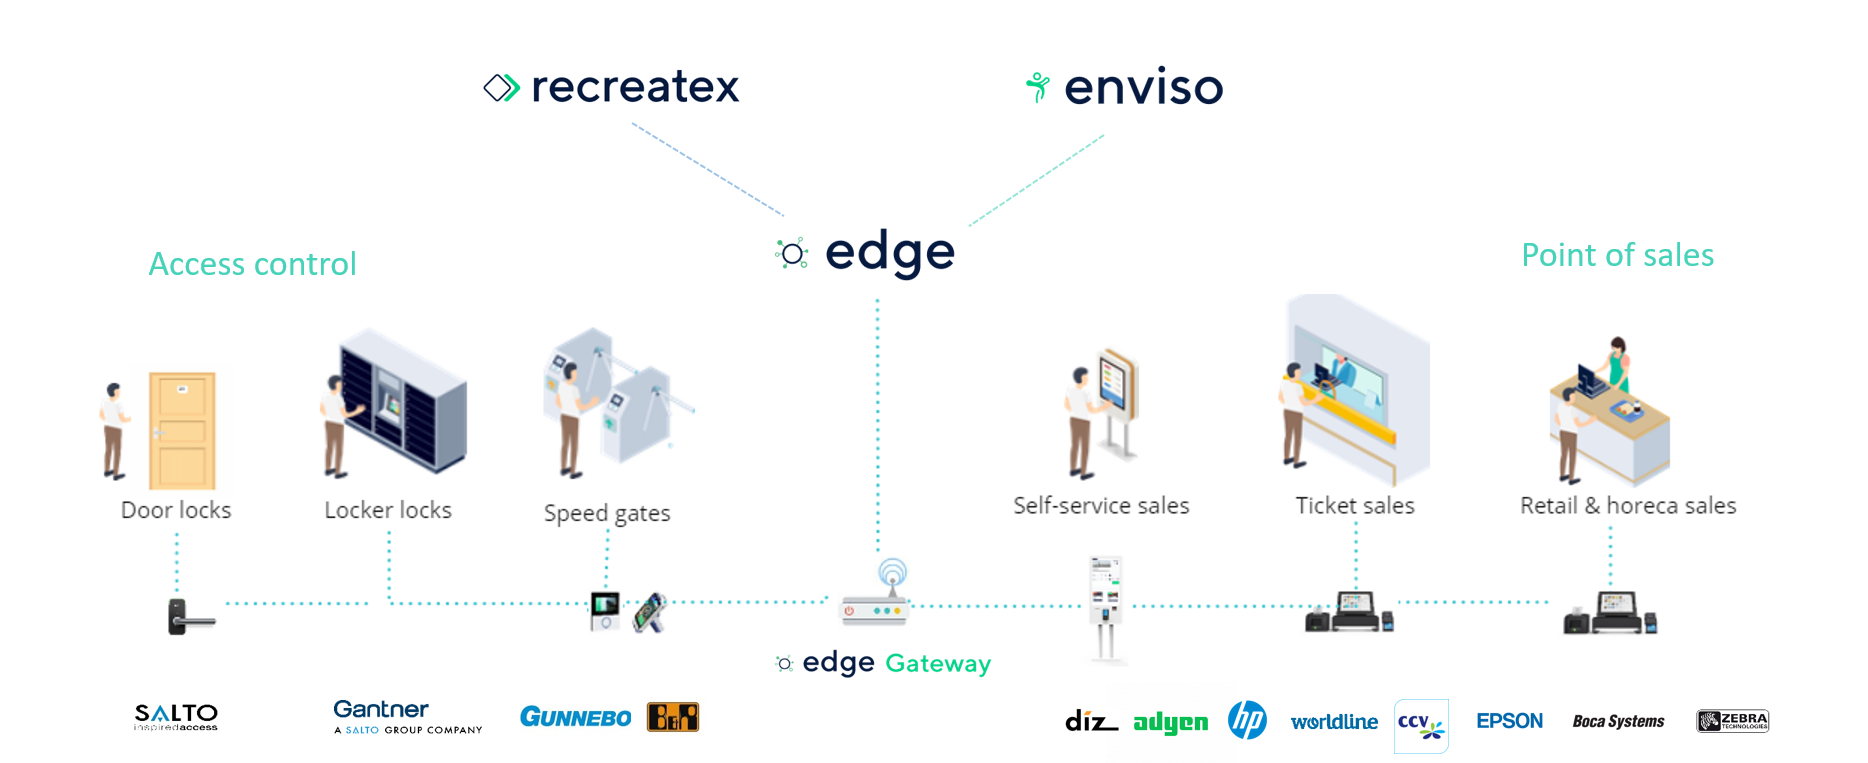
All-in-one: It is basically for the customer's on-premise solution to combine platform and agent in one. This means that there is no connection like TCP, MQTT between an agent and a platform. The service is combined. So, the service will show agent plugins to communicate to hardware. It will also show platform plugins to communicate to databases (Recreatex database) and to on-premise clients (Recreatex, Vending Machine).
Agent: It will be installed by GANTNER support on the on-premise servers of the customer. Because it connects to hardware locally on-premise, we must run an agent service on-premise. This agent service will connect to the platform service in our cloud environment (COLO).
Platform: It will be installed by GANTNER support in the cloud environment (COLO). It allows platform plugins to integrate with the cloud clients (Recreatex Citrix application in COLO) and databases in the cloud (Recreatex database).
All-in-one
When to use this mode: When the database is hosted locally, the Enviso Edge should run in the All-in-One mode.
Client endpoints
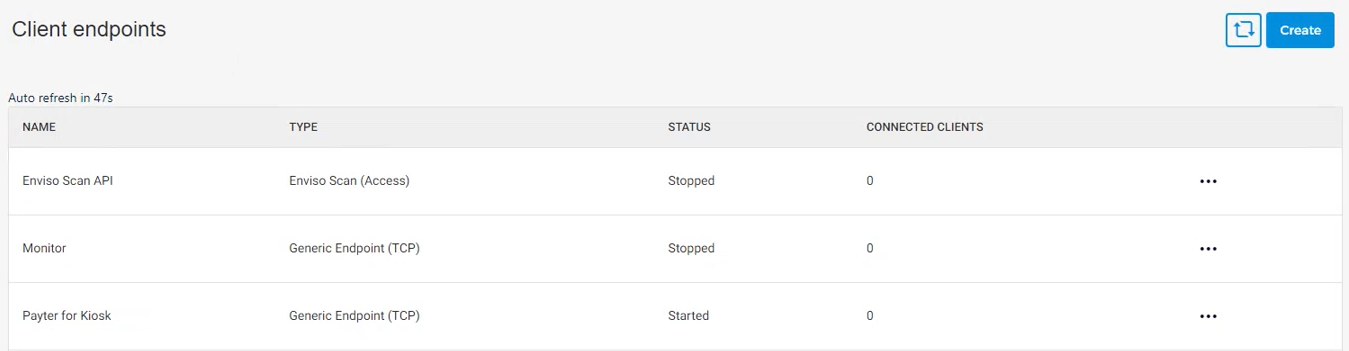
The client endpoints are the connection points between the Enviso Platform or the Enviso Agent (in case of All-in-one Edge Service) and the Agent devices.
These devices could be Recreatex sales points, vending machines, APIs that are used for access control, eg. Enviso scan API and Recreatex Access (control). In essence, client endpoints are the external systems that want to use the Enviso Edge.
On the Client endpoints page, you can create, consult, edit and delete the endpoints.
Note
You will have the option to configure Client endpoints if the Enviso Edge mode is configured as All-in-one or Platform.
Create an endpoint
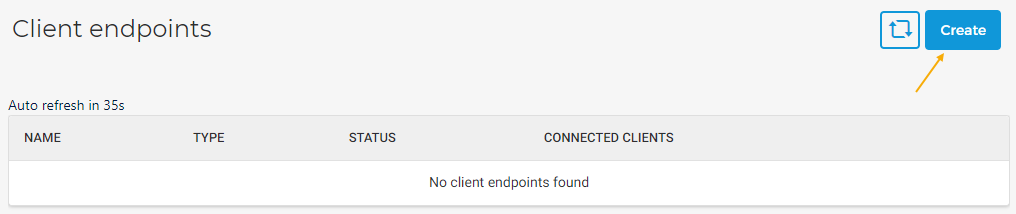
Click on the Create button in the top-right corner of the Client endpoint page.
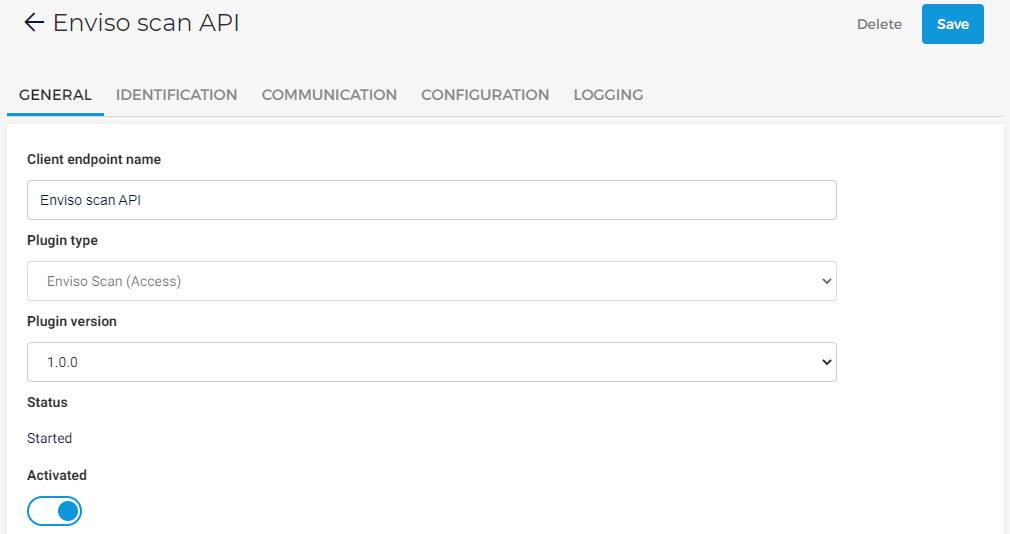
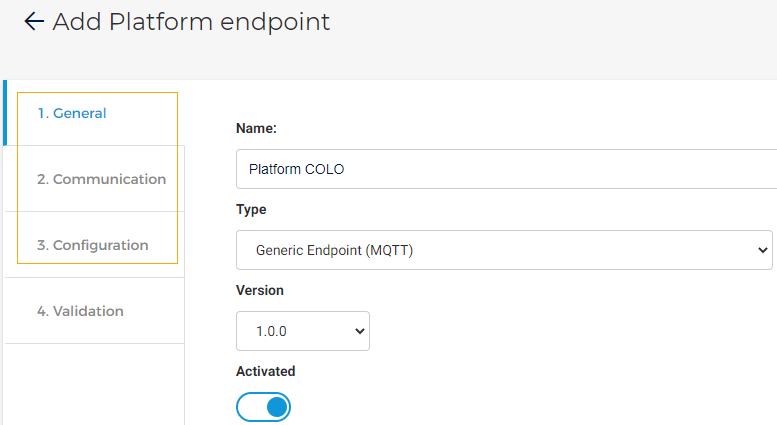
On the resulting page, enter the required details for the section General.
Depending on the Type selected in the General section, the remaining sections will vary. The last section, Validation allows you to consult the entered details.
Note
Ensure that the endpoint is activated (section General > Activated) for the endpoint to work correctly.
Click Save to create the endpoint.
Repeat the process for the endpoints that you need to create. The created endpoints can be consulted from the Client endpoints page.
Edit an endpoint
Click on an endpoint. You will be able to consult as well as edit the endpoint's details across the tabs. Once an endpoint is created, it is not possible to edit the field Plugin type, under the tab General.
Alternatively, you can click on the more options button corresponding to an endpoint and select Edit in order to its endpoint's details.

Consult log details of an endpoint
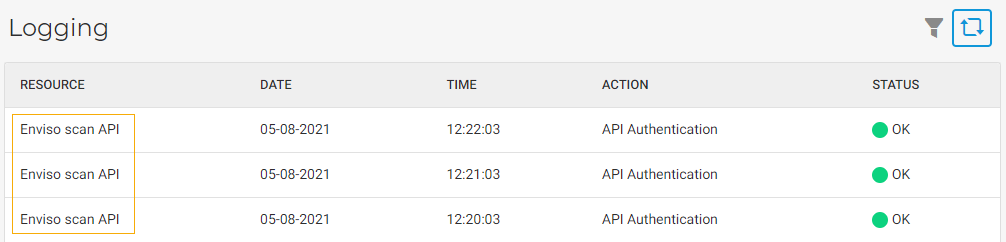
Click on an endpoint for which you wish to consult the log details. On the endpoint's details page, go to tab Logging and click Logging.

You will be navigated to the Logging page, containing logs only for the specific endpoint.
Refresh client endpoints
The page auto-refreshes every 60 seconds. The timer above the table shows when the page will auto-refresh.

If you wish to manually refresh the page, click on the refresh button  in the top-right of the page.
Delete an endpoint
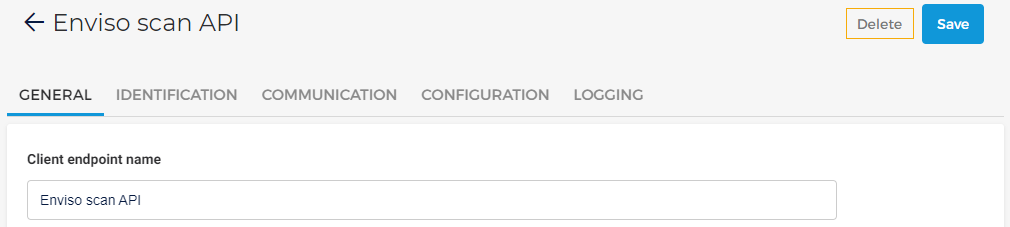
Click on the endpoint. On the endpoint's detail page, click Delete in the top-right corner of the page.
Alternatively, you can click on the more options button corresponding to an endpoint and select Delete.
Edge Venues
The venue on Enviso Edge is the central connection point for a particular customer that wants to connect with some hardware. You will need to create the Edge venues.
Create Edge Venue for the Platform mode
Click Create in the top-right corner of the Venues page.
Note the right menu appears. Enter the Venue name and click Create.
Edge Venue for All-in-one mode
There can be only one Venue when using the All-in-one mode.
Agent
When to use this mode: When the database is not hosted locally, the Enviso Edge should run in the Enviso Agent mode.
Platform endpoints
The Edge Platform service is a central service hosted in the cloud that can communicate with several Edge Agents locally. The Platform endpoints are a connection between the Edge Platform and the Edge Agent.
Note
You will have the option to configure Platform endpoints if you have configured the Edge Service mode as Agent.
On the Platform endpoints page, you can create, consult, edit and delete the endpoints.
Create an endpoint
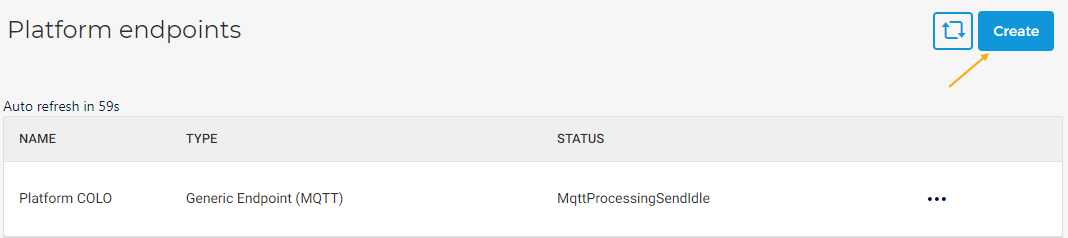
Click on the Create button in the top-right corner of the Platform endpoint page.
On the resulting page, enter the required details for the sections General, Communication and Configuration. In the last section, Validation, you will be able to consult the entered details.
Important to know:
In the section Configuration, you will be required to enter a Sync Key.
Note
The Sync Key in the Edge Agent needs to be the same as the Sync Key on the Edge Platform side. Contact GANTNER support to get the Sync Key.
Once the configuration is saved as All-in-one, you will be able to see the Sync Key. Copy the Sync Key.
Warning
Ensure the All-in-one service is running in the background.
Now, change the mode to Agent and Save the configurations.
Go to Platform endpoints. Select an endpoint and paste the copied Sync key for the section Configuration for that endpoint.
Click Save to create the endpoint.
Repeat the process for the endpoints that you need to create. The created endpoints can be consulted from the Platform endpoints page.
Edit an endpoint
Click on an endpoint. You will be able to consult as well as edit the endpoint's details across the tabs. Once an endpoint is created, it is not possible to edit the field Plugin type, under the tab General.
Alternatively, you can click on the more options button corresponding to an endpoint and select Edit in order to edit its details.
Consult log details of an endpoint
Click on an endpoint for which you wish to consult the log details. On the endpoint's details page, go to the tab Logging and click Logging.
You will be navigated to the Logging page, containing logs only for the specific endpoint.
Refresh agent endpoints
The page auto-refreshes every 60 seconds. The timer above the table shows when the page will auto-refresh.

If you wish to manually refresh the page, click on the refresh button in the top-right of the page.
Delete an endpoint
Click on the endpoint. On the endpoint's detail page, click Delete in the top-right corner of the page.
Alternatively, you can click on the more options button corresponding to an endpoint and select Delete.
Platform
When to use this mode: If the database is hosted in the cloud environment (COLO), then GANTNER support is responsible for installing the Edge service as a platform. Therefore, this mode is used by GANTNER support only.
Agent endpoints
Agent endpoints are connection points from the Edge platform to the agent. As the device, along with an agent, is installed on-premise and the Edge Platform is in the cloud, the agent endpoint facilitates contacting the device that is available for the Edge Venue with the Edge Platform.
Note
You will have the option to configure Agent endpoints if you have configured the Edge Service mode as Platform.
On the Agent endpoints page, you can create, consult, edit and delete the endpoints.
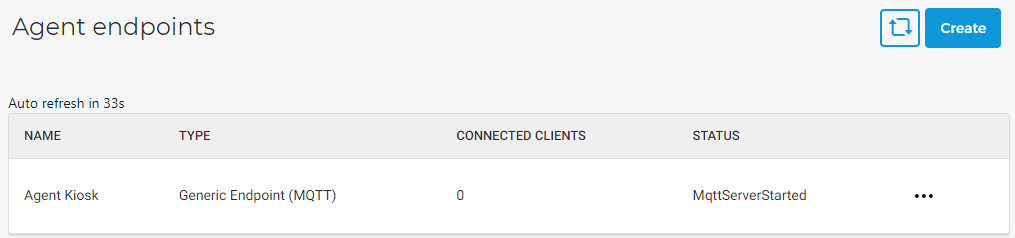
Create an endpoint
Click on the Create button in the top-right corner of the Agent endpoint page.

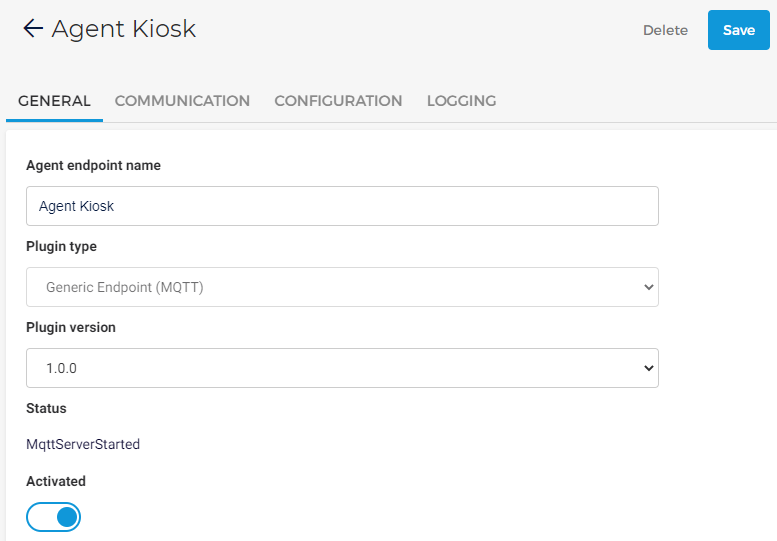
On the resulting page, enter the required details for the sections General, Communication and Configuration.
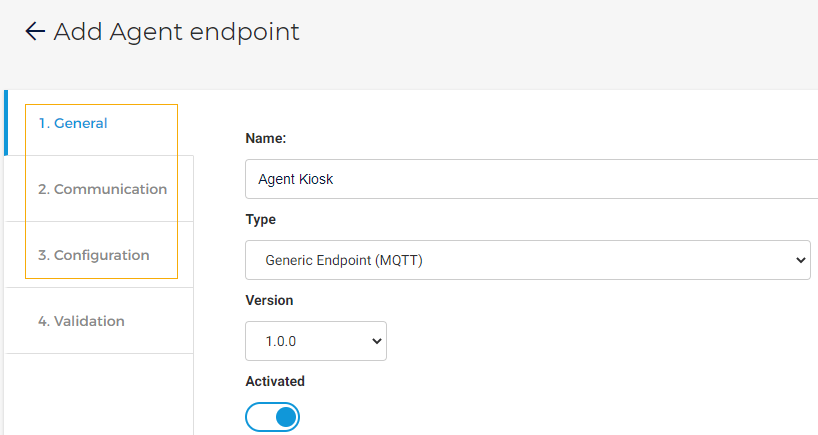
In the section Validation, you will be able to consult the details entered in the previous sections.
Note
Ensure that the endpoint is activated (section General > Activated) for the endpoint to work correctly.
Click Save to create the endpoint.
Repeat the process for the endpoints that you need to create. The created endpoints can be consulted from the Agent endpoints page.
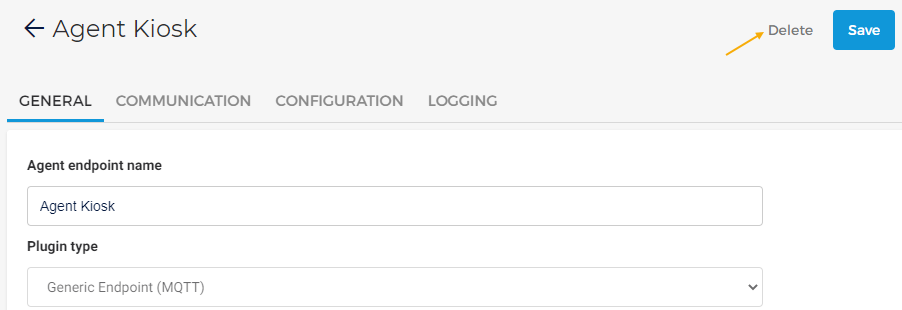
Edit an endpoint
Click on an endpoint. You will be able to consult as well as edit the endpoint's details across the tabs. Once an endpoint is created, it is not possible to edit the field Plugin type, under the tab General.
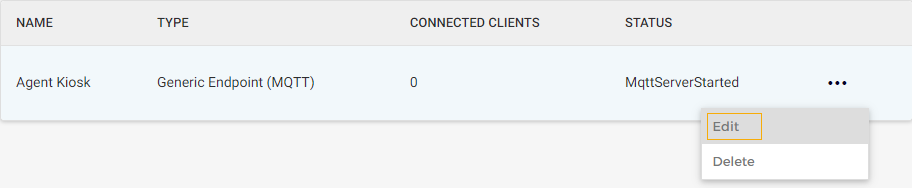
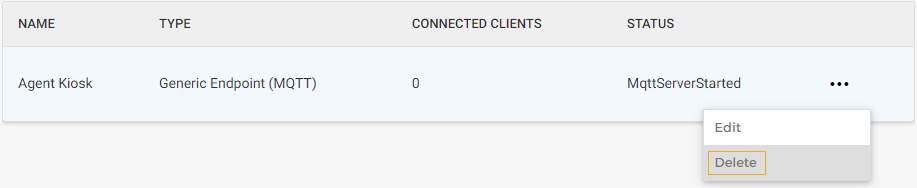
Alternatively, you can click on the more options button corresponding to an endpoint and select Edit in order to edit its details.
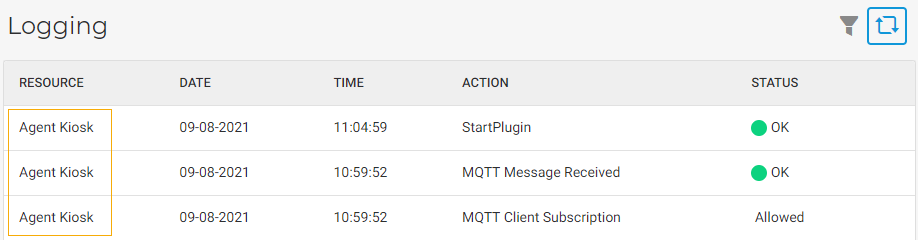
Consult log details of an endpoint
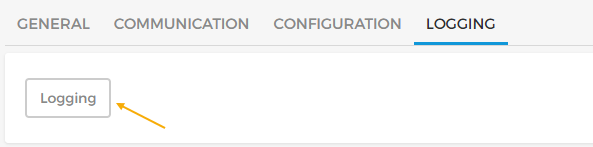
Click on an endpoint for which you wish to consult the log details. On the endpoint's details page, go to the tab Logging and click Logging.
You will be navigated to the Logging page, containing logs only for the specific endpoint.
Refresh agent endpoints
The page auto-refreshes every 60 seconds. The timer above the table shows when the page will auto-refresh.
If you wish to manually refresh the page, click on the refresh button in the top-right of the page.
Delete an endpoint
Click on the endpoint. On the endpoint's detail page, click Delete in the top-right corner of the page.
Alternatively, you can click on the more options button corresponding to an endpoint and select Delete.